
At Home Owners Association, we understand the appeal of timber weatherboards for enhancing your home’s exterior. These classic siding options offer both aesthetic charm and practical benefits.
Our timber weatherboard installation guide will walk you through the process step-by-step, from preparation to finishing touches. Whether you’re a seasoned DIY enthusiast or a first-time installer, this comprehensive guide will help you achieve professional-looking results.
How to Prepare for Timber Weatherboard Installation
Selecting the Perfect Timber Weatherboards
The selection of appropriate timber weatherboards forms the foundation of a successful installation. Consider factors such as durability, appearance, and local climate. Accoya weatherboard cladding stands out as a popular choice due to its resistance to rot and insect attack, designed for a long lifetime of minimal maintenance. The Australian Bureau of Statistics reports that timber ranks among the most favoured materials for residential building applications.
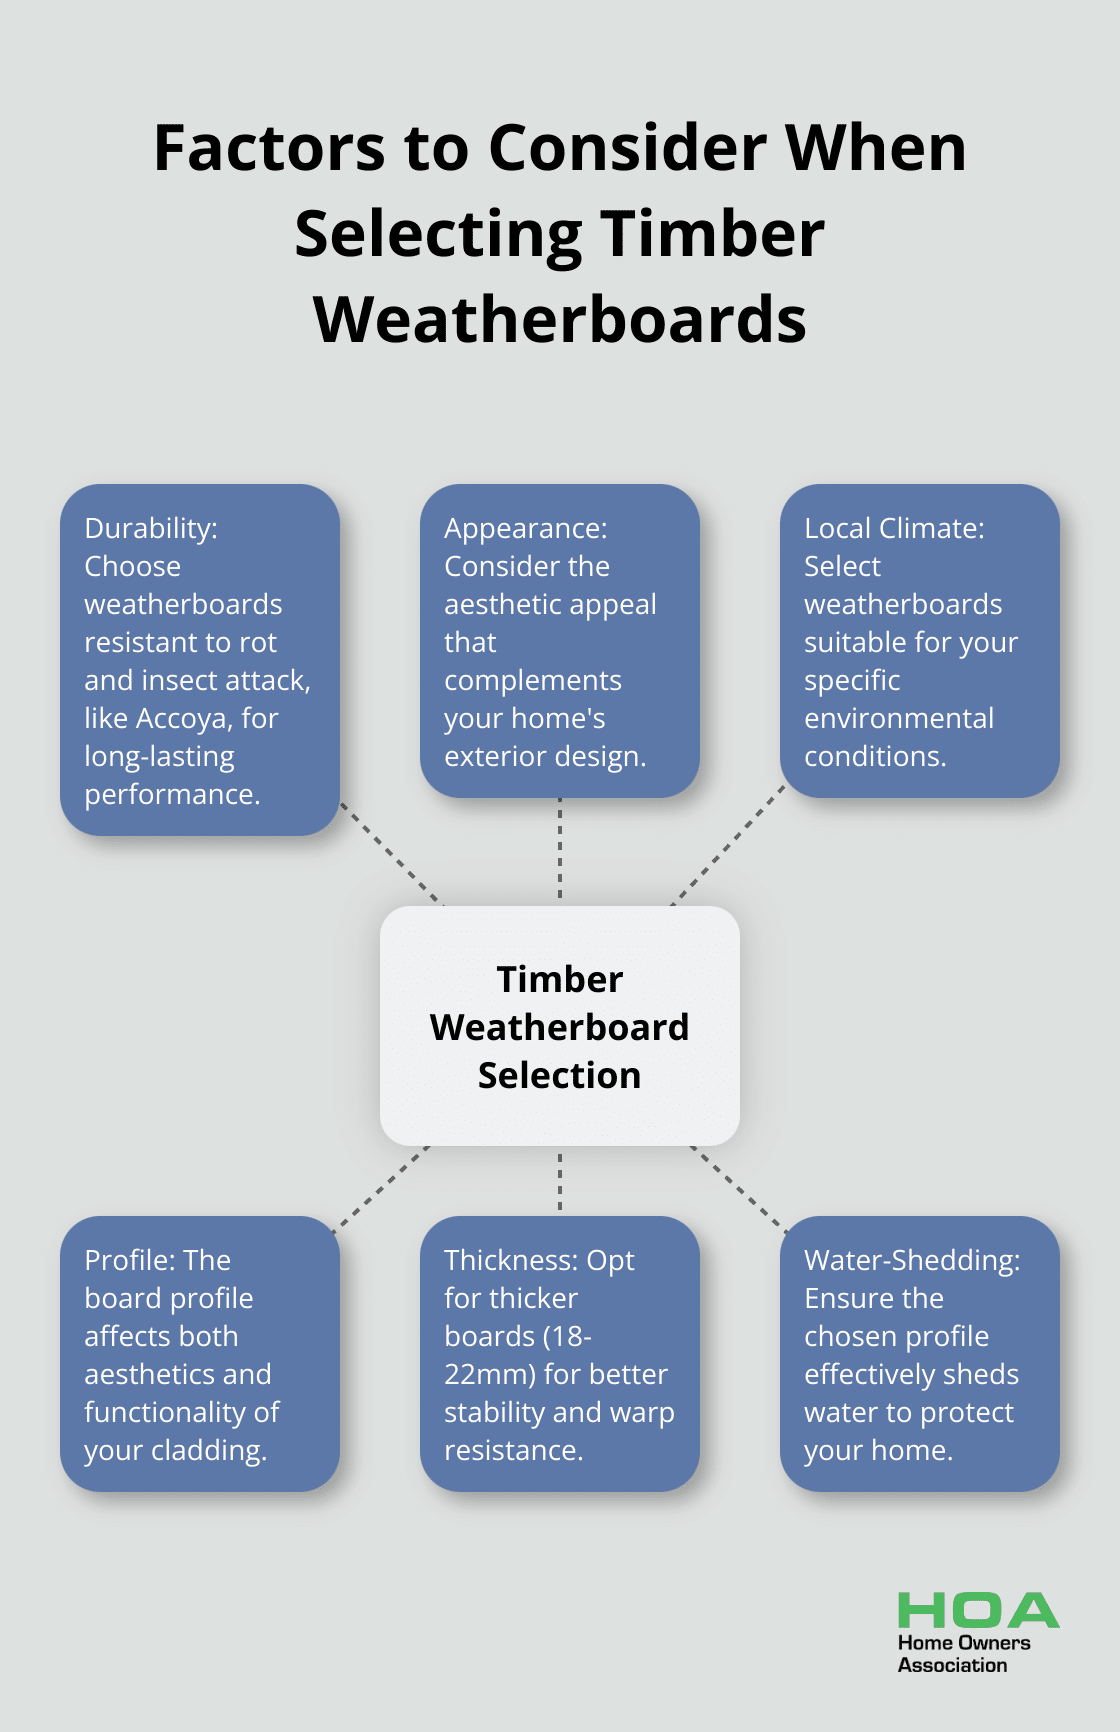
When you choose your weatherboards, focus on the profile and thickness. Thicker boards (typically 18-22mm) offer more stability and resist warping. Your chosen profile will impact both the aesthetics and water-shedding capabilities of your cladding.
Essential Tools and Materials
A proper timber weatherboard installation requires a specific set of tools. Prepare the following:
- Circular saw or miter saw
- Nail gun (preferably pneumatic)
- Level and chalk line
- Tape measure
- Moisture barrier (like Tyvek HomeWrap)
- Galvanised nails
- Caulking gun and exterior-grade sealant
Don’t overlook safety equipment such as safety glasses, work gloves, and a dust mask. Home Owners Association members can access trade pricing on many of these tools and materials, which could result in significant savings on your project.
Measuring and Planning Your Project
Precise measurements pave the way for a smooth installation process. Begin by measuring the total area you plan to cover with weatherboards. Add an extra 10% to account for waste and cuts.
Next, plan your layout. Decide on the direction of your boards and the placement of joins. Joins should always fall on a stud for proper support. Use a stud finder to mark your wall framing – this will guide your nailing later.
Consider the starting point of your installation. Most professionals recommend beginning at the bottom and working upward, ensuring each row overlaps the one below it. This method promotes proper water drainage.
Compliance with Building Codes
Check local building codes and regulations before you start. Some areas have specific requirements for exterior cladding, including fire resistance ratings. Compliance with these codes is essential to avoid potential legal issues down the line.
With thorough preparation complete, you’re ready to move on to the actual installation process. The next section will guide you through the step-by-step installation of your timber weatherboards, ensuring a professional finish that will enhance your home’s exterior for years to come.
How to Install Timber Weatherboards: A Step-by-Step Guide
Moisture Barrier and Insulation Installation
The first step in timber weatherboard installation involves the application of a Weather Barrier. This layer protects your home’s structure from potential water damage. We suggest using a suitable water control membrane installed under the cladding in accordance with the AS/NZS 4200.2 ‘Pliable building membranes and…’. Begin at the wall’s bottom and progress upward, overlapping each row by at least 150mm. Secure the wrap with staples, ensuring it’s taut but not overstretched.
Consider adding insulation to improve your home’s energy efficiency. According to the Australian Bureau of Statistics, only 4% of households said they had installed insulation to reduce energy use and 11% said it was to save on energy bills. Select insulation with an R-value suitable for your specific climate zone.

Setting Up Corner Stops and Starter Strips
Install corner stops before you begin with the weatherboards to achieve a clean, professional finish. Use a level to ensure they’re perfectly vertical, and secure them with galvanised nails.
The starter strip sets the foundation for your installation. It determines the angle for all subsequent rows of weatherboards. Install it at the wall’s bottom, ensuring it’s level across the entire length. This step is vital – a misaligned starter strip will affect your entire installation.
Cutting and Fitting Weatherboards
Start at the bottom and work your way up when installing weatherboards. Each board should overlap the one below it by at least 30mm to ensure proper water drainage.
Always wear safety gear when cutting boards. A circular saw or miter saw works best for straight cuts, while a jigsaw is ideal for notches or curves. Seal any cut ends with an appropriate wood preservative to prevent moisture ingress.
Fit each board snugly against the one below, checking for level as you go. Use a spacer to maintain consistent gaps between boards, allowing for natural expansion and contraction of the timber.
Nailing Techniques for Secure Installation
Proper nailing ensures a secure installation. We recommend using a pneumatic nail gun for efficiency and consistency. Secure each board with two nails per stud, placed about 15mm from the top edge of the board.
Avoid overdriving the nails – they should sit flush with the wood’s surface. Overdriven nails can cause splitting and compromise the weatherboard’s integrity. For hardwood, pre-drilling nail holes can prevent splitting.
The goal is to allow for natural movement of the timber while ensuring each board is securely fastened. This balance is essential for the longevity of your weatherboard cladding.
With these steps completed, you’ve laid the groundwork for a successful timber weatherboard installation. However, the process doesn’t end here. The next section will guide you through the finishing touches and maintenance practices that will protect your investment and keep your weatherboards looking great for years to come.
Perfecting Your Timber Weatherboard Installation
Sealing for Protection
After you install your timber weatherboards, focus on the finishing touches that will protect your investment and enhance its appearance. Start with a thorough inspection of your newly installed weatherboards. Look for any gaps or joints that need sealing, especially around corners, windows, and door frames. Use a high-quality, exterior-grade sealant to fill these areas. Apply the sealant in a continuous bead and smooth it with a wet finger or specialised tool for a professional finish.
Don’t overlook the cut ends of your weatherboards. These areas are particularly vulnerable to moisture ingress. Apply an end-grain sealant to these spots before you paint or stain. This extra step will significantly extend the life of your weatherboards.
Painting and Staining Techniques
When it comes to finishing your weatherboards, you have two main options: paint or stain. Paint offers more colour options and generally provides better protection against the elements. Stain allows the natural grain of the timber to show through.
If you choose to paint, start with a high-quality exterior primer. This ensures better adhesion of the topcoat and provides an additional layer of protection. Follow with two coats of exterior-grade paint, allowing adequate drying time between coats. Use a brush or roller designed for exterior work to achieve the best finish.
For staining, select a product specifically designed for exterior use. Apply the stain with a brush, working it into the grain of the wood. You may need to apply multiple coats (depending on the desired intensity of colour). Always follow the manufacturer’s instructions for the best results.
Maintenance for Longevity
Regular maintenance preserves the beauty and integrity of your timber weatherboards. Inspect your weatherboards at least once a year, preferably before the wet season.
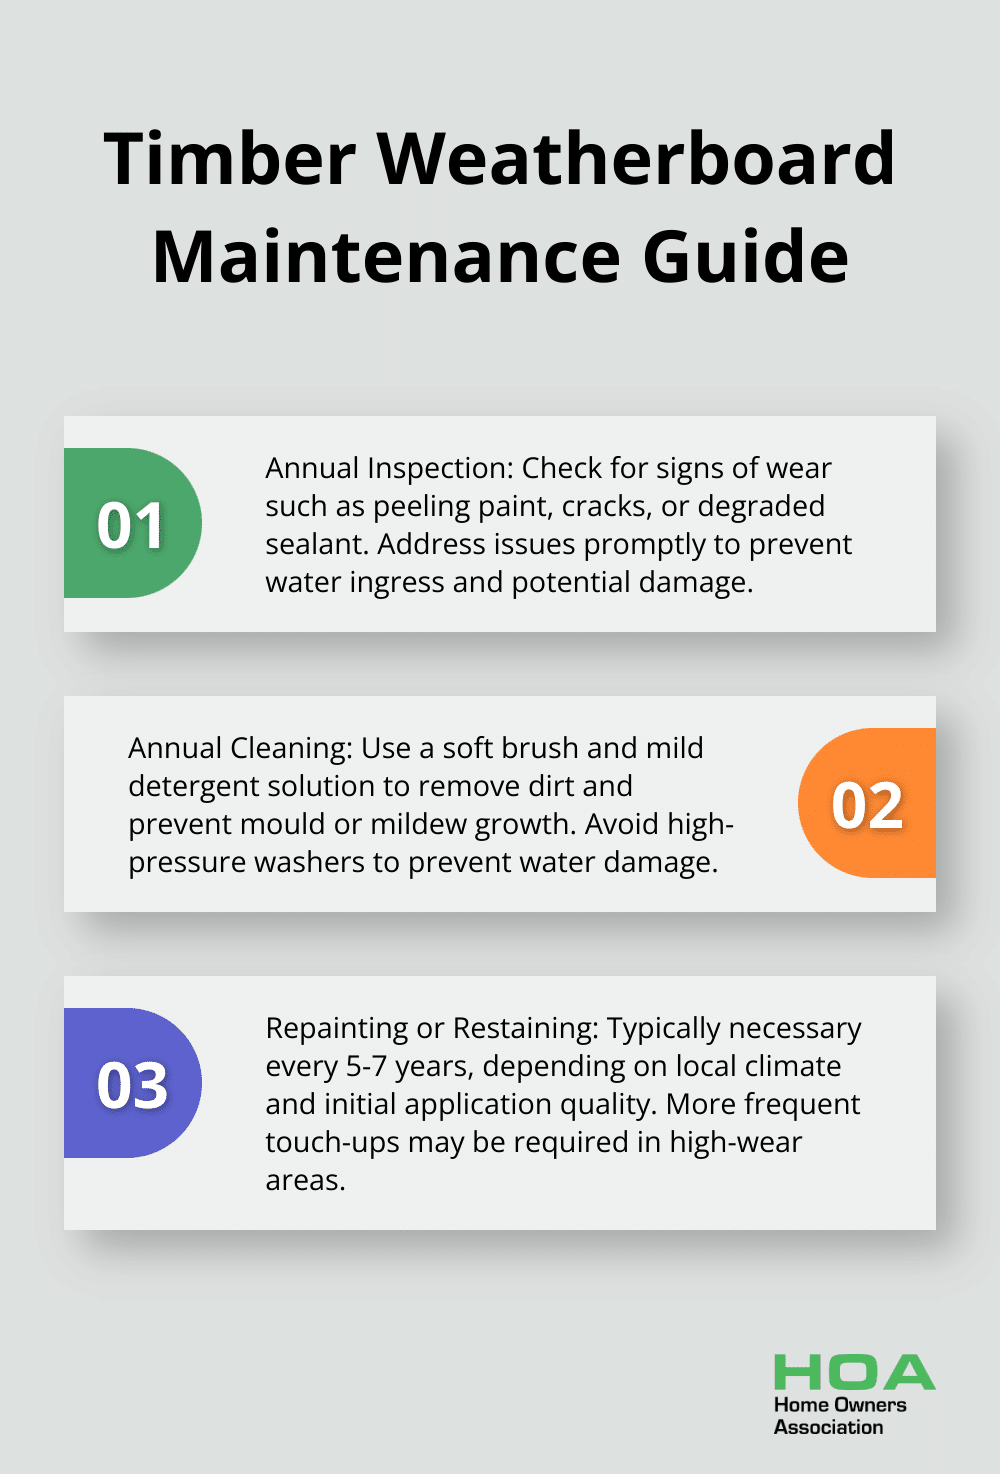
Look for signs of wear, such as peeling paint, cracks, or areas where the sealant has degraded. Address these issues promptly to prevent water ingress and potential damage to the underlying structure.
Clean your weatherboards annually using a soft brush and mild detergent solution. This removes dirt and prevents the growth of mold or mildew. Avoid using high-pressure washers, as these can force water behind the boards and cause damage.
Repainting or restaining typically becomes necessary every 5-7 years (depending on your local climate and the quality of the initial application). However, touch-ups may be required more frequently in high-wear areas.
Professional Assistance
While many homeowners successfully install and maintain their own weatherboards, some prefer professional help. If you’re unsure about any aspect of the process, consider consulting with a professional. They can provide expert advice and ensure that your weatherboards are properly installed and maintained.
Final Thoughts
Our timber weatherboard installation guide provides homeowners with the essential steps to enhance their property’s exterior. Timber weatherboards offer a classic aesthetic and excellent insulation, making them a popular choice for various architectural styles. DIY enthusiasts in Melbourne can tackle this project with the right tools, materials, and knowledge, but thorough preparation remains key to success.
We at Home Owners Association support Melbourne homeowners through every stage of their home improvement journey. Our members access trade pricing on materials, expert guidance, and resources to meet the highest standards. Professional help is available for those who feel unsure about any aspect of the installation process.
Properly installed and maintained timber weatherboards will protect your home’s structure and enhance its appearance for years to come. The end result will be a beautiful, durable exterior that adds value to your property (and impresses your neighbours). With regular care, your timber weatherboards will continue to be a source of pride and protection for your home.