At Home Owners Association, we understand the importance of protecting your property from water damage. Waterproofing with Sika products is an effective solution that can safeguard your home’s structure and integrity.
This comprehensive guide will walk you through the process of using Sika waterproofing products, from selecting the right materials to applying them correctly. We’ll provide you with expert tips and techniques to ensure a successful waterproofing project that stands the test of time.
What Are Sika Waterproofing Products?
Types of Sika Waterproofing Solutions
Sika offers a wide range of waterproofing solutions to protect structures from water damage. Their product line includes liquid-applied membranes, sheet membranes, and cementitious waterproofing mortars. The SikaProof® system, an innovative fully bonded sheet membrane system, excels in damp- and waterproofing for basement and below ground structures. It prevents lateral water underflow, which provides excellent protection for basements and foundations.
For above-ground use, Sika presents products like Sikalastic®, a liquid-applied membrane that creates a seamless waterproof barrier. This product proves particularly useful for roofs, balconies, and terraces where flexibility and durability matter most.
Key Features of Sika Waterproofing Products
Sika waterproofing products stand out for their high performance and ease of application. Many solutions, such as Sika BlackSeal Elastic, have been formulated for use as a waterproof membrane behind retaining walls and as a damp-proof membrane for underground structures.
The longevity of Sika products also impresses customers. New building owners typically expect a waterproofing solution to last at least 50 years, and Sika’s systems meet or exceed these expectations when properly installed and maintained.
Selecting the Right Sika Product
The choice of an appropriate Sika waterproofing product depends on several factors, including the specific application area, environmental conditions, and project requirements. For basement projects, Sika BlackSeal Elastic demonstrates excellent adhesion to masonry and concrete surfaces, making it a strong contender.
For large-scale projects or complex applications, consulting with a Sika representative or a certified professional proves beneficial. They provide tailored advice based on specific needs and ensure the selection of the most suitable product for optimal results.
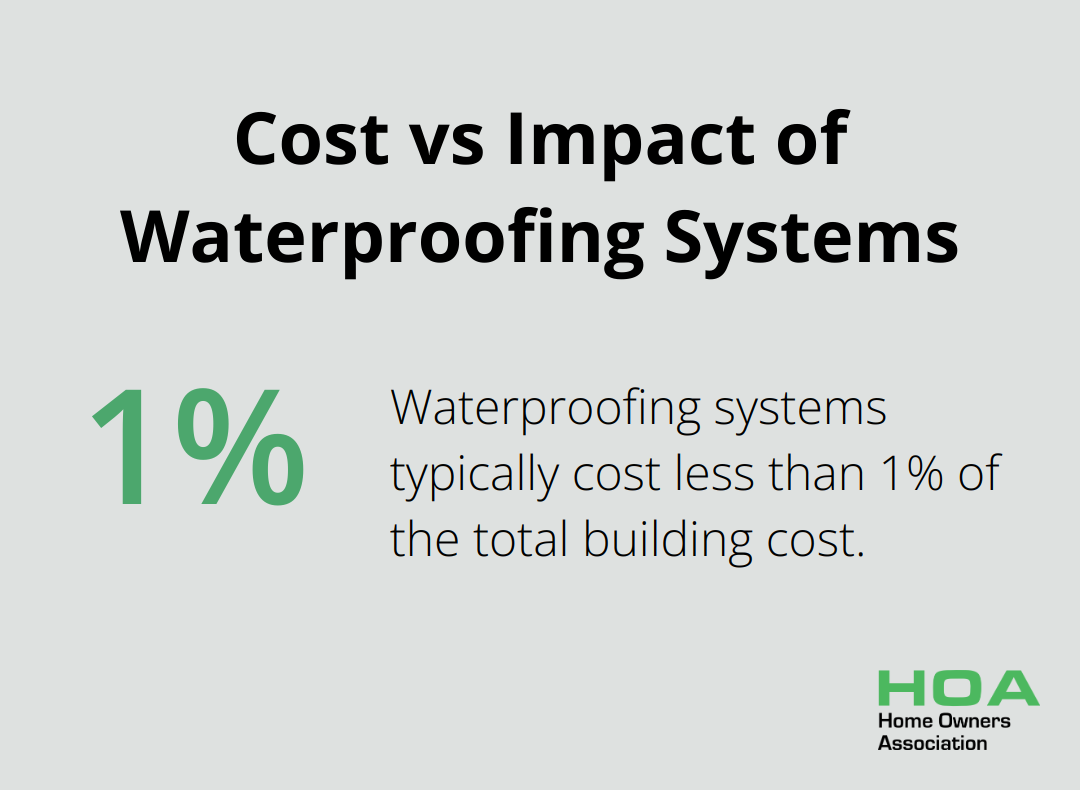
While the initial cost of a waterproofing system typically represents less than 1% of the total building cost, its impact on long-term structural integrity proves significant. Therefore, investing in high-quality Sika products can lead to substantial savings in future repair and maintenance costs.

Application Process Overview
The application of Sika waterproofing products requires careful preparation and execution. The process typically involves surface cleaning, priming (if necessary), and the application of the waterproofing product in multiple layers. Some products, like Sikagard, allow for easy application by painting onto exterior concrete block walls that will be below ground.
Sika provides detailed application guides and even offers “How to Apply” videos for many of their products. This support ensures that both professionals and DIY enthusiasts can achieve the best results with their waterproofing projects.
As we move forward, we’ll explore the critical steps in preparing surfaces for Sika waterproofing applications, ensuring your project starts on the right foundation.
How to Prepare Surfaces for Sika Waterproofing
Thorough Surface Cleaning
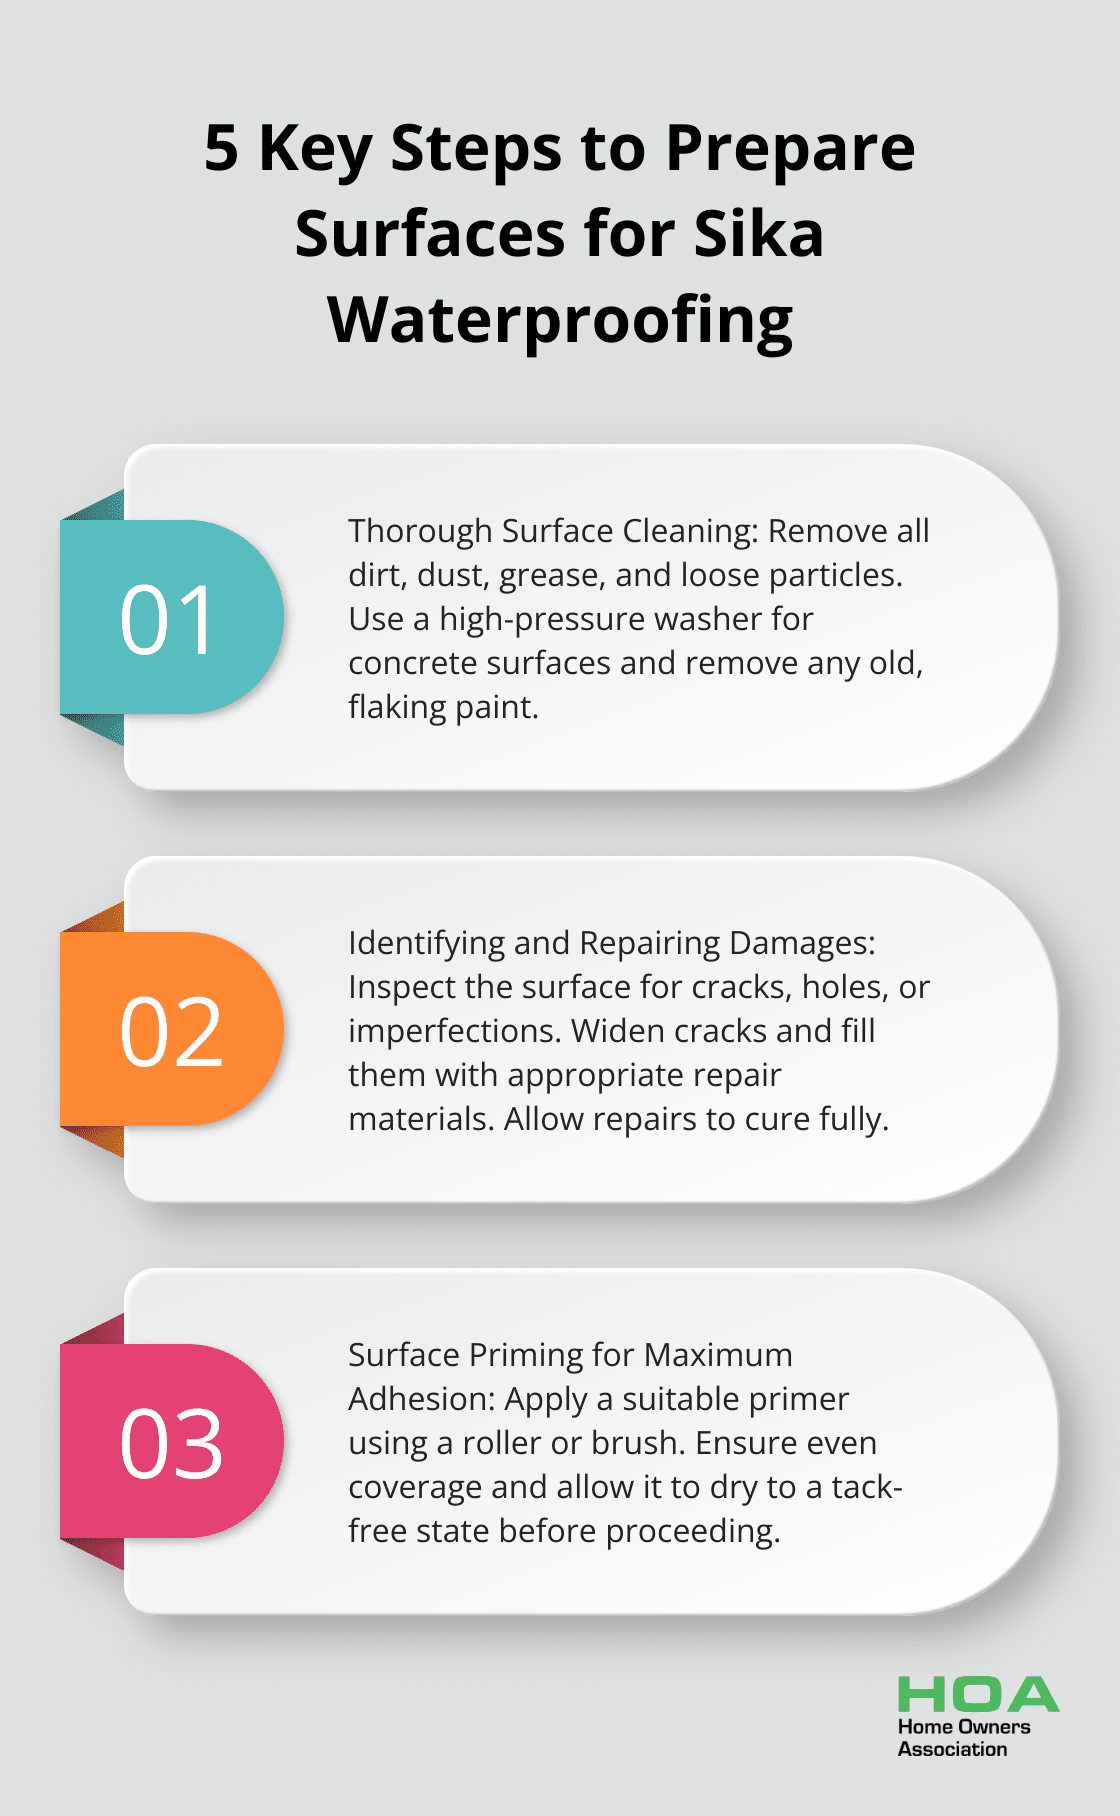
Start with a comprehensive cleaning of the surface. Remove all dirt, dust, grease, and loose particles. For concrete surfaces, use a high-pressure washer to eliminate contaminants. If the surface has been ground, all dust and laitance must be removed by vacuum and pressure wash / wet vac. Strip off any old, flaking paint from previously painted surfaces with a wire brush or sandblasting equipment.
Apply a degreaser and scrub vigorously to tackle stubborn stains or oil spots. Rinse the area multiple times to remove all cleaning residue. The surface must dry completely before proceeding to the next step (this may take 24 to 48 hours, depending on weather conditions).

Identifying and Repairing Damages
Conduct a meticulous inspection of the cleaned surface for cracks, holes, or other imperfections. Don’t overlook even hairline cracks, as they can compromise waterproofing integrity. For concrete surfaces, widen cracks to at least 1/4 inch wide and 1/4 inch deep using a chisel. This creates a better surface for repair material adhesion.
Use concrete repair products to fill larger cracks and holes. Apply a patching compound for smaller imperfections. Allow all repairs to cure fully according to product instructions (typically 24 to 48 hours, depending on the product and environmental conditions).
Surface Priming for Maximum Adhesion
Priming is an essential step that enhances the effectiveness of waterproofing products. Select specific primers for different substrates and waterproofing products. Apply the primer using a roller or brush, ensuring even coverage. Work the primer into the surface to promote better adhesion.
The primer must dry to a tack-free state before applying the waterproofing product (this usually takes 30 minutes to 2 hours, depending on the primer and ambient conditions).
Testing Surface Moisture
Before applying any waterproofing product, test the surface moisture content. Use a moisture meter to ensure the substrate is sufficiently dry. To assess the moisture content of the substrate and determine if it is acceptable to apply a concrete coating, use one or several test methods.
If the moisture content is too high, allow additional drying time or consider using a moisture barrier primer. This step is particularly important for new concrete surfaces or areas that have recently been exposed to water.
Creating a Smooth Application Surface
For the best results, create a smooth surface for the waterproofing application. Sand down any rough spots or protrusions. Fill in any small divots or uneven areas with a suitable filler compound. A smooth surface ensures even coverage of the waterproofing product and reduces the risk of pinholes or weak spots in the final membrane.
The next section will guide you through the step-by-step application process of Sika waterproofing products, building on this thorough preparation to achieve optimal results.
How to Apply Sika Waterproofing Products
Mixing and Preparation
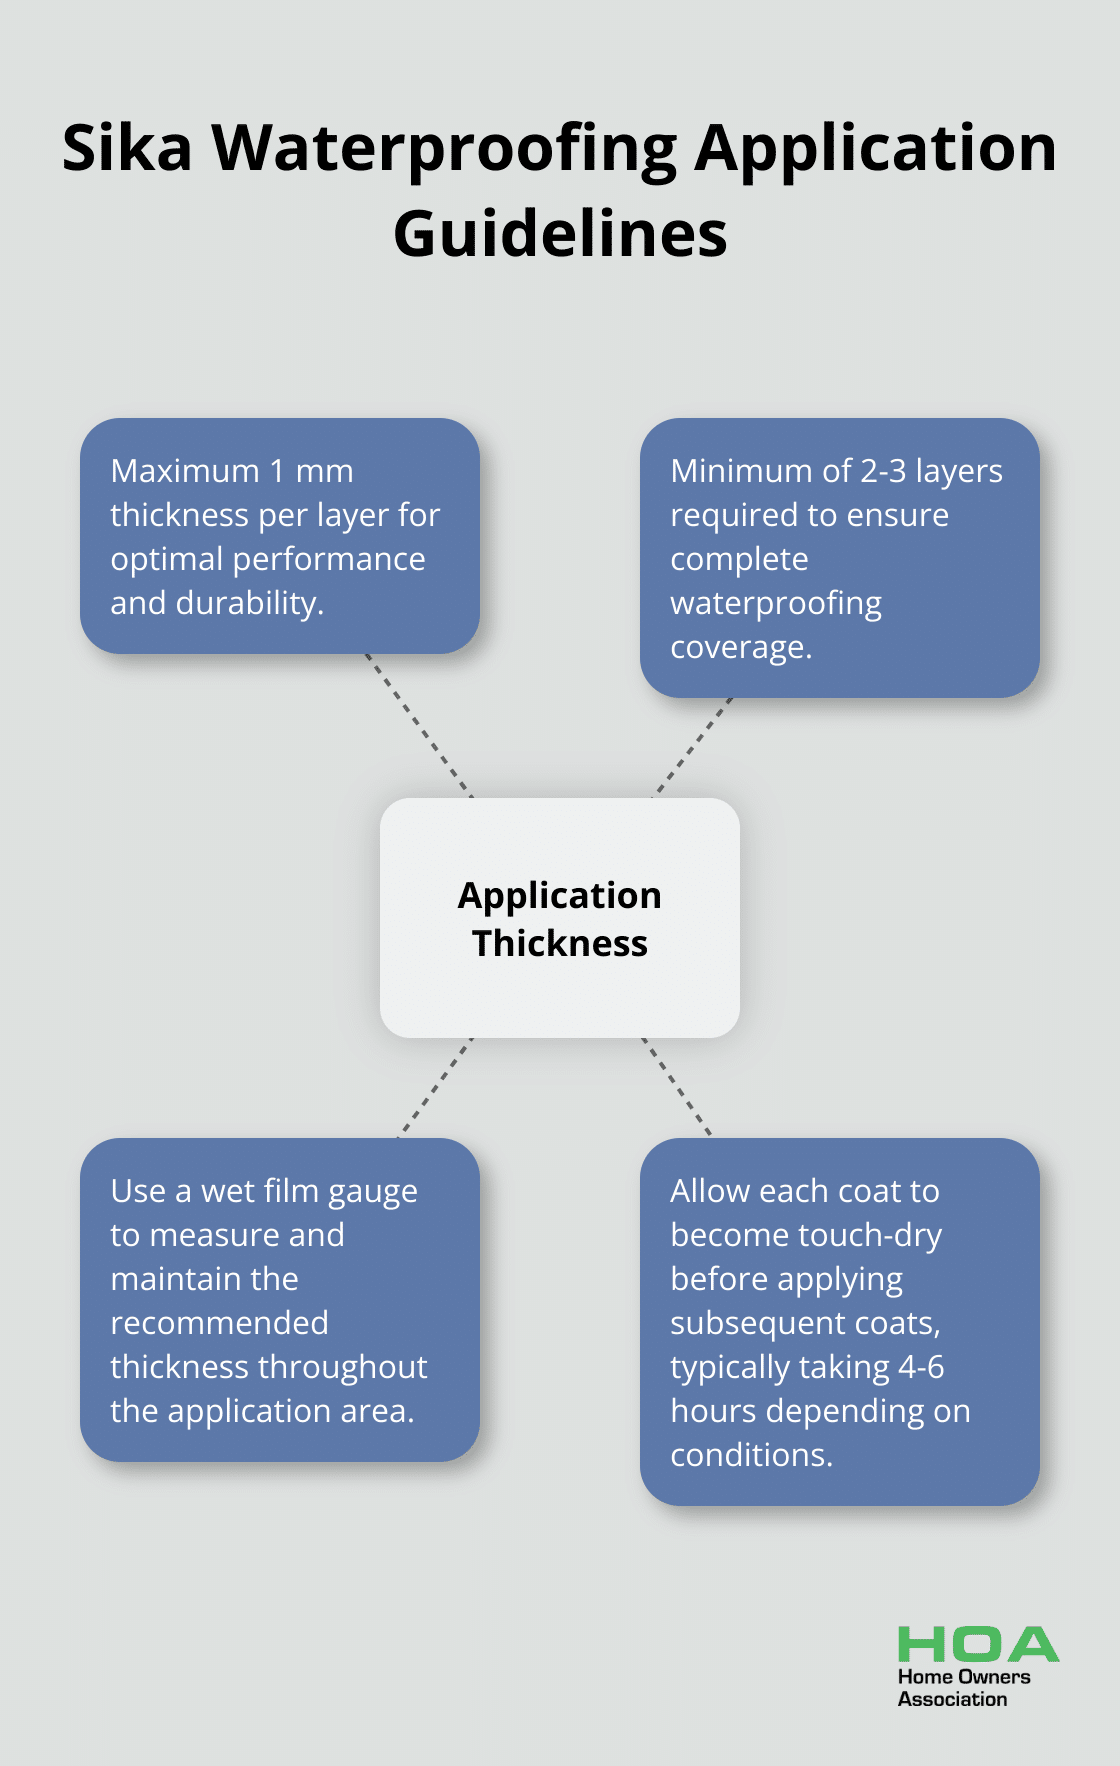
Read the product instructions carefully before you begin. Sika products have specific mixing ratios and preparation methods. The maximum recommended thickness for application is 1 mm per layer, with a minimum of 2–3 layers required. For two-component products, mix only the amount you can use within the pot life (typically 30-45 minutes).
Use a low-speed drill (300-400 rpm) with a paddle mixer to blend the components. Mix for 3-5 minutes until you achieve a uniform consistency and colour. Scrape the sides and bottom of the container to ensure all material is properly mixed.

Application Techniques
Apply the first coat using a roller, brush, or spray equipment, depending on the product and surface area. For vertical surfaces, start at the bottom and work your way up to prevent runs and sags. On horizontal surfaces, begin at one corner and work systematically across the area.
Try to achieve a uniform thickness as specified in the product data sheet. Use a wet film gauge to measure the thickness of the applied Sikalastic layer. Try to maintain the recommended thickness throughout the application area.
For areas prone to movement or cracking, incorporate a reinforcement layer. Apply a thin coat of the waterproofing product, then immediately embed the reinforcement fabric. Ensure it’s fully saturated and free of wrinkles or air pockets.
Allow the first coat to become touch-dry before applying subsequent coats (this typically takes 4-6 hours, but can vary based on temperature and humidity). Apply the second coat perpendicular to the first for better coverage and to minimise the risk of pinholes.
Curing and Protection
Protect the freshly applied waterproofing from rain, foot traffic, and direct sunlight for at least 24 hours. In cooler temperatures or high humidity, extend this protection period to 48-72 hours.
For areas that will be tiled or covered with screed, allow the waterproofing to cure for at least 7 days before applying additional layers. This ensures the membrane has fully cured and can withstand the weight and moisture of subsequent materials.
Proper application is essential for long-lasting waterproofing. If you’re unsure about any step in the process, consult a professional or contact Sika’s technical support for guidance. With careful preparation and application, Sika waterproofing products can provide excellent protection for your property for years to come.
Final Thoughts
Waterproofing with Sika products provides a robust solution to protect your property from moisture damage. The wide range of Sika waterproofing solutions caters to various applications, from basements to roofs, ensuring you find the right product for your specific needs. You can achieve long-lasting protection for your home or building if you follow the proper preparation and application techniques outlined in this guide.
The success of your waterproofing project depends on careful surface preparation and precise application. Take the time to clean, repair, and prime surfaces thoroughly before you apply Sika waterproofing products to enhance their effectiveness and longevity. Adhere to the recommended mixing ratios, application methods, and curing times for optimal results.
At Home Owners Association, we help homeowners in Melbourne, Australia, make informed decisions about their property maintenance and improvement projects. Our members benefit from expert advice, trade pricing, and resources to ensure successful home projects (including waterproofing with Sika products). Our team supports you whether you tackle a DIY waterproofing job or work with professionals.


