At Home Owners Association, we understand the importance of protecting your property from water damage. Cementitious waterproofing is a powerful solution that can safeguard your home’s foundation and walls.
This method offers durability and effectiveness, making it a popular choice among homeowners and contractors alike. In this post, we’ll guide you through the process of using cementitious waterproofing effectively, ensuring your home stays dry and protected for years to come.
What Is Cementitious Waterproofing?
Definition and Composition
Cementitious waterproofing is a robust method to protect structures from water damage. It consists of a mixture of cement, sand, and active chemicals that form a waterproof barrier when applied correctly. This type of waterproofing proves particularly effective for concrete structures, basements, and areas prone to high moisture levels.
Types of Cementitious Waterproofing Products
The market offers several types of cementitious waterproofing products:
- Rigid Cementitious Waterproofing: Ideal for areas with minimal movement (often used in basements and foundations).
- Flexible Cementitious Waterproofing: Contains polymers that allow for some structural movement (suitable for roofs and terraces).
- Crystalline Waterproofing: An advanced type that penetrates the concrete, forming crystals to block water penetration.
The global waterproofing membranes market was valued at USD 33.5 billion in 2020 and is projected to reach USD 38.8 billion by 2025, growing at 5.4% CAGR during this period.

Advantages of Cementitious Waterproofing
Cementitious waterproofing offers several advantages over other methods:
- Durability: When applied correctly, it can last for decades with minimal maintenance.
- UV Resistance: Unlike some membrane-based waterproofing systems, it resists UV rays effectively.
- High Pressure Resistance: It can resist significant water pressure, making it excellent for below-grade applications.
- Environmentally Friendly: It doesn’t release harmful VOCs (Volatile Organic Compounds) during or after application, ensuring safety for both applicators and occupants.
Application Considerations
Proper application is key to the effectiveness of cementitious waterproofing. The surface must be thoroughly cleaned and free of any loose particles or previous coatings. Any cracks or holes require repair before application.
Cementitious waterproofing also requires a curing period. Depending on the product and environmental conditions, this can take anywhere from 24 hours to 7 days. During this time, the area needs protection from rain and foot traffic.
Many cases of waterproofing failures stem from improper application. Working with experienced professionals who understand the nuances of cementitious waterproofing application can help avoid such issues.
As we move forward, let’s explore the critical steps involved in preparing surfaces for cementitious waterproofing to ensure optimal results.
How to Prepare Surfaces for Cementitious Waterproofing
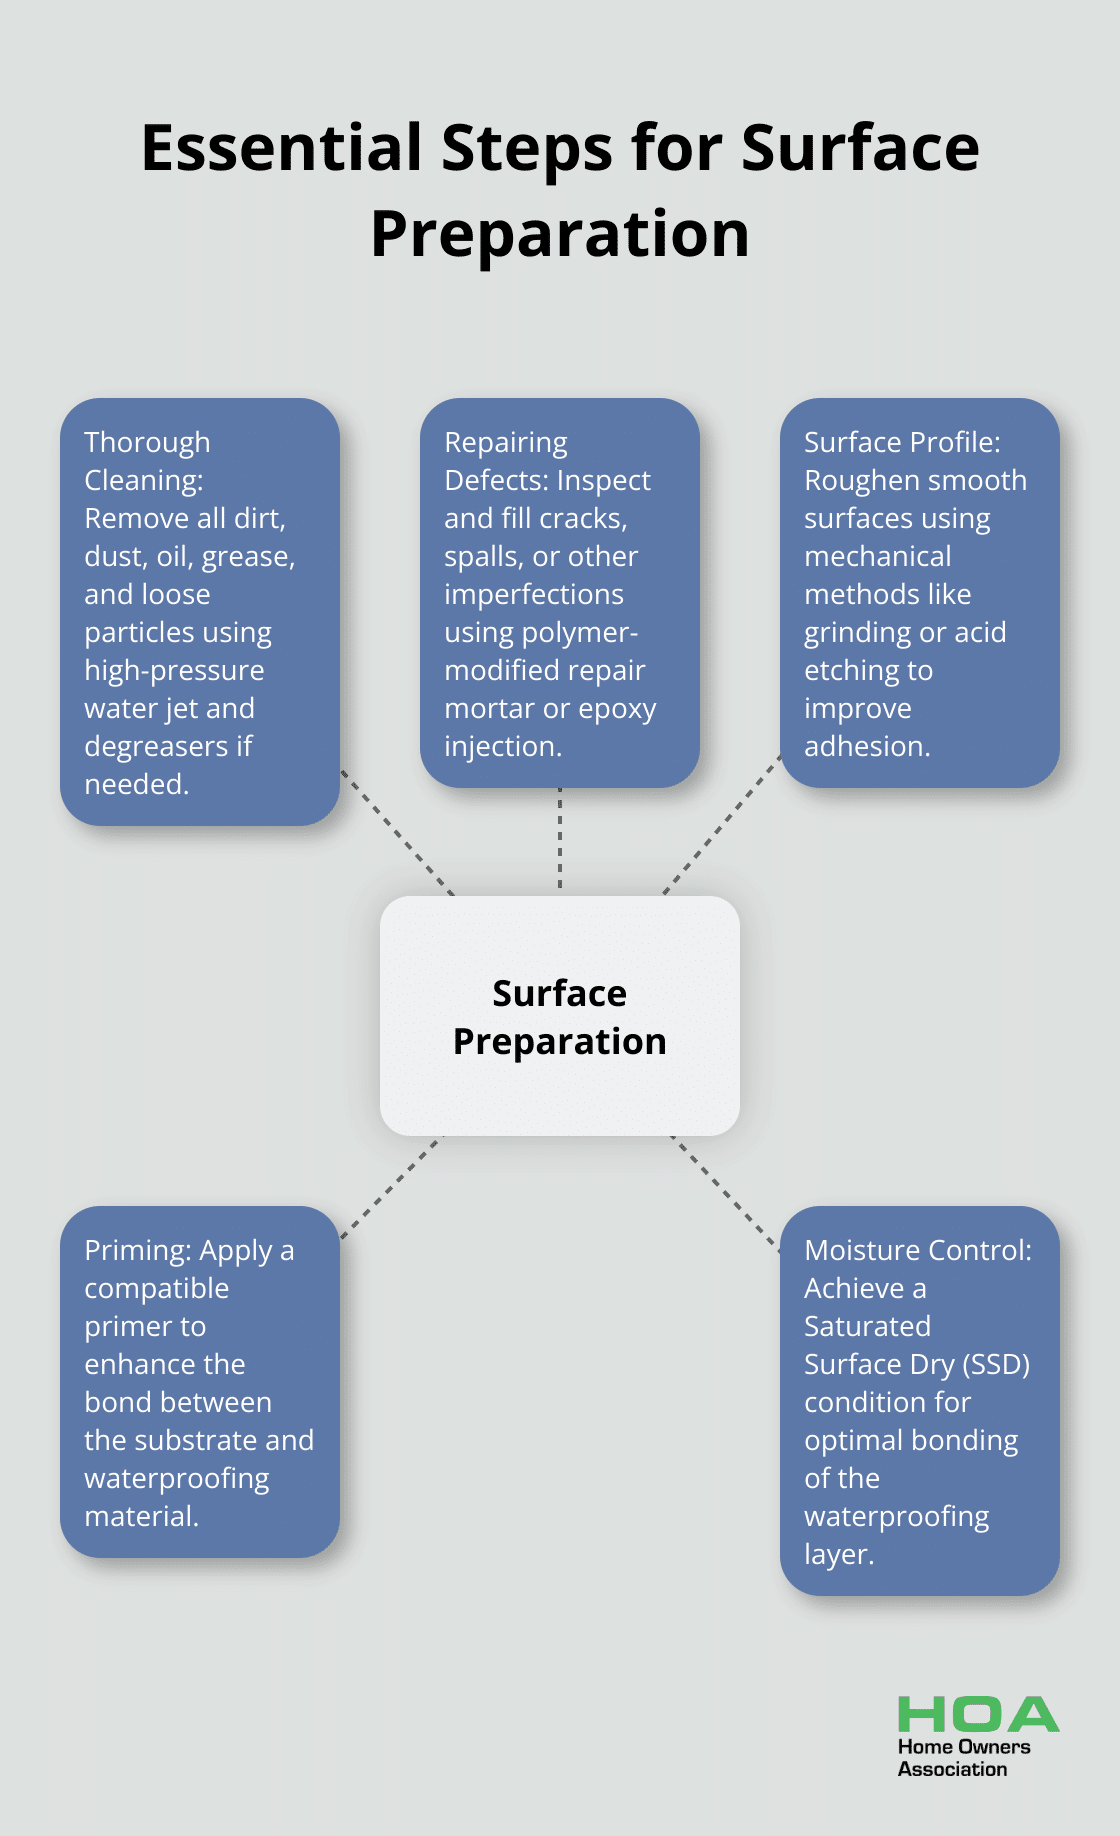
Proper surface preparation forms the foundation of successful cementitious waterproofing. Let’s explore the essential steps to prepare your surface for optimal waterproofing results.

Thorough Cleaning: Beyond Surface-Level
Start by cleaning the surface thoroughly. Remove all dirt, dust, oil, grease, and loose particles. For concrete surfaces, use a high-pressure water jet to ensure a clean substrate. This step is crucial for creating a surface that will allow proper adhesion of the waterproofing material.
For stubborn stains or oil spots, apply a degreaser designed for concrete. Let it sit for about 15 minutes, then scrub with a stiff-bristled brush before rinsing thoroughly. Any residue left behind can prevent proper bonding of the waterproofing material.
Repairing Defects: Attention to Detail
Inspect the surface carefully for cracks, spalls, or other defects. Even hairline cracks can cause issues for your waterproofing efforts. Use a polymer-modified repair mortar to fill these imperfections. For larger cracks (wider than 0.3mm), consider an epoxy injection method for a more robust repair.
Pay attention to corners and joints. Create a cove at wall-floor junctions using a cement-based coving mortar. This prevents water accumulation in these vulnerable areas. For added protection, embed waterproofing tape at joints and around penetrations like pipes or drains.
Surface Profile: Roughen for Better Adhesion
Smooth surfaces hinder good adhesion. If your concrete is too smooth, roughen it up. Mechanical methods like grinding, acid etching, needle scaling, abrasive blasting, shot blasting, water jetting, scarifying, or rotomilling work well for this purpose. This increased surface area provides more grip for the waterproofing material.
Priming: The Unsung Hero
Priming enhances the bond between the substrate and the waterproofing material. It also helps control the substrate’s porosity, ensuring even application of the waterproofing layer.
Choose a primer compatible with both your substrate and the cementitious waterproofing product you’re using. Apply it evenly using a roller or brush, and allow it to dry completely before proceeding to the waterproofing application.
Moisture Control: The Right Balance
Cementitious waterproofing requires the right level of moisture in the substrate. Too dry, and the waterproofing won’t bond properly. Too wet, and you risk trapping moisture under the waterproofing layer.
Try to achieve a Saturated Surface Dry (SSD) condition. This means the surface pores are full of water, but there’s no standing water on the surface. You can accomplish this by thoroughly wetting the surface a few hours before application and removing any excess water just before you start.
With these preparation steps complete, you’ve set the stage for a successful cementitious waterproofing application. The next crucial phase involves the actual application techniques, which we’ll explore in detail in the following section.
Mastering Cementitious Waterproofing Application
Precise Mixing for Optimal Performance
Start with accurate material measurements. Use clean, potable water and adhere strictly to the manufacturer’s instructions. You’ll typically need 5-7 litres of water per 20 kg bag of cementitious waterproofing material. Mix with a low-speed drill (400-600 rpm) and paddle attachment for 3-5 minutes until you achieve a lump-free, homogeneous consistency.
Allow the mixture to stand for 5 minutes before a brief remixing. This resting period (known as slaking) activates the chemicals fully. Never exceed the recommended water amount, as this can compromise the final product’s strength.
Strategic Layering for Enhanced Protection
Apply the first coat with a stiff brush or roller, working it thoroughly into the surface. Try to achieve a thickness of about 1mm. After 4-6 hours (or when the first coat becomes touch dry), apply a second coat perpendicular to the first. This cross-hatch pattern ensures complete coverage and eliminates weak spots.
For areas subject to high water pressure (e.g., basements or water tanks), consider a third coat application. Each additional layer significantly enhances water resistance. Integral waterproofing admixtures have the potential to increase the service life and improve the performance of cementitious waterproofing.
Reinforcement of Critical Areas
While cementitious waterproofing is robust, certain areas benefit from additional reinforcement. Use fibreglass mesh or polyester fabric at corners, joints, and around pipe penetrations. Embed the reinforcement material into the first coat while it’s still wet, then cover it with the second coat.
For expansion joints, use a flexible waterproofing tape. These tapes can accommodate movement of up to 25%, ensuring continued waterproofing even as the structure shifts slightly over time.
Proper Curing for Long-lasting Results
Maintain surface dampness for at least 3 days after application to ensure proper curing. In hot or windy conditions, you might need to mist the surface several times a day to prevent premature drying.
Shield the freshly applied waterproofing from rain, frost, and direct sunlight for at least 24 hours. If you’re waterproofing your pool, wait at least 7 days before filling it to ensure the waterproofing has fully cured.
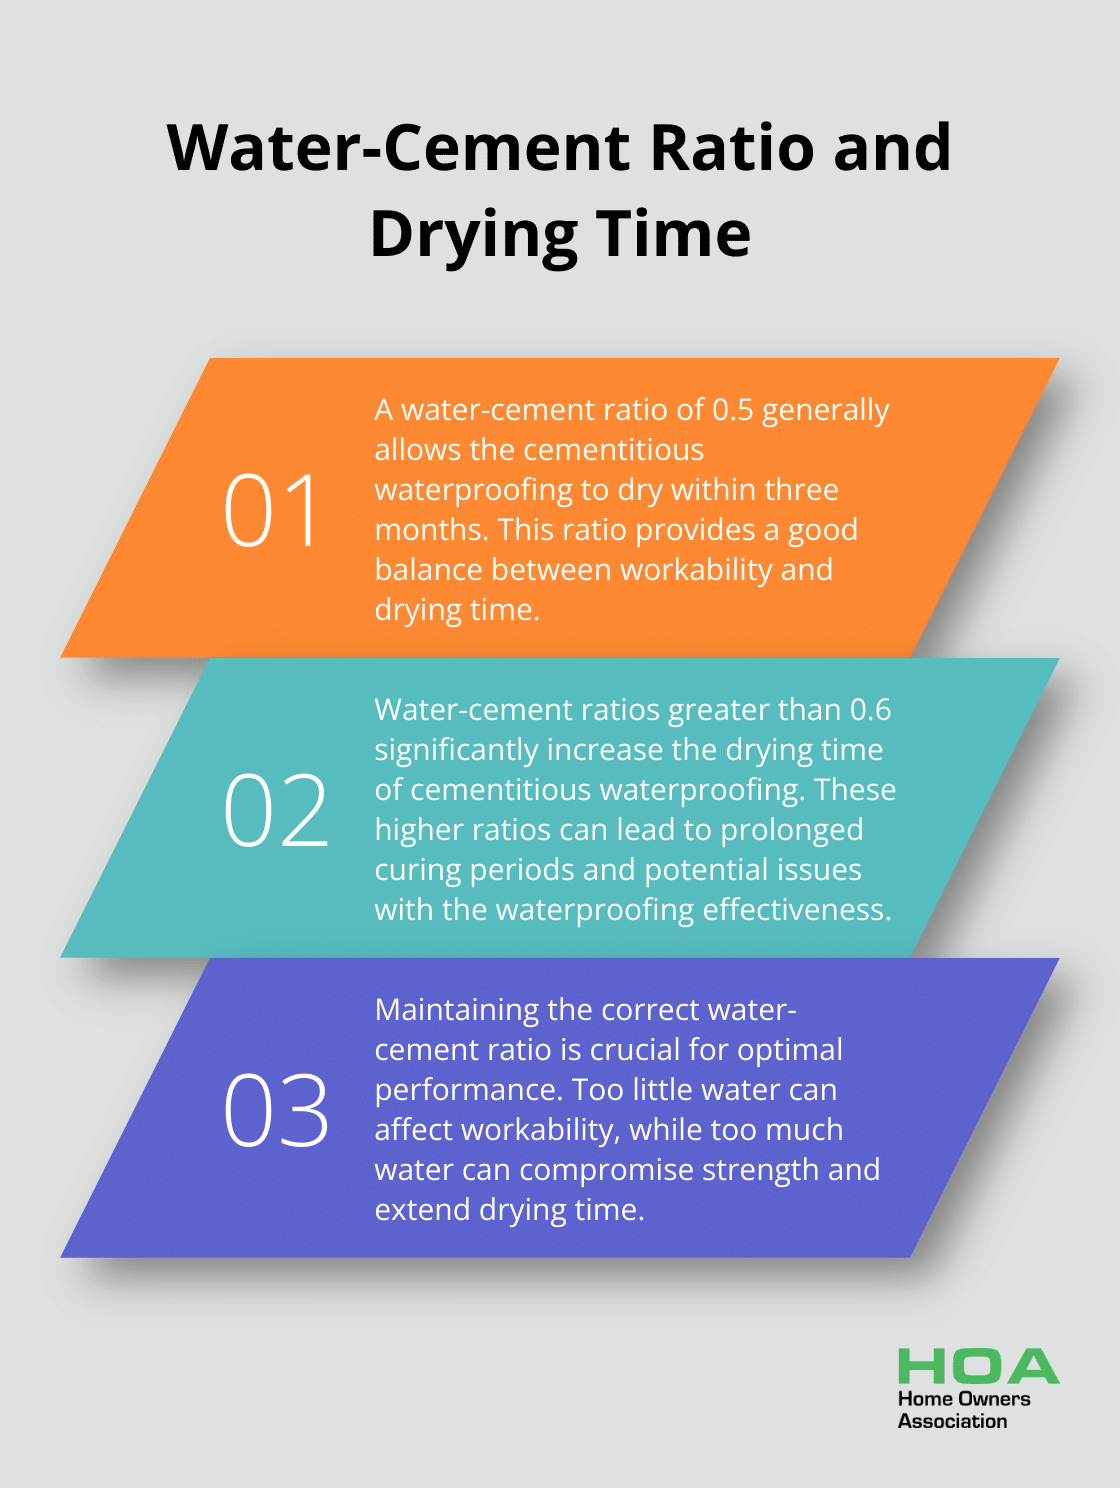
Water-cement ratio plays a crucial role in the drying time of cementitious waterproofing. A ratio of 0.5 will generally allow drying within three months, while ratios greater than 0.6 will take significantly longer.

Final Thoughts
Cementitious waterproofing protects structures from water damage effectively. Proper surface preparation, precise mixing, strategic application, and correct curing ensure optimal results. Regular inspections and prompt repairs maintain the waterproofing’s effectiveness over time.
Quality waterproofing preserves property value and creates a healthier living environment. It prevents structural damage and offers long-term protection for your home. Investing in professional cementitious waterproofing application will safeguard your property for years to come.
We at Home Owners Association support Melbourne homeowners with expert advice and resources for property maintenance. Our members receive trade pricing and guidance for successful home projects (including waterproofing). Contact us today to learn how we can assist with your next home improvement endeavour.


