At Home Owners Association, we understand the importance of a well-designed roof structure for your home. Timber roof trusses are a popular choice for many homeowners due to their strength, versatility, and cost-effectiveness.
In this comprehensive timber roof truss design guide, we’ll walk you through the essential steps and considerations for creating sturdy and efficient roof trusses. Whether you’re a DIY enthusiast or working with a professional, this guide will help you make informed decisions about your roof’s structural integrity and overall design.
What Are Timber Roof Trusses?
Timber roof trusses form the backbone of a roof, providing essential support and stability. These triangular structures, typically crafted from high-quality C24 timber, have become increasingly popular among Australian homeowners due to their strength and durability.
Components of Timber Roof Trusses
A timber roof truss consists of several key elements:
- Top chords: These members create the roof’s slope.
- Bottom chords: They function as ceiling joists.
- Web members: These connect the top and bottom chords, effectively transferring loads throughout the structure.
- Gusset plates: Usually made of metal, these plates join the components at connection points, ensuring structural integrity.
Popular Types of Timber Roof Trusses
Different types of timber roof trusses cater to various architectural needs and load requirements:
- Common trusses: Their simple triangular design makes them a cost-effective and strong choice for residential construction.
- Scissor trusses: These create vaulted ceilings, adding aesthetic appeal while maintaining structural integrity.
- Attic trusses: An excellent option for those looking to maximize attic space, providing additional living or storage areas within the roof structure.
Advantages of Timber Roof Trusses
Timber roof trusses offer numerous benefits over traditional roofing methods:
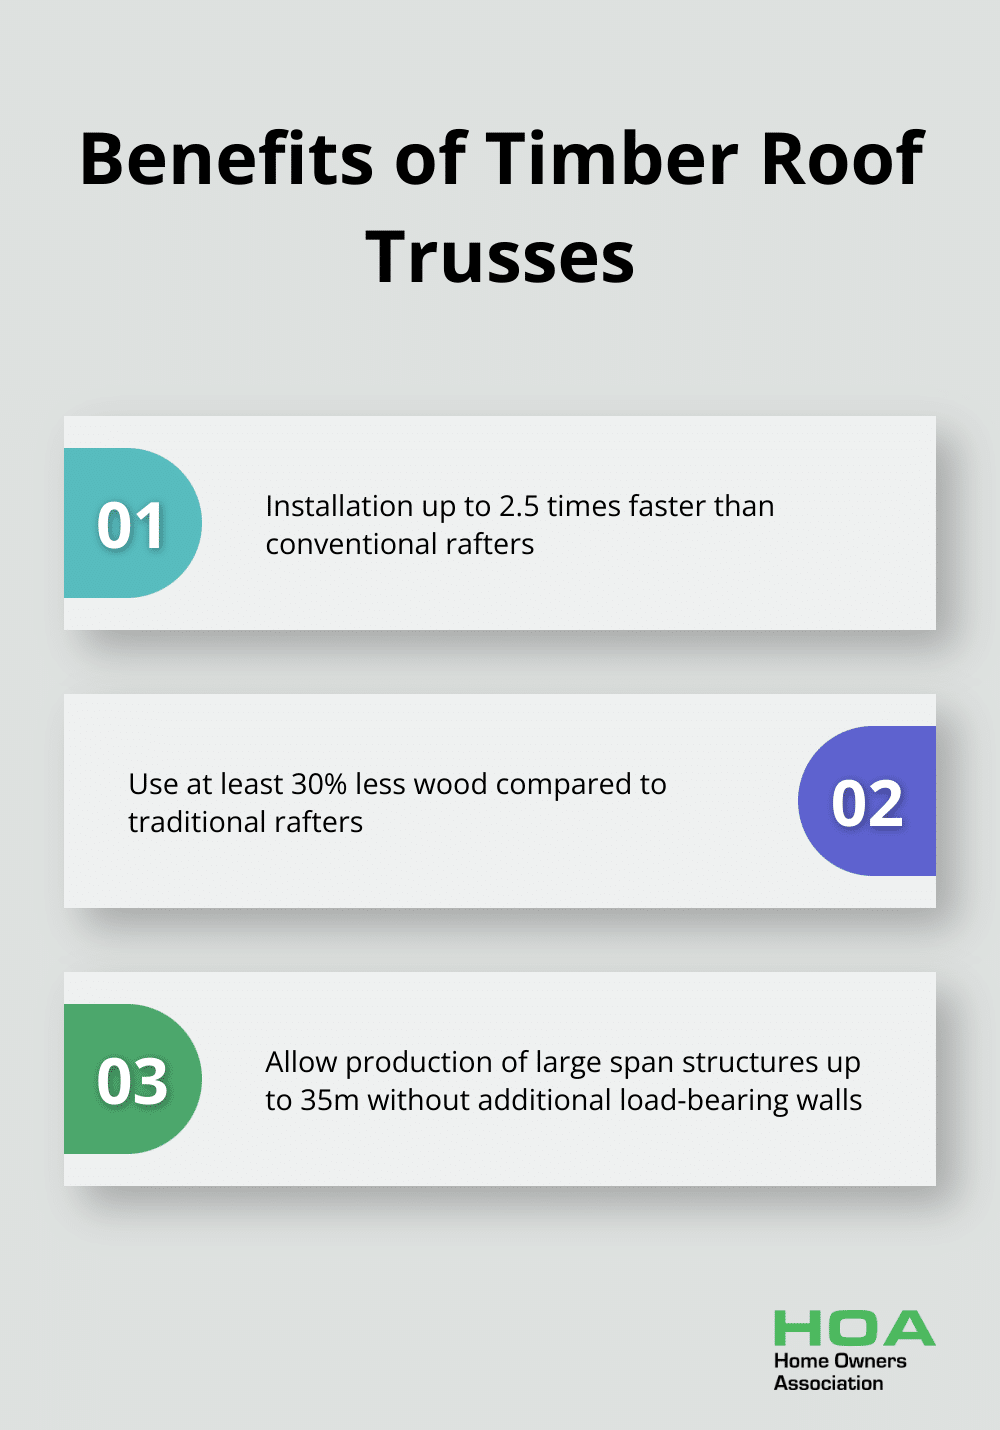
- Reduced construction time: Installation is up to 2.5 times faster than conventional rafters, leading to lower labor costs and quicker project completion.
- Eco-friendly: They use at least 30% less wood compared to traditional rafters, minimizing waste and environmental impact.
- Versatility: Timber trusses allow a production of large span structures that do not require additional load-bearing walls up to 35m.
- Energy efficiency: The design of trusses (particularly scissor trusses) creates space for additional insulation, potentially reducing heating and cooling costs. The Australian Building Codes Board reports that proper insulation can cut energy consumption by up to 45% in residential buildings.
Timber Trusses in Australian Homes
For Australian homeowners, timber roof trusses align well with local building practices and climate considerations. The natural properties of timber make it resistant to heat transfer, which proves particularly beneficial in Australia’s varied climate zones. This characteristic contributes to more comfortable living spaces and potentially lower energy bills.
As we move forward, it’s important to consider the key factors that influence the design of timber roof trusses. Understanding these elements will help ensure that your roof structure meets both aesthetic and functional requirements.
Key Factors Shaping Timber Roof Truss Design
At Home Owners Association, we understand the importance of considering various factors when designing timber roof trusses. These elements significantly impact the longevity, safety, and efficiency of roof structures across Australia.
Load Calculations and Structural Requirements
Accurate load calculations form the foundation of timber roof truss design. This includes:
- Dead loads (the weight of the roof itself)
- Live loads (such as people walking on the roof for maintenance)
- Environmental loads (wind and snow)
Wind loads hold particular importance in Australia due to our diverse climate zones. The Australian Wind Loading Standard AS/NZS 1170.2 guides the calculation of wind loads based on location, terrain category, and building height.
Timber Selection and Grading
The choice of timber plays a vital role in truss performance. Radiata pine remains a popular option in Australia due to its strength-to-weight ratio and availability. The timber used must undergo stress-grading according to AS 1720.1, with C24 being a common grade for roof trusses.
Climate Considerations and Building Codes
Australia’s varied climate necessitates careful consideration of environmental factors. Trusses in tropical north Queensland must resist high humidity and potential cyclone conditions. In contrast, alpine regions of New South Wales and Victoria require designs that account for snow loads, with the Building Code of Australia specifying requirements based on elevation and location.
Compliance with the National Construction Code (NCC) is mandatory. The NCC outlines performance requirements for structural stability, durability, and fire resistance. For timber trusses, this includes specifications for minimum timber sizes, connection details, and bracing requirements.
Span and Spacing Optimization
The span and spacing of trusses directly affect material costs and roof performance. Typical truss spacing in Australian homes ranges from 600mm to 900mm, with larger spacings requiring stronger battens and roof cladding. For a standard 3-bedroom home, truss spans often fall between 8 to 12 meters. However, modern designs can extend this to 15 meters or more with appropriate engineering.
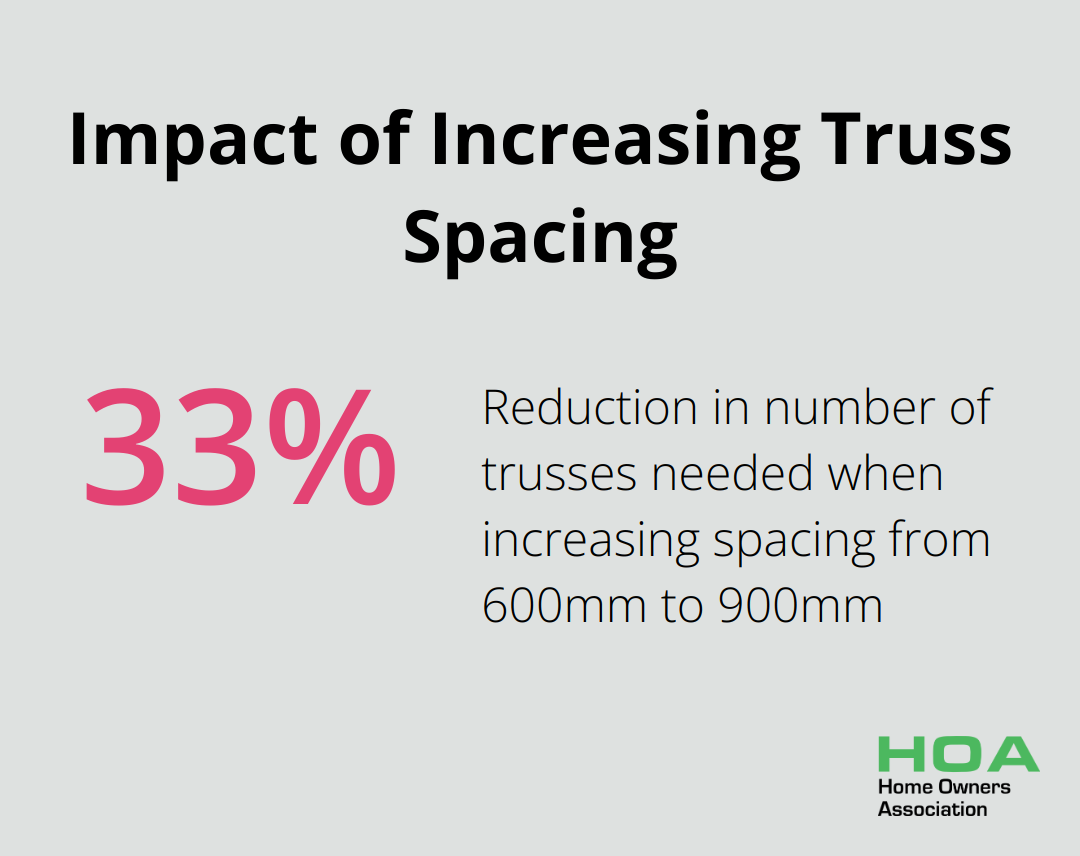
Optimizing span and spacing involves balancing material costs with structural requirements. For example, increasing truss spacing from 600mm to 900mm can reduce the number of trusses needed by 33% (potentially lowering costs). However, this may necessitate stronger (and more expensive) roof battens and cladding.
These key factors form the foundation for designing effective timber roof trusses. The next section will outline a step-by-step guide to help you navigate the design process with confidence.
How to Design Timber Roof Trusses Step by Step
Initial Planning and Measurements
Start with accurate measurements of your roof space. Use a laser measure for precision (even a small error can lead to significant issues later). Record the overall length, width, and height of your roof space. Don’t forget to measure any unusual features like dormers or skylights.
Next, determine the roof pitch. In Australia, common roof pitches range from 15 to 25 degrees. Steeper pitches may be necessary in areas with high rainfall or snow loads. The Building Code of Australia provides guidelines on minimum roof pitches based on your location and roofing material.

Creating the Truss Layout
With your measurements, sketch a basic layout of your roof. Include the location of load-bearing walls, as these will support your trusses. Typically, trusses are spaced 600mm to 900mm apart in Australian homes. However, this can vary based on your specific design and local building codes.
Consider the type of truss that best suits your needs. For a standard pitched roof, common trusses work well. If you want a vaulted ceiling, scissor trusses might be the best option. Attic trusses are excellent for creating usable space in your roof void.
Determining Truss Geometry and Member Sizes
The geometry of your truss depends on your roof pitch and span. For a typical 22-degree pitch and 8-meter span, you might use a king post truss design. The size of your truss members will depend on the loads they need to bear.
In Australia, MGP10 or MGP12 pine is often used for truss members. The exact sizes will depend on your specific design, but common sizes range from 70x35mm for web members to 140x35mm for top and bottom chords.
Factor in wind loads – they’re particularly important in coastal areas. The Australian Wind Loading Standard AS/NZS 1170.2 provides guidance on calculating these loads based on your location.
Connection Design and Software Analysis
Connections are vital in truss design. In Australia, nail plates or gang-nail plates are typically used for joining truss members. The size and placement of these plates are important and should be determined by a structural engineer or using specialized software.
Tools like MiTek’s 20/20 or Pryda’s software suite are widely used in Australia for truss design and analysis. These programs can help you optimize your design, ensure it meets all relevant building codes, and generate detailed plans for fabrication.
While software is invaluable, it’s not a substitute for professional expertise. Always have your design reviewed by a qualified structural engineer before proceeding with construction. They can spot potential issues and ensure your design complies with all relevant Australian standards.
Final Thoughts
Designing timber roof trusses requires careful planning, precise calculations, and adherence to local building codes. Our timber roof truss design guide outlines the essential steps, from initial measurements to software analysis. This process creates a roof structure that is strong, durable, cost-effective, and environmentally friendly.
Professional expertise proves invaluable when designing timber roof trusses. Structural engineers and certified truss designers ensure that roof trusses meet all safety requirements and perform optimally for years to come. Quality materials, including properly graded timber and reliable connection systems, are essential for the longevity and performance of your roof structure.
The Home Owners Association offers valuable resources and support for homeowners in Melbourne embarking on a roofing project. We provide members with access to trade pricing, expert advice, and educational materials specific to the Melbourne market (which can be instrumental in ensuring your timber roof truss project succeeds). Our assistance helps meet both aesthetic preferences and structural requirements for your home.