
At Home Owners Association, we understand the appeal of timber flooring and its ability to transform any space.
Installing timber flooring can be a rewarding DIY project, but it requires careful planning and execution.
This timber flooring installation guide will walk you through the process step-by-step, from preparation to finishing touches.
How to Prepare for Timber Flooring Installation
Selecting Your Timber Flooring
When you choose your timber flooring, consider factors like durability, aesthetics, and your home’s specific needs. Hardwoods like oak and maple offer strength, while softer woods like pine provide a rustic look. This publication was produced for general Australian conditions and is for the purpose of assisting consumers in their engineered flooring choices. Exploring floor board options can help you make an informed decision for your home.
Essential Tools and Materials
Before you start, gather all necessary tools and materials. You’ll need a saw, measuring tape, spacers, a tapping block, and a pull bar at minimum. Don’t forget safety equipment like goggles and knee pads. For adhesive installations, you’ll also need a trowel and the appropriate glue. (Home Owners Association members can access trade pricing on many of these items, potentially saving hundreds on larger projects.)
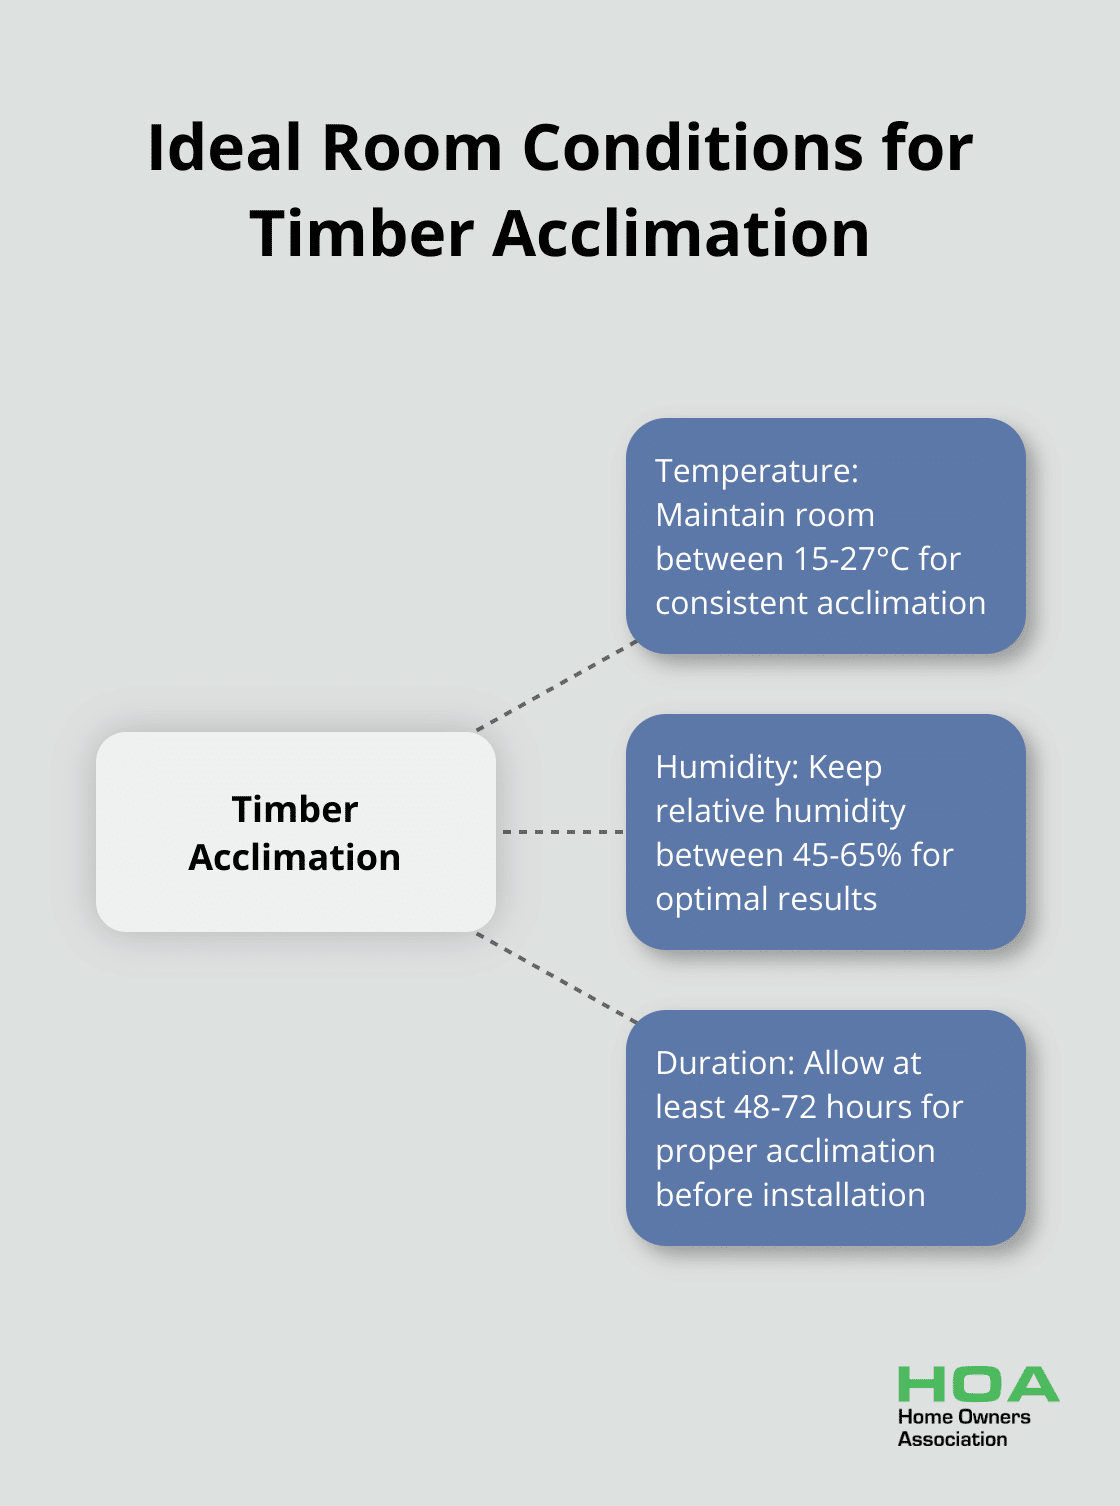
Acclimating Your Timber
Acclimation prevents future issues like warping or gaps. Place your timber in the installation room for at least 48 hours, preferably 72. Maintain consistent temperature and humidity during this time. The Australian Timber Flooring Association suggests keeping the room between 15-27°C with a relative humidity of 45-65%.
Subfloor Preparation
A properly prepared subfloor forms the foundation of a successful installation. Start by thoroughly cleaning the subfloor and repairing any damage. Use a level to check for unevenness – address any variations greater than 3mm over 3 metres. For concrete subfloors, conduct a moisture test. (The acceptable moisture content varies by timber type, but should generally be below 5.5% for solid timber and 8% for engineered timber.)
Moisture Barrier and Underlay
Install a moisture barrier to protect your new flooring from potential water damage. This step is particularly important for installations over concrete subfloors. Next, lay down an appropriate underlay. The right underlay can improve insulation, reduce noise, and provide additional comfort underfoot. Try to choose an underlay specifically designed for timber flooring to ensure optimal performance.
The next step in your timber flooring journey involves the actual installation process. Let’s move on to the step-by-step guide that will transform your space with beautiful timber flooring.
How to Install Timber Flooring
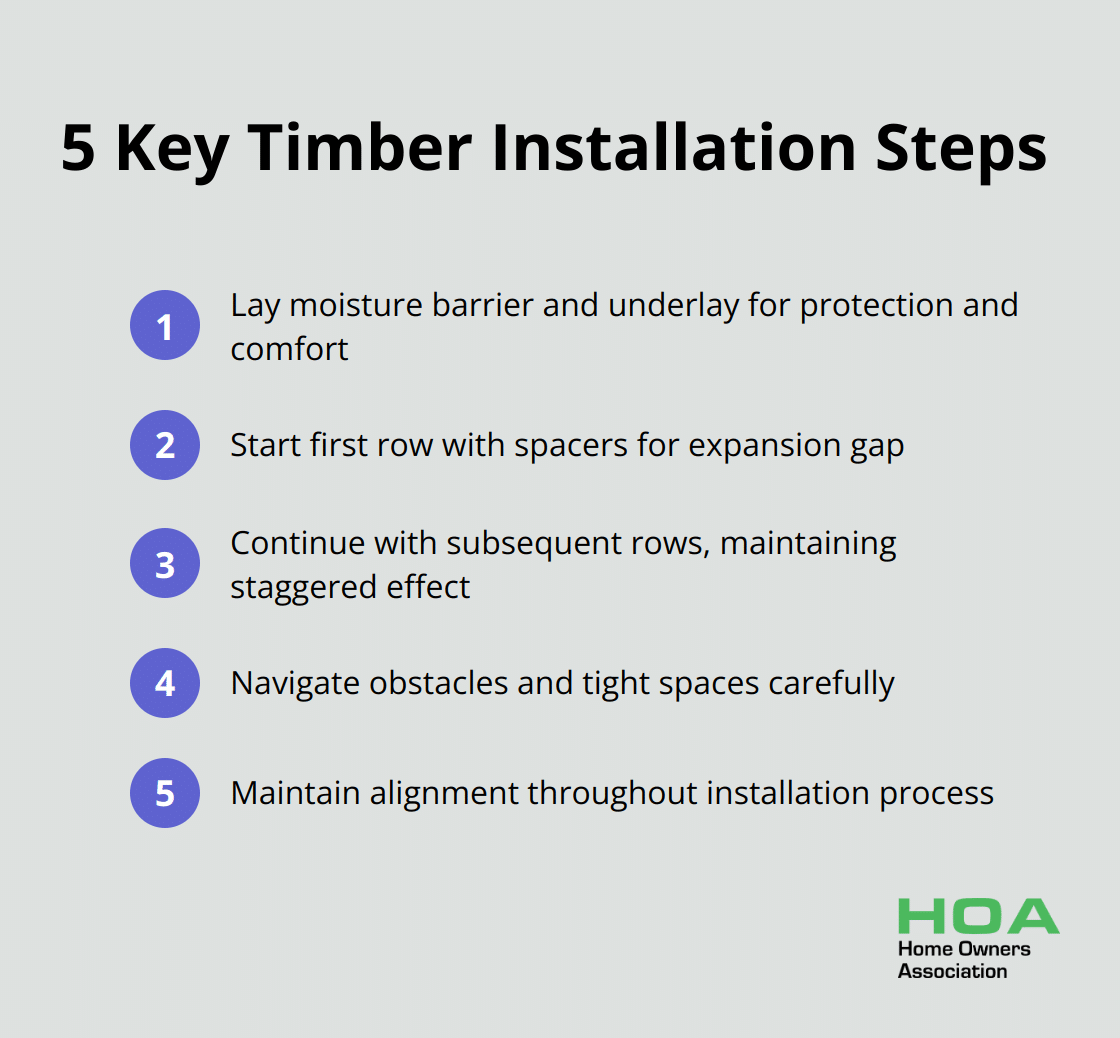
Laying the Moisture Barrier and Underlay
Roll out your moisture barrier across the entire floor. Overlap seams by at least 20cm and tape them securely. This step protects your new flooring from potential moisture damage. Install your chosen underlay next, and cut it to fit snugly against the walls. A high-quality underlay enhances acoustic properties and provides additional comfort underfoot. (Australian Timber Flooring Association recommendations state that all sources of moisture must be rectified prior to the installation of the floor.)
Starting Your First Row
Start in the corner of the room. Place spacers against the wall to maintain a 10-15mm expansion gap. Lay your first board with the groove facing the wall. For the second board, apply a bead of wood glue to the end groove and tap it into place using a tapping block. Continue this process for the entire first row. Ensure each board fits tightly.
Continuing with Subsequent Rows
Begin the second row with a board cut to a different length to create a staggered effect. Insert the tongue of the new board into the groove of the first row at a 45-degree angle, then lower it into place. Use a tapping block to ensure a tight fit. Repeat this process for subsequent rows. Stagger the end joints by at least 30cm between adjacent rows for structural integrity and visual appeal.
Navigating Obstacles and Tight Spaces
When you encounter obstacles like doorframes or pipes, measure carefully and mark your cuts on the board. Use a jigsaw for intricate cuts around pipes, and leave a 10mm expansion gap. For doorframes, undercut the frame slightly higher than the thickness of your flooring. This allows the board to slide underneath for a seamless finish.
Maintaining Alignment
Check that your rows remain straight as you progress. Use a long straightedge or laser level for this task. This attention to detail will ensure your floor looks professional and performs well over time. Take your time when working around obstacles – rushing can lead to mistakes and wasted materials. (Patience is key to achieving a flawless finish.)
The next section will cover the finishing touches that will bring your new floor to life and help you maintain its beauty for years to come.
Perfecting Your Timber Floor
Install Skirting Boards and Trims
Skirting boards and trims will give your new floor a polished look. These elements cover the expansion gap and create a seamless transition between your floor and walls. Select skirting that matches your existing baseboards, typically 90-140mm in Australian homes. You can match the skirting colour to your timber flooring or choose a contrasting shade for a bold statement.
To install skirting boards, you’ll need a bevel tool, a folding rule, a glue gun or a nail gun, a crosscut saw or handsaw with mitre box, and a set square. Measure and cut them to fit against the walls. Use a miter saw for precise 45-degree angle cuts at corners. Attach the skirting to the wall (not the floor) with a nail gun or adhesive. This allows the floor to expand and contract naturally.
Sand and Finish Unfinished Timber
For unfinished timber flooring, sanding and finishing are essential steps. Start with coarse-grit sandpaper (40-60 grit) to level the floor. Progress to medium (80-100 grit) and fine (120-150 grit) for a smooth surface. Always sand in the direction of the grain to avoid scratches.
After sanding, apply your chosen finish. Water-based polyurethane is a popular choice in Australia due to its quick drying time and low odour. Up to 3 coats can be applied in a day, and flooring can be used 24 hours after the final coat is applied.
Clean Up After Installation
A thorough cleanup is important for both aesthetics and health. Use a vacuum with a soft brush attachment to remove dust and debris from the floor surface and corners. Follow up with a microfiber mop slightly dampened with a pH-neutral cleaner designed for timber floors.
Dispose of any leftover materials properly. Many Australian councils offer special collection services for construction waste. (Check with your local authority for specific guidelines.)
Maintain Your New Floor
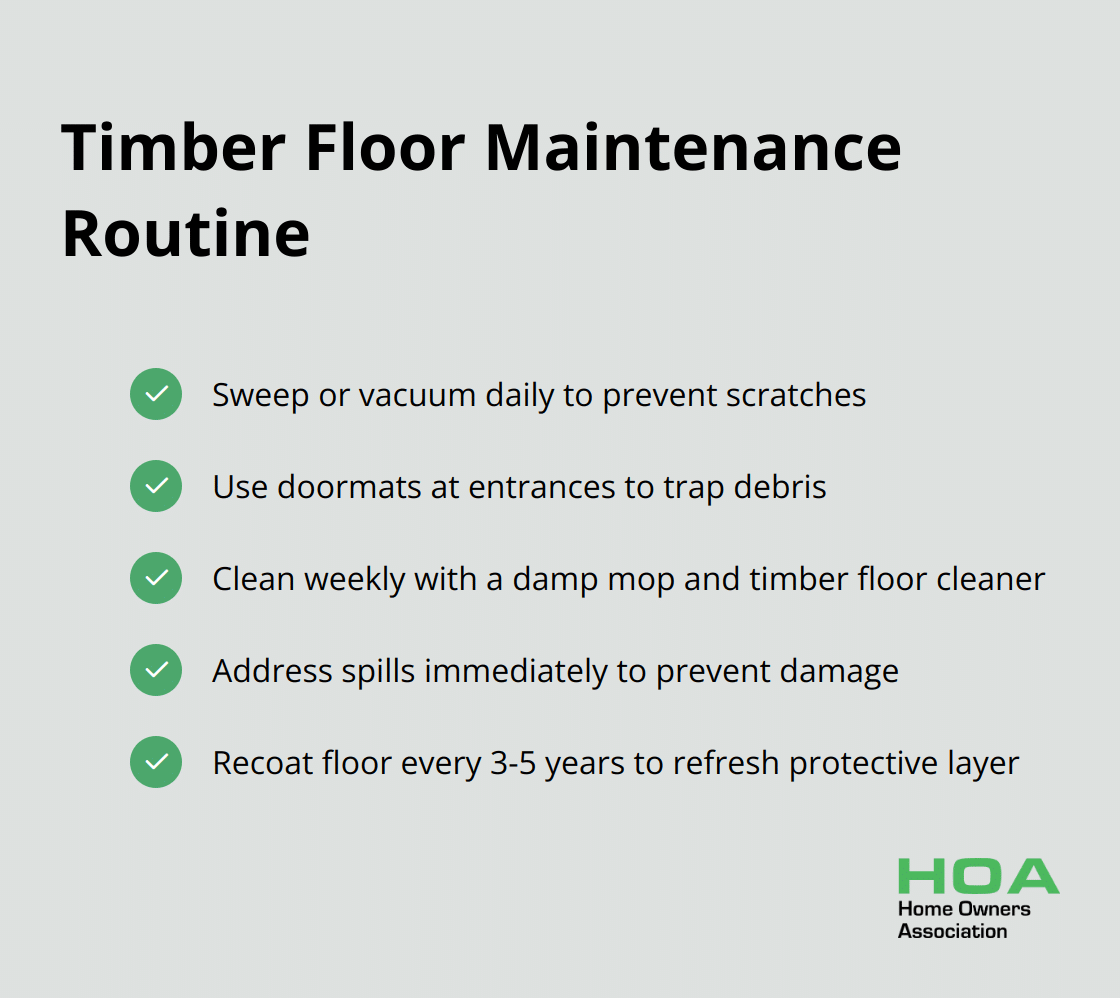
Establish a regular maintenance routine to keep your timber floor looking its best. Sweep or vacuum daily to prevent scratches from dirt and grit. Use doormats at entrances to trap debris and consider a “no shoes” policy indoors.
For weekly cleaning, use a damp (not wet) mop with a timber floor cleaner. Avoid steam mops or excessive water, which can damage the wood. Address spills immediately to prevent staining or warping.
Every 3-5 years, depending on wear, recoat your floor to refresh its protective layer. This is less intensive than a full sand and refinish and can significantly extend the life of your floor. When selecting materials and finishes for your timber floor, opt for durable options that can withstand increased foot traffic and maintain their appearance over time.
Final Thoughts
Installing timber flooring transforms your home’s aesthetics and value. Our timber flooring installation guide provides essential steps for a successful project. Proper acclimation, subfloor preparation, and expansion gaps ensure a long-lasting, beautiful floor.
Timber floors offer warmth, character, and increased property value. The natural beauty of timber creates a timeless appeal that complements various interior styles. Many homeowners successfully install timber flooring as a DIY project, but professional help might be needed for complex layouts or uneven subfloors.
At Home Owners Association, we support Melbourne homeowners with access to trade pricing and expert advice. Our members benefit from savings on materials and personalized guidance throughout their home improvement projects. (With proper installation and maintenance, your new timber floor will impress and provide comfort for decades.)