
At Home Owners Association, we understand the importance of a well-installed roof for protecting your home. Timber roof battens play a crucial role in this process, providing support for roofing materials and ensuring proper ventilation.
Our timber roof batten installation guide will walk you through the entire process, from understanding the basics to completing the installation. Whether you’re a DIY enthusiast or simply want to be more informed about your home’s construction, this comprehensive guide has you covered.
What Are Timber Roof Battens?
The Foundation of Roof Structure
Timber roof battens form the backbone of roofing construction. These long, narrow strips of wood run horizontally across your roof’s rafters or trusses. They create a robust framework for attaching roofing materials such as tiles, slates, or metal sheets. The battens distribute the weight of your roofing materials evenly across the roof structure, which ensures long-term stability and performance.
Selecting the Ideal Timber
The selection of timber for roof battens significantly impacts the longevity of your roof. In Australia, Ironbark stands out as a popular choice due to its very high natural resistance to rot. Hardwoods like jarrah or spotted gum offer superior strength and longevity, making them excellent alternatives.
Advantages of Timber Roof Battens
Timber roof battens provide numerous benefits:
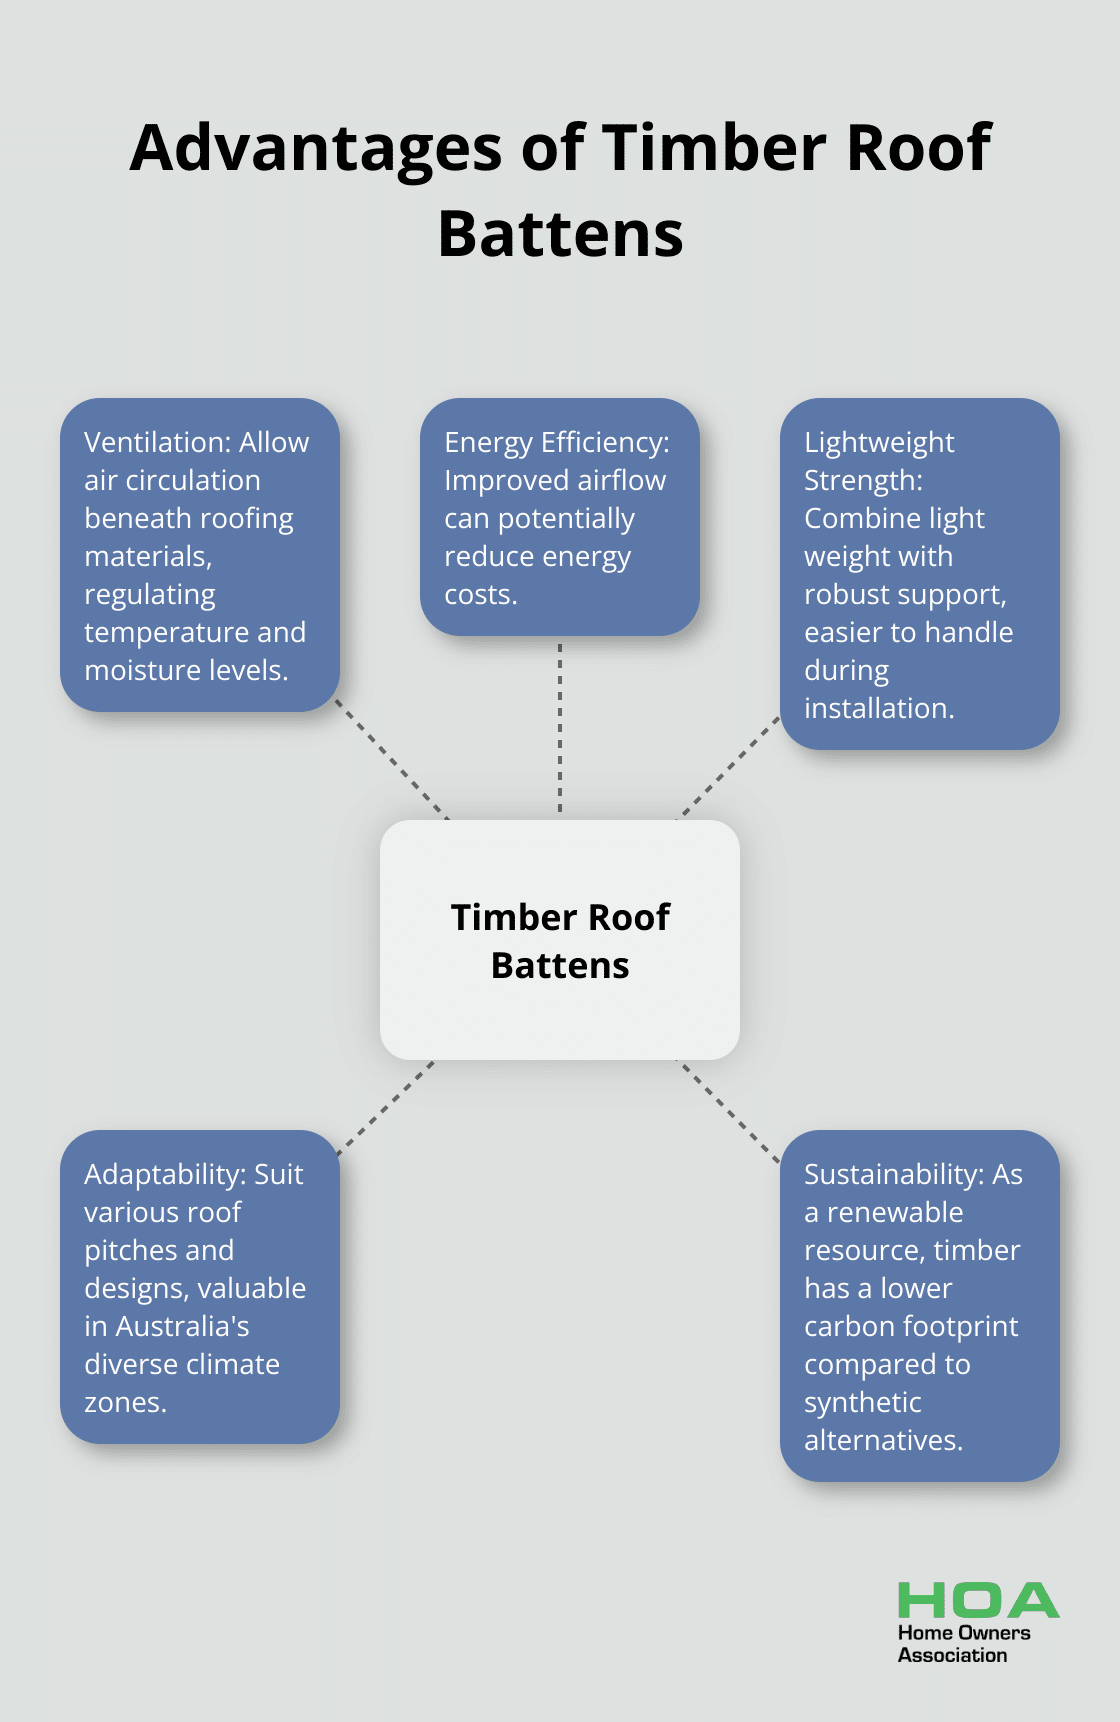
- Ventilation: They allow air to circulate beneath your roofing materials, which helps regulate temperature and moisture levels.
- Energy Efficiency: The improved airflow can potentially reduce your energy costs.
- Lightweight Strength: Timber battens combine light weight with robust support, making them easier to handle during installation.
- Adaptability: They suit various roof pitches and designs, which is particularly valuable in Australia’s diverse climate zones.
- Sustainability: As a renewable resource, timber has a lower carbon footprint compared to synthetic alternatives.
Installation Considerations
The installation of timber roof battens requires careful planning and execution. Proper spacing and alignment are essential for the overall integrity of your roof. The battens must be securely fixed to the rafters or trusses to withstand the weight of roofing materials and potential wind uplift.
As we move forward, we’ll explore the preparation steps necessary for a successful batten installation, including the tools and materials you’ll need to get started.
Preparing for Timber Roof Batten Installation
Essential Tools and Materials
To install timber roof battens, you need specific tools and materials. A hammer, tape measure, chalk line, and circular saw are indispensable. Safety gear (hard hat, safety glasses, and non-slip boots) is equally important. For materials, you’ll require timber battens, galvanised nails, and a waterproof membrane.
The minimum batten size and recommended fixing recommendations for structural 19-21 mm thick flooring to battens are outlined in industry guidelines. However, the exact size may vary based on your roof’s specifications and local building codes.
Safety First on the Roof
Working at heights poses inherent risks. Work-related fatalities in Australia are documented annually. To minimise these risks, use a sturdy ladder and consider installing temporary guardrails or a safety harness system.
If you lack experience or feel uncomfortable working at heights, consult a professional. Home Owners Association can connect you with experienced contractors who prioritise safety and quality in their work.
Precise Measurement and Marking
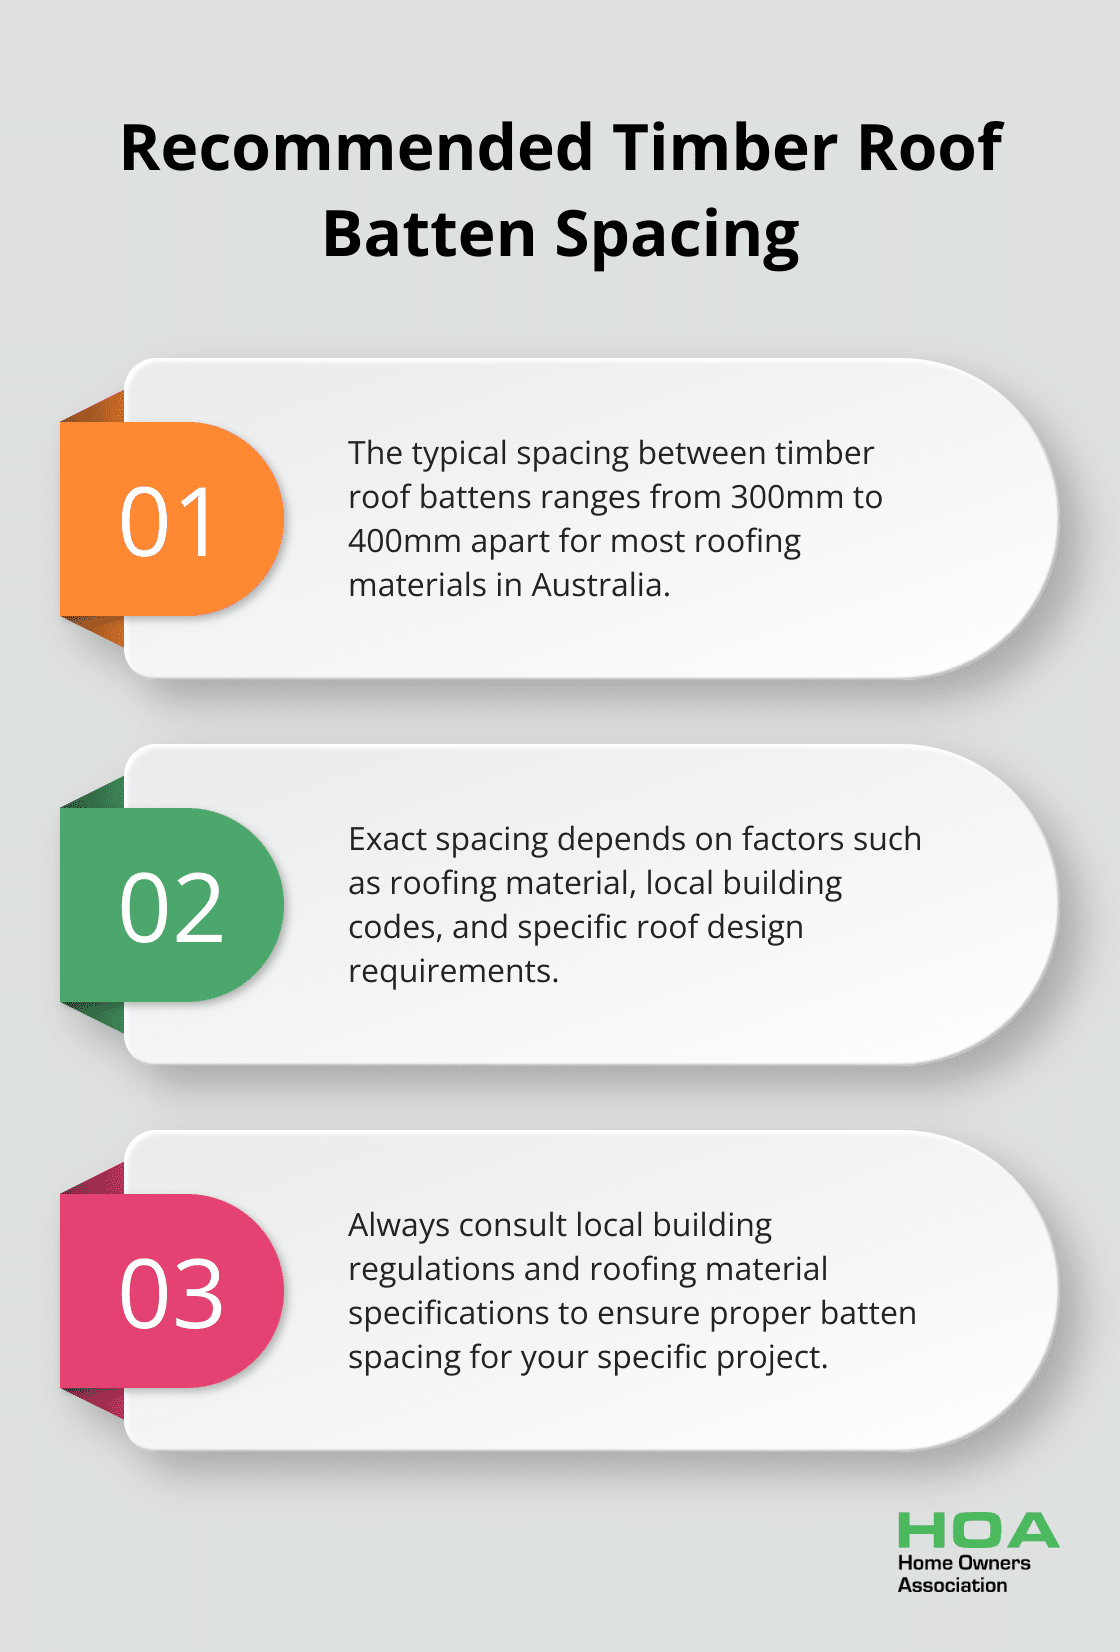
Accurate measurements are key to proper batten installation. Start by measuring your roof’s length from eave to ridge. Then, calculate the number of battens needed based on the required spacing (typically 300-400mm apart for most roofing materials in Australia).
Use a chalk line to mark straight lines across the roof for each batten placement. This step ensures perfect alignment of your battens, creating a solid foundation for your roofing materials.
Don’t forget to account for roof features like chimneys or skylights in your measurements and markings. These areas may require special attention during installation.
Preparing the Roof Surface
Before you begin installation, inspect and prepare the roof surface. Remove any debris and ensure the roof deck is in good condition. If necessary, repair or replace damaged sections of the roof deck.
Apply a waterproof membrane over the entire roof surface. This membrane acts as an additional barrier against water infiltration, which is particularly important in Australia’s varied climate conditions.
With these preparations complete, you’re ready to move on to the actual installation process. The next chapter will guide you through the step-by-step procedure of installing timber roof battens, ensuring a strong and durable roof structure for your home.
How to Install Timber Roof Battens
Starting with the First Batten
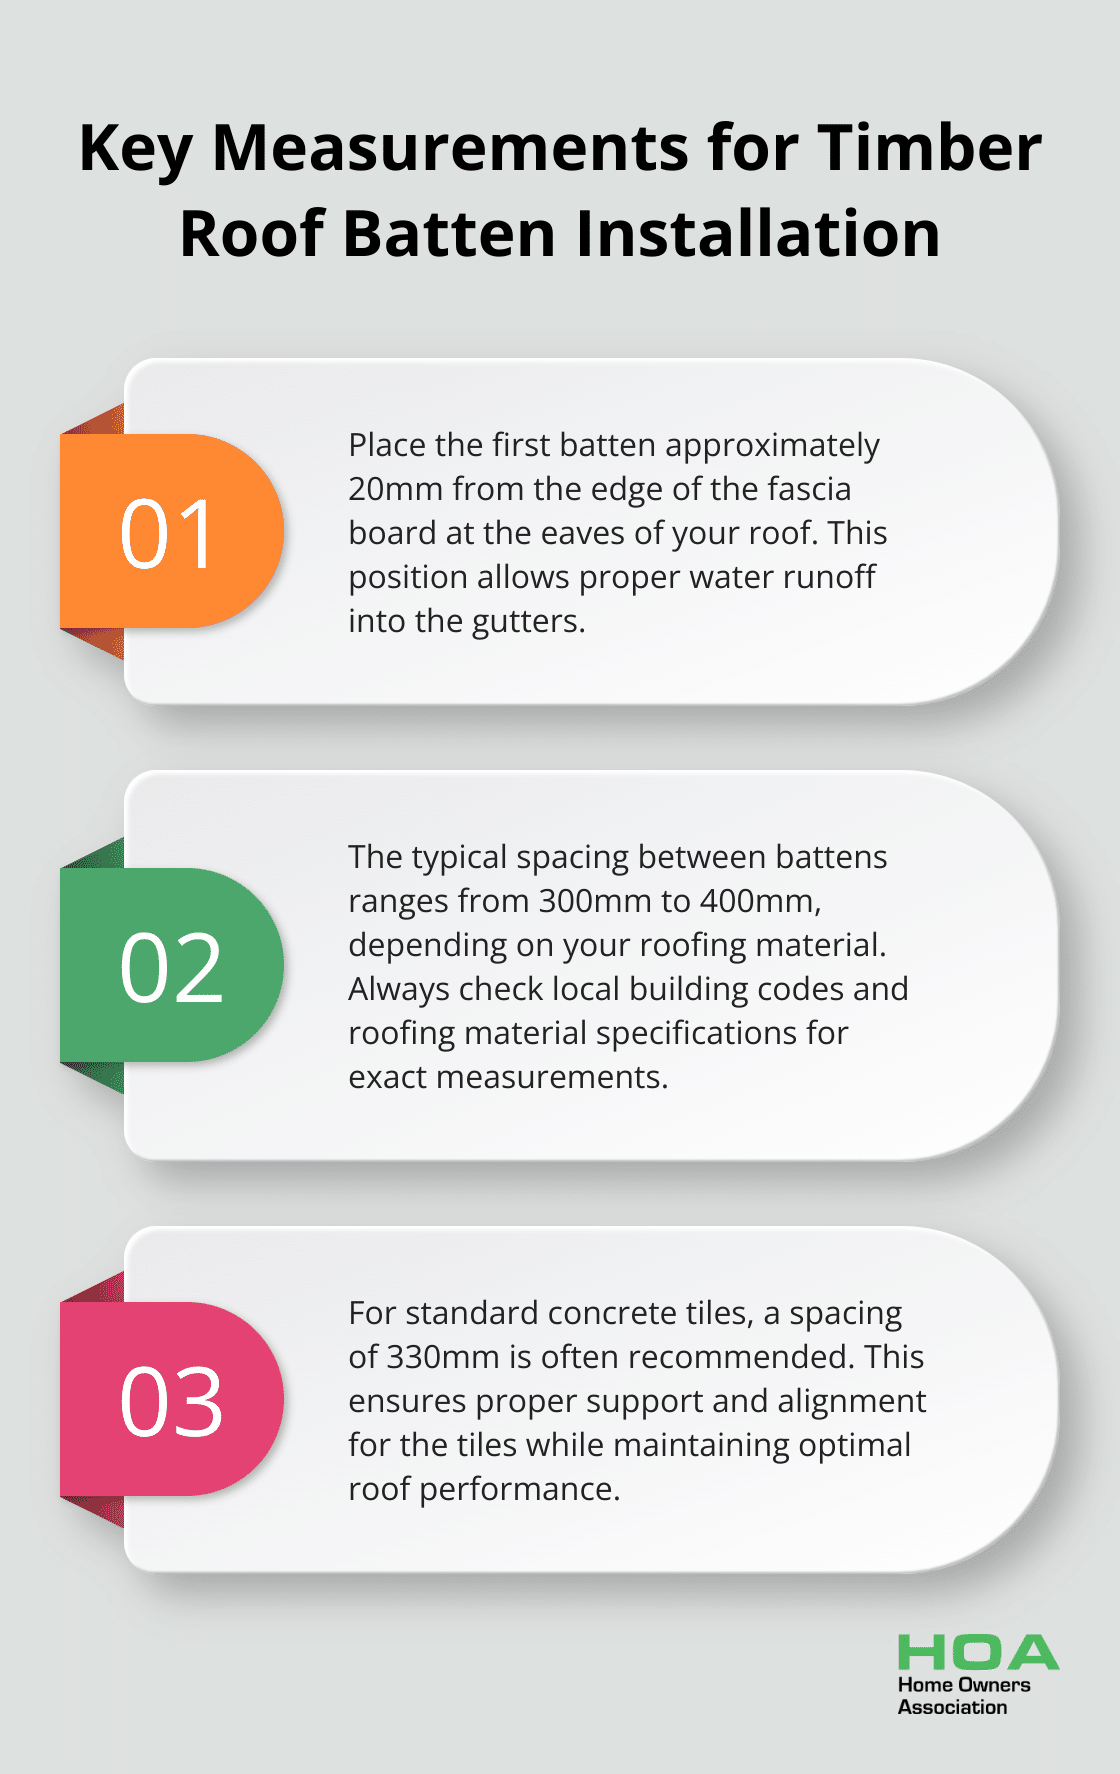
Place your first batten approximately 20mm from the edge of the fascia board at the eaves of your roof. This position allows proper water runoff into the gutters. Use a chalk line to ensure the batten is perfectly straight across the roof. Secure this batten firmly to each rafter or truss using galvanised nails.
Spacing and Alignment
After installing the first batten, continue up the roof. The spacing between battens typically ranges from 300mm to 400mm (depending on your roofing material). For standard concrete tiles, a spacing of 330mm is often recommended. Always check your local building codes and the specifications of your chosen roofing material for exact measurements.
Use a tape measure and chalk line for each subsequent batten to maintain consistent spacing and alignment. This precision is essential for the overall performance and appearance of your roof.
Secure Fixing Techniques
When fixing battens to rafters or trusses, use at least two nails per intersection. Drive the nails at a slight angle for added grip. For batten installation, if timber ties are used, they must be continuous and be no less than 70 x 35 F5. Fix to each truss with a minimum of one 65mm nail and splice the ends.
Handling Joins and Intersections
You will need to join battens as you work across the roof. Always ensure these joins occur over a rafter or truss for proper support. Overlap the battens by at least 100mm and secure both ends with nails.
For intersections at hips and valleys, cut your battens at a 45-degree angle to create a neat join. In these areas, it’s important to use additional fixings to ensure stability.
Professional Assistance
Installing timber roof battens is a complex task that requires precision and expertise. If you’re unsure about any aspect of the installation process, consider consulting with a professional. Home Owners Association (established in 1980) can connect you with experienced contractors who can ensure your roof is installed to the highest standards.
Final Thoughts
Our timber roof batten installation guide provides essential steps for a successful roof project. Precise measurements, consistent spacing, and secure fixings form the foundation of a durable and efficient roofing system. Regular maintenance and annual inspections will help identify potential issues early, preventing minor problems from escalating.
Professional assistance can ensure your roof meets the highest standards. At Home Owners Association, we connect Melbourne homeowners with experienced contractors for quality installations. Our members receive trade pricing, expert advice, and ongoing support throughout their home improvement projects.
A well-constructed roof with properly installed timber battens protects your home and adds value for years to come. It provides a sturdy shelter for your family and contributes to the overall energy efficiency of your house. Investing in quality installation now will pay dividends in the long-term performance of your roof.