
At Home Owners Association, we understand the importance of protecting your bathroom from water damage. A waterproofing bathroom membrane is a critical component in maintaining the integrity of your home’s structure.
Proper installation of this protective layer can prevent costly repairs and ensure a long-lasting, moisture-free environment. In this guide, we’ll walk you through the essential steps to apply a waterproofing membrane effectively.
How to Prepare Your Bathroom Surface for Waterproofing
Clean and Repair the Substrate
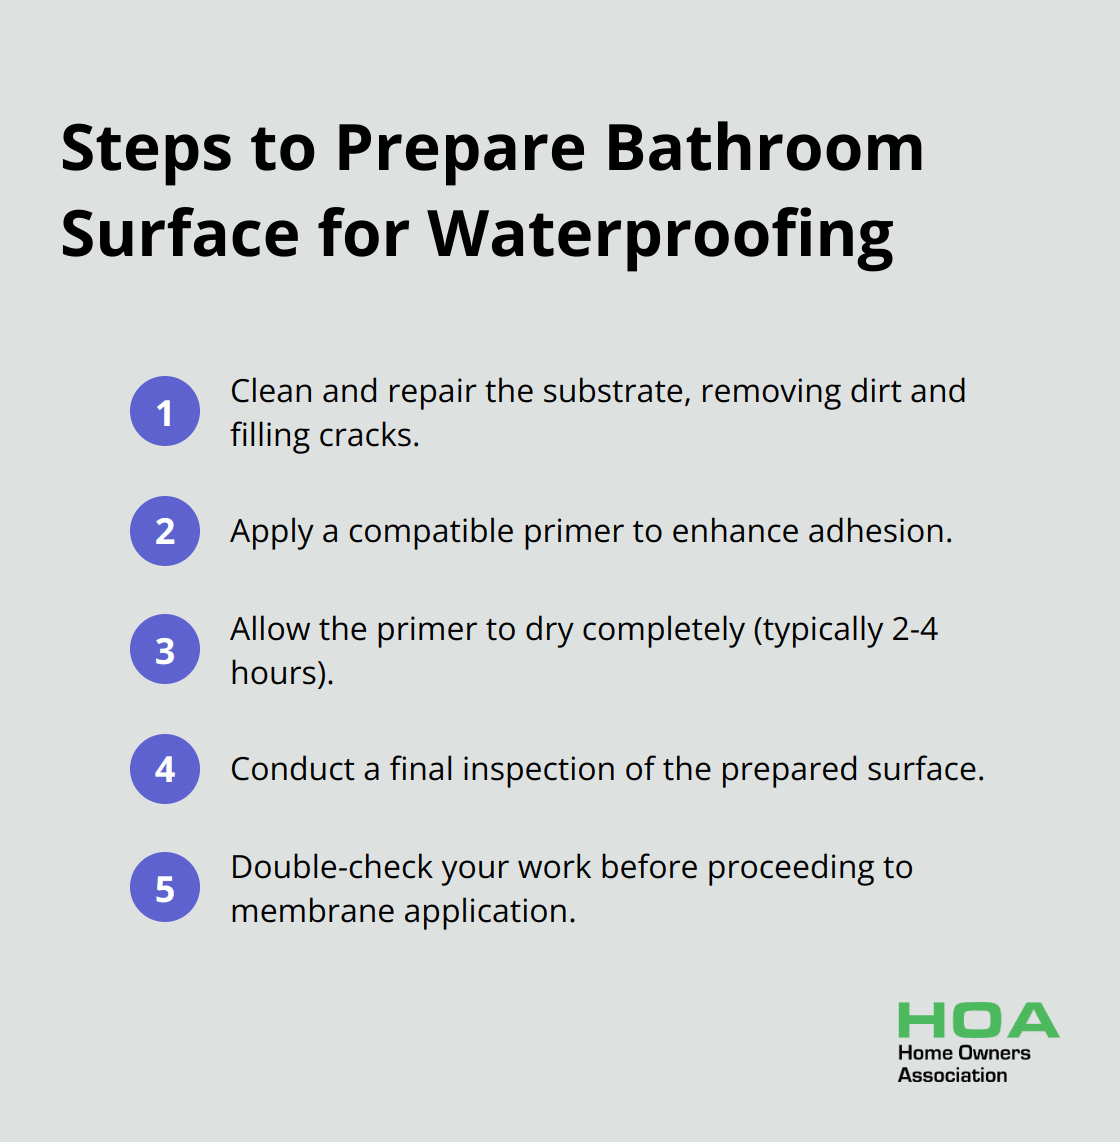
The first step in preparing your bathroom surface involves a thorough cleaning and repair process. Remove all dirt, dust, grease, and loose particles from the entire surface. A high-pressure washer proves incredibly effective at eliminating stubborn grime. For tougher stains, apply a mixture of trisodium phosphate (TSP) and water.
After cleaning, inspect the substrate for cracks, holes, or imperfections. Fill these with a suitable patching compound. Use a cement-based filler for concrete surfaces and a joint compound for drywall. Sand down any rough spots to create a smooth surface.
Apply Primer to Enhance Adhesion
Applying a primer is vital for optimal adhesion (a step many DIYers often overlook). Select a primer compatible with both your substrate and the waterproofing membrane you plan to use. Water-based acrylic primers often work well for most surfaces.
Use a roller or brush to apply the primer evenly across the entire surface. Pay extra attention to corners and edges, as these areas are prone to water ingress.
Allow Primer to Dry Completely
After applying the primer, exercise patience. The primer must dry completely before you move on to the next step. Drying times vary depending on the product and environmental conditions but typically take between 2 to 4 hours.
Use this waiting period to double-check your work. Look for any spots you might have missed or areas that need touch-ups. Rushing this step can lead to poor adhesion and compromise the entire waterproofing system.
Conduct a Final Inspection
Before you proceed with the membrane application, perform a final inspection of your prepared surface. Run your hand over the walls and floor to feel for any remaining imperfections. Use a bright light to spot areas that might need additional attention.
This meticulous preparation sets the stage for a successful waterproofing project. Your attention to detail will ensure your bathroom remains water-tight for years to come. Now that your surface is properly prepared, you’re ready to move on to the next exciting step: applying the waterproofing membrane itself.
Applying Your Waterproofing Membrane
Measure and Cut the Membrane
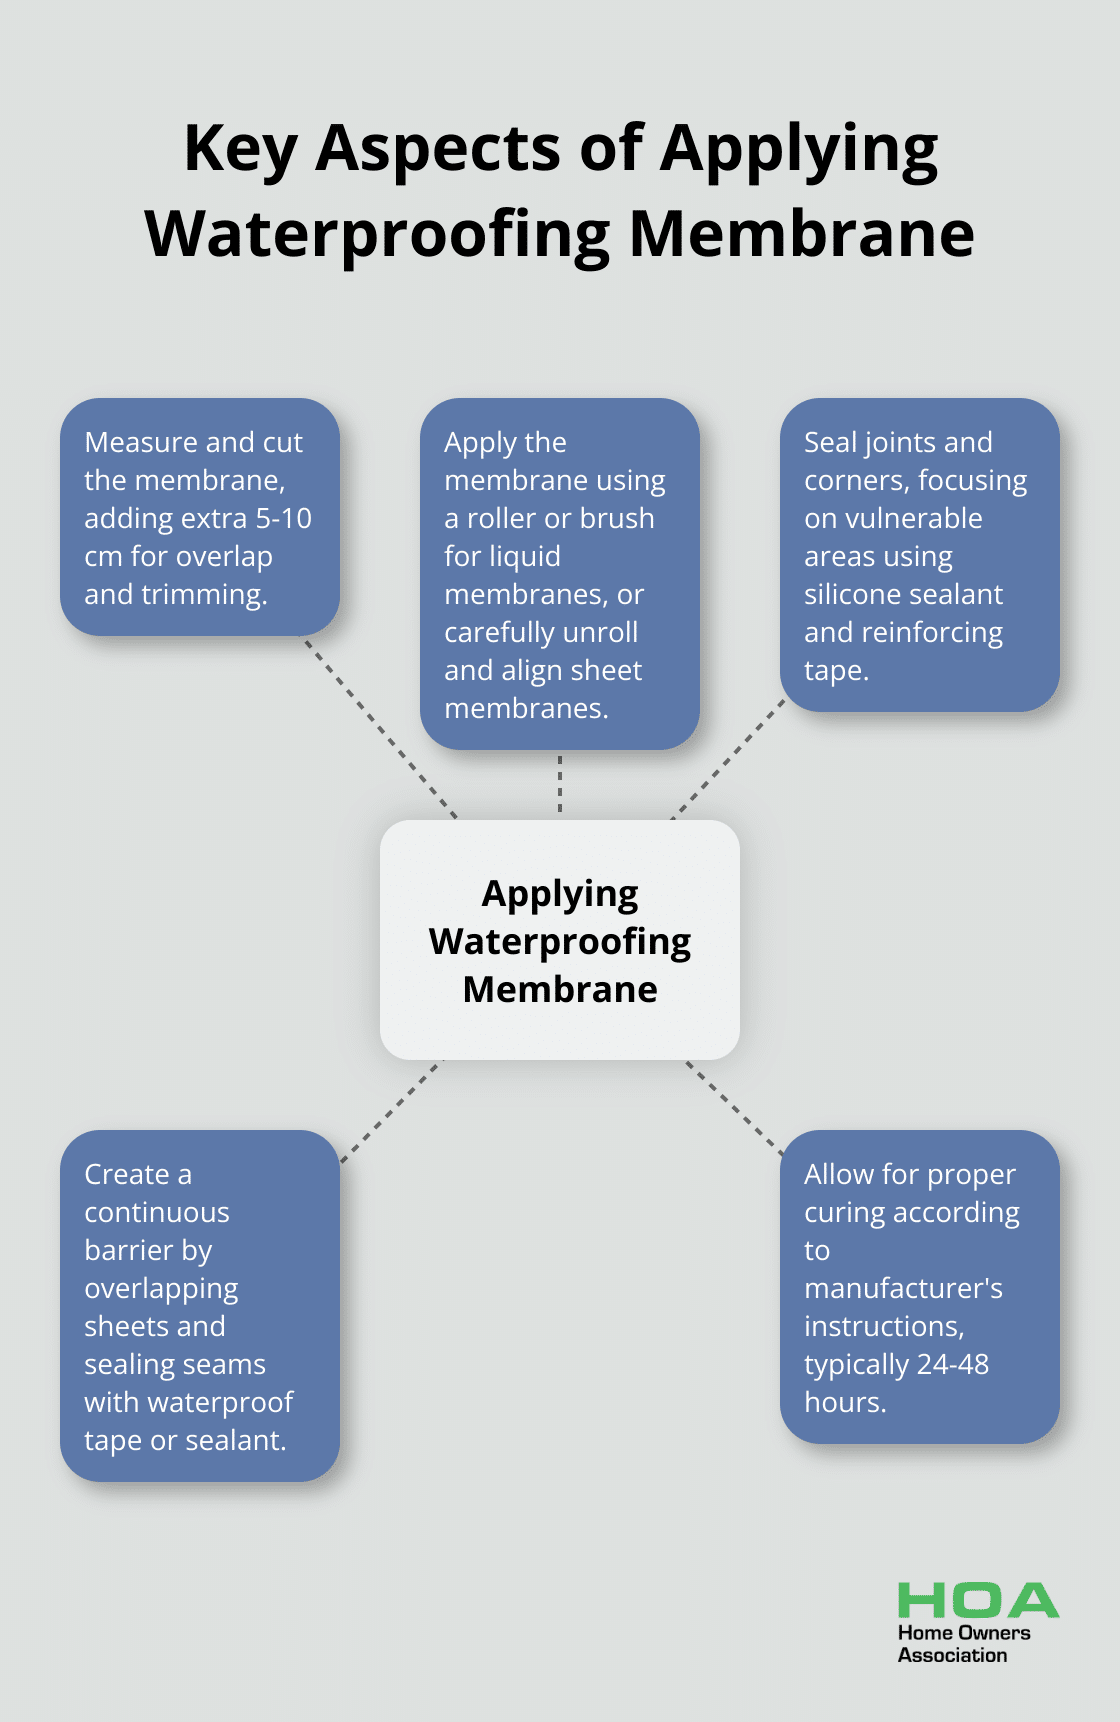
Start your waterproofing process by measuring the walls and floor of your bathroom. Add an extra 5-10 cm to each measurement to allow for overlap and trimming. Cut the membrane to size with a crisp utility knife or scissors. For oddly shaped areas or corners, create paper templates first to ensure accurate cuts.
Apply the Membrane
For liquid membranes, pour the product directly onto the surface and spread it evenly with a roller or brush. If you’re using sheet membranes, carefully unroll the material and align it with your marked guidelines. Press firmly from the centre outwards to eliminate air bubbles. Use a plastic smoother or rubber roller to ensure full contact with the substrate.
Seal Joints and Corners
Focus on joints, corners, and transitions between surfaces (these areas are most vulnerable to water penetration). Apply a bead of neutral cure silicone sealant to all horizontal and vertical corners before laying the membrane. For added protection, use reinforcing tape or pre-formed corner pieces designed for waterproofing systems.
Create a Continuous Barrier
Overlap sheets and seal the seams with waterproof tape or a compatible sealant. This step creates a continuous barrier against moisture intrusion. After application, inspect the entire surface for any gaps, bubbles, or imperfections. Address these issues immediately to maintain the integrity of your waterproofing system.
Allow for Proper Curing
The membrane must cure fully according to the manufacturer’s instructions before you proceed with tiling or other finishes. This waiting period (typically 24-48 hours) ensures that your waterproofing system achieves maximum effectiveness.
Your meticulous attention to detail during this application process will create a robust waterproof barrier in your bathroom. Now that you’ve successfully applied the membrane, it’s time to address the critical areas around fixtures and penetrations to complete your waterproofing project.
Waterproofing Tricky Spots in Your Bathroom
Shower Bases and Bathtubs
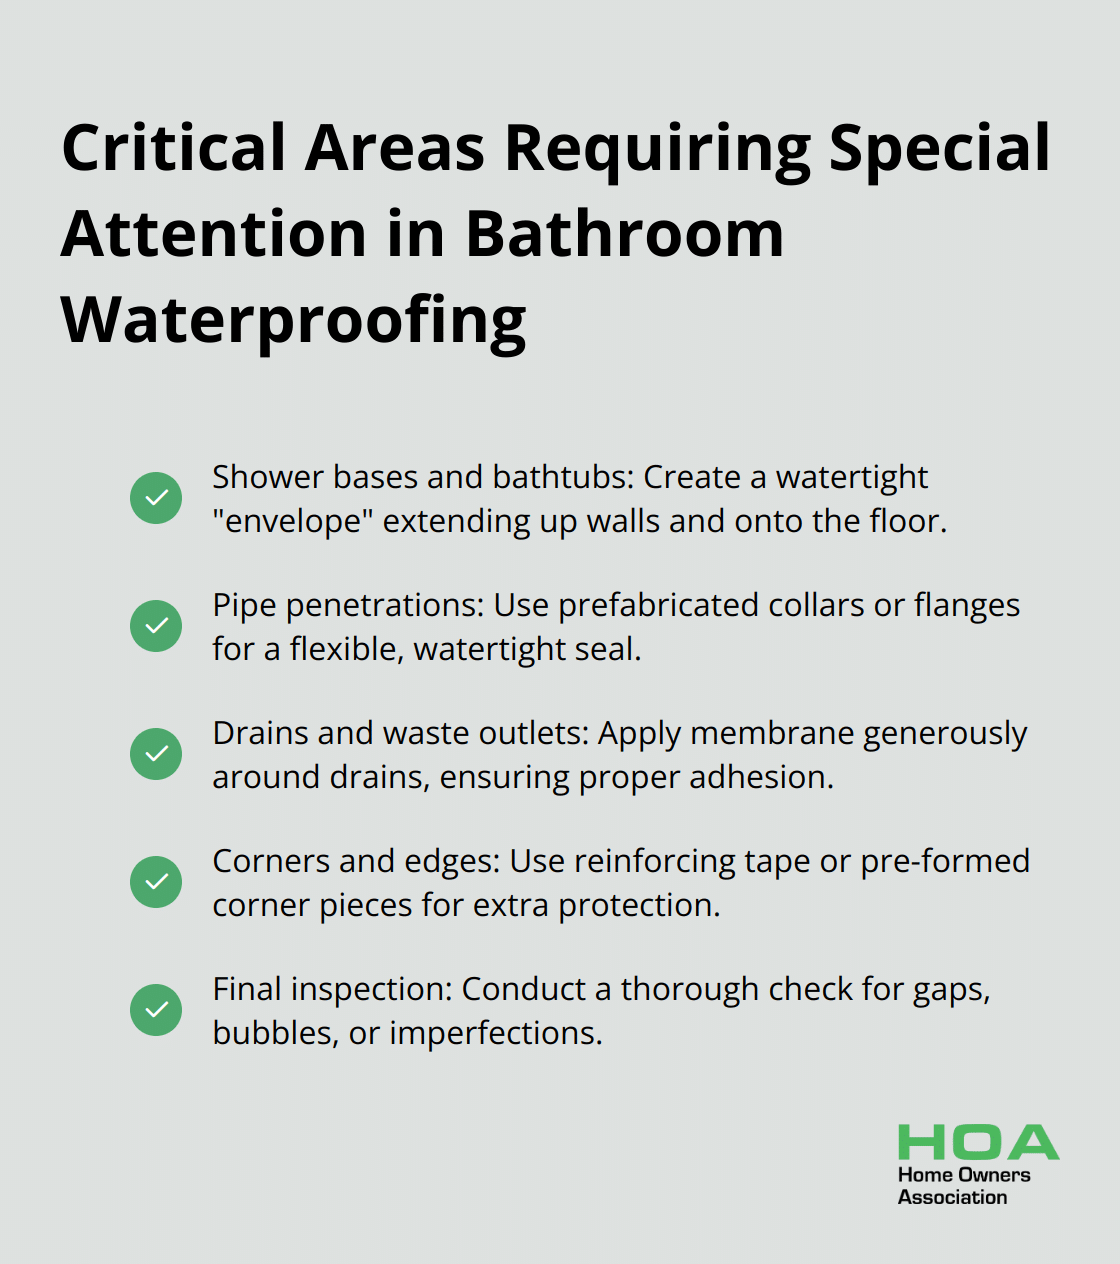
Waterproofing around shower bases and bathtubs requires precision. Apply an extra layer of membrane, extending it at least 100mm up the walls from the floor and 50mm onto the floor. This creates a watertight “envelope” that prevents water from seeping behind tiles or under the floor.
For prefabricated shower bases, use a compatible silicone sealant to create a watertight bond between the base and the waterproofing membrane. Pay special attention to the joint where the shower screen meets the base (a common area for leaks).
Pipe Penetrations
Pipes present a unique challenge in waterproofing. Penetrations within the shower area must be waterproof. Use prefabricated collars or flanges for pipe penetrations. These collars should be compatible with your chosen membrane system.
To install, slide the collar over the pipe and press it firmly into a bed of fresh waterproofing membrane. Apply additional membrane over the collar, ensuring it’s fully embedded. This method creates a flexible, watertight seal that can accommodate minor movements without compromising the waterproofing integrity.
Drains and Waste Outlets
Proper waterproofing around drains prevents water from seeping into the subfloor. Use a specialised drain flange that integrates seamlessly with your waterproofing membrane. Apply the membrane generously around the drain, ensuring it adheres well to both the flange and the surrounding floor.
For best results, ensure proper drainage. The whole wet area floor must be waterproofed and drained to prevent standing water and potential leaks.
Sealing Corners and Edges
Pay extra attention to corners and edges, as these areas are prone to water ingress. Use reinforcing tape or pre-formed corner pieces designed for waterproofing systems. Apply a bead of neutral cure silicone sealant to all horizontal and vertical corners before laying the membrane.
Final Inspection
After applying the waterproofing membrane to all tricky spots, conduct a thorough inspection. Look for any gaps, bubbles, or imperfections. Address these issues immediately to maintain the integrity of your waterproofing system. Try to use a bright light to spot areas that might need additional attention (this can reveal subtle flaws that are easy to miss).
Final Thoughts
A waterproofing bathroom membrane protects your home from moisture damage. This barrier prevents costly repairs and maintains your property’s structural integrity. It also enhances bathroom longevity, prevents mould growth, and maintains a healthy living environment.
High-quality materials and meticulous installation ensure long-lasting waterproof protection. Regular inspections help identify issues before they escalate. Proper ventilation minimises moisture buildup and complements your waterproofing efforts.
While DIY installation is possible, professional application often yields superior results. Home Owners Association offers expert guidance and resources for Melbourne homeowners’ waterproofing projects. Our members receive trade pricing on materials and access to trusted professionals (who ensure top-quality installation).