
At Home Owners Association, we understand the importance of a properly waterproofed shower. A shower waterproofing membrane is a critical component in preventing water damage and mould growth in your bathroom.
Installing this protective layer might seem daunting, but with the right guidance, it’s a manageable DIY project. In this post, we’ll walk you through the step-by-step process of installing a shower waterproofing membrane, ensuring your bathroom stays dry and damage-free for years to come.
How to Prepare Your Shower Area for Waterproofing
Thorough Cleaning and Inspection
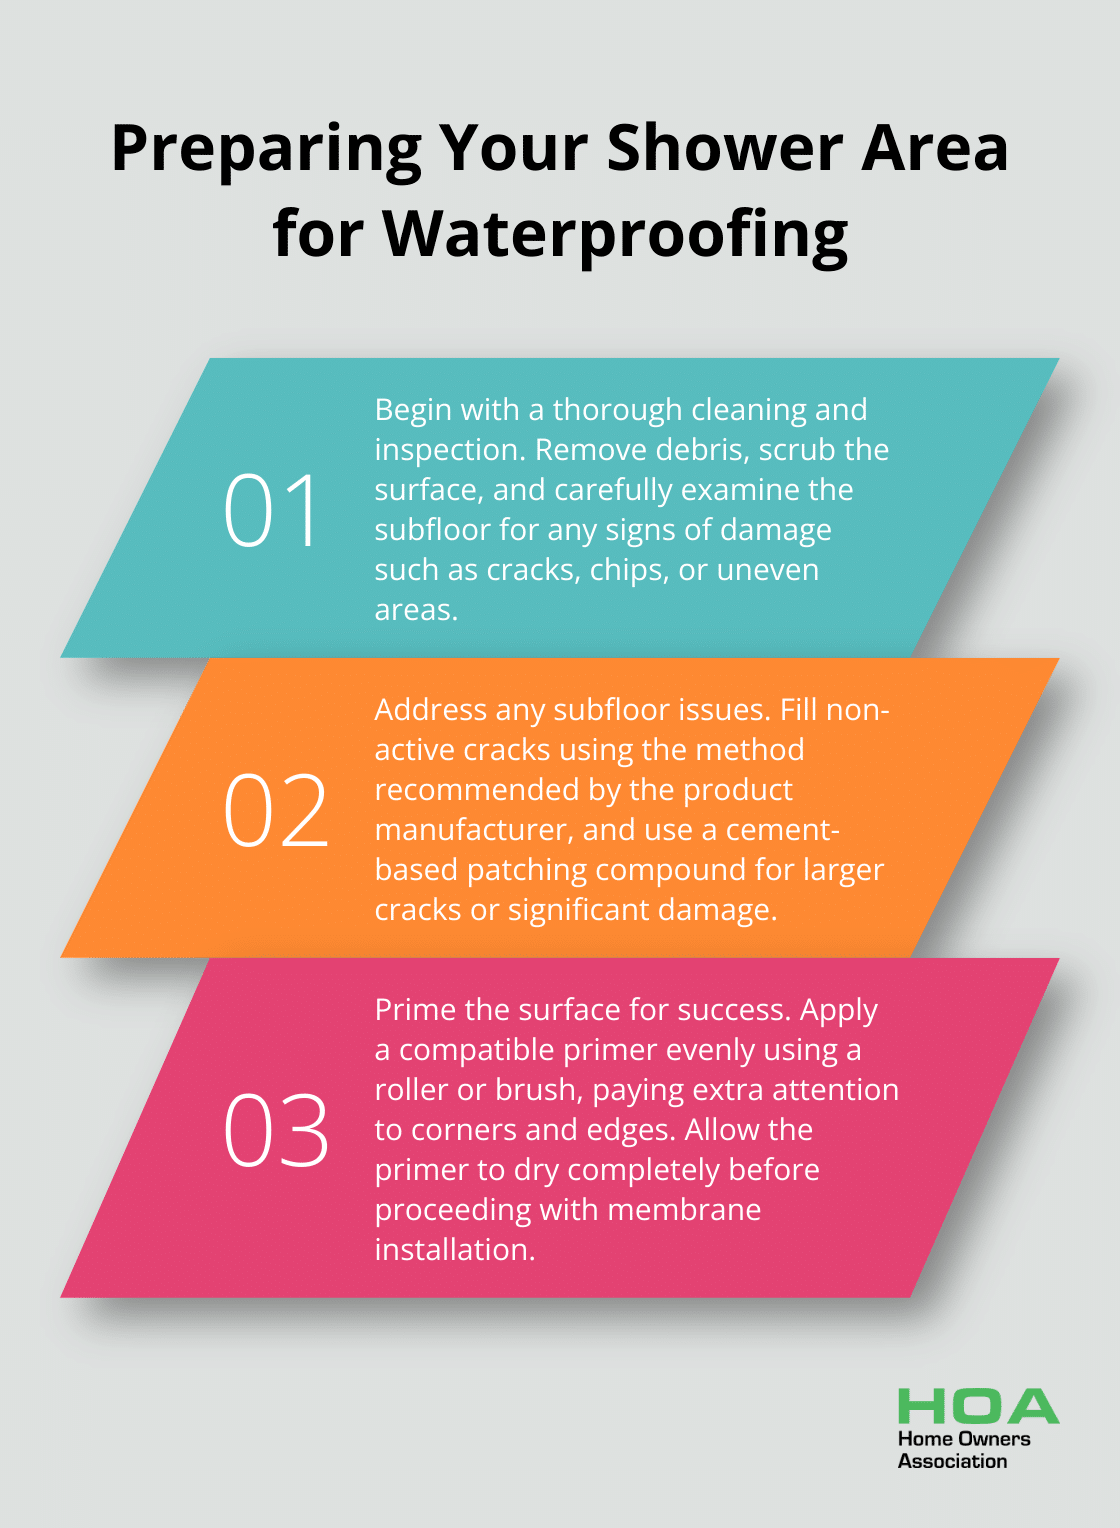
The first step in preparing your shower area for waterproofing involves a comprehensive clean and inspection. Remove all debris from the subfloor with a vacuum to eliminate dust and loose particles. Next, scrub the surface with a detergent solution to remove any grease or soap residue. After cleaning, conduct a meticulous inspection of the subfloor. Look for any signs of damage, such as cracks, chips, or uneven areas. Mark these spots for repair.
Addressing Subfloor Issues
Imperfections in the subfloor can compromise the waterproofing membrane’s effectiveness. For non-active cracks, fill them using the method recommended by the product manufacturer. One method is to ‘V’ gouge the crack and prime it with epoxy resin. For larger cracks or significant damage, use a cement-based patching compound. Make sure the repaired areas are level with the surrounding subfloor to prevent water pooling.
Priming for Success
Once repairs are complete and the subfloor is clean and dry, apply a primer. This step improves adhesion between the subfloor and the waterproofing membrane. Choose a primer compatible with both your subfloor material and the membrane you plan to use. Apply the primer evenly using a roller or brush, paying extra attention to corners and edges. Allow the primer to dry completely before you proceed with membrane installation.
Creating a Smooth Surface
After the primer has dried, inspect the surface once more. Try to create a perfectly smooth surface (this will ensure optimal membrane adhesion). Use a fine-grit sandpaper to smooth out any remaining rough spots or bumps. Wipe away any dust with a clean, dry cloth.
Final Preparations
Before you begin the membrane installation, gather all necessary tools and materials. This includes the waterproofing membrane, adhesive, cutting tools, and any required safety equipment (such as gloves and safety glasses). Ensure the room temperature is within the recommended range for membrane installation (typically between 10°C and 30°C). With these preparations complete, you’re ready to move on to the actual installation of the waterproofing membrane.
How to Install a Shower Waterproofing Membrane
Measure and Cut the Membrane
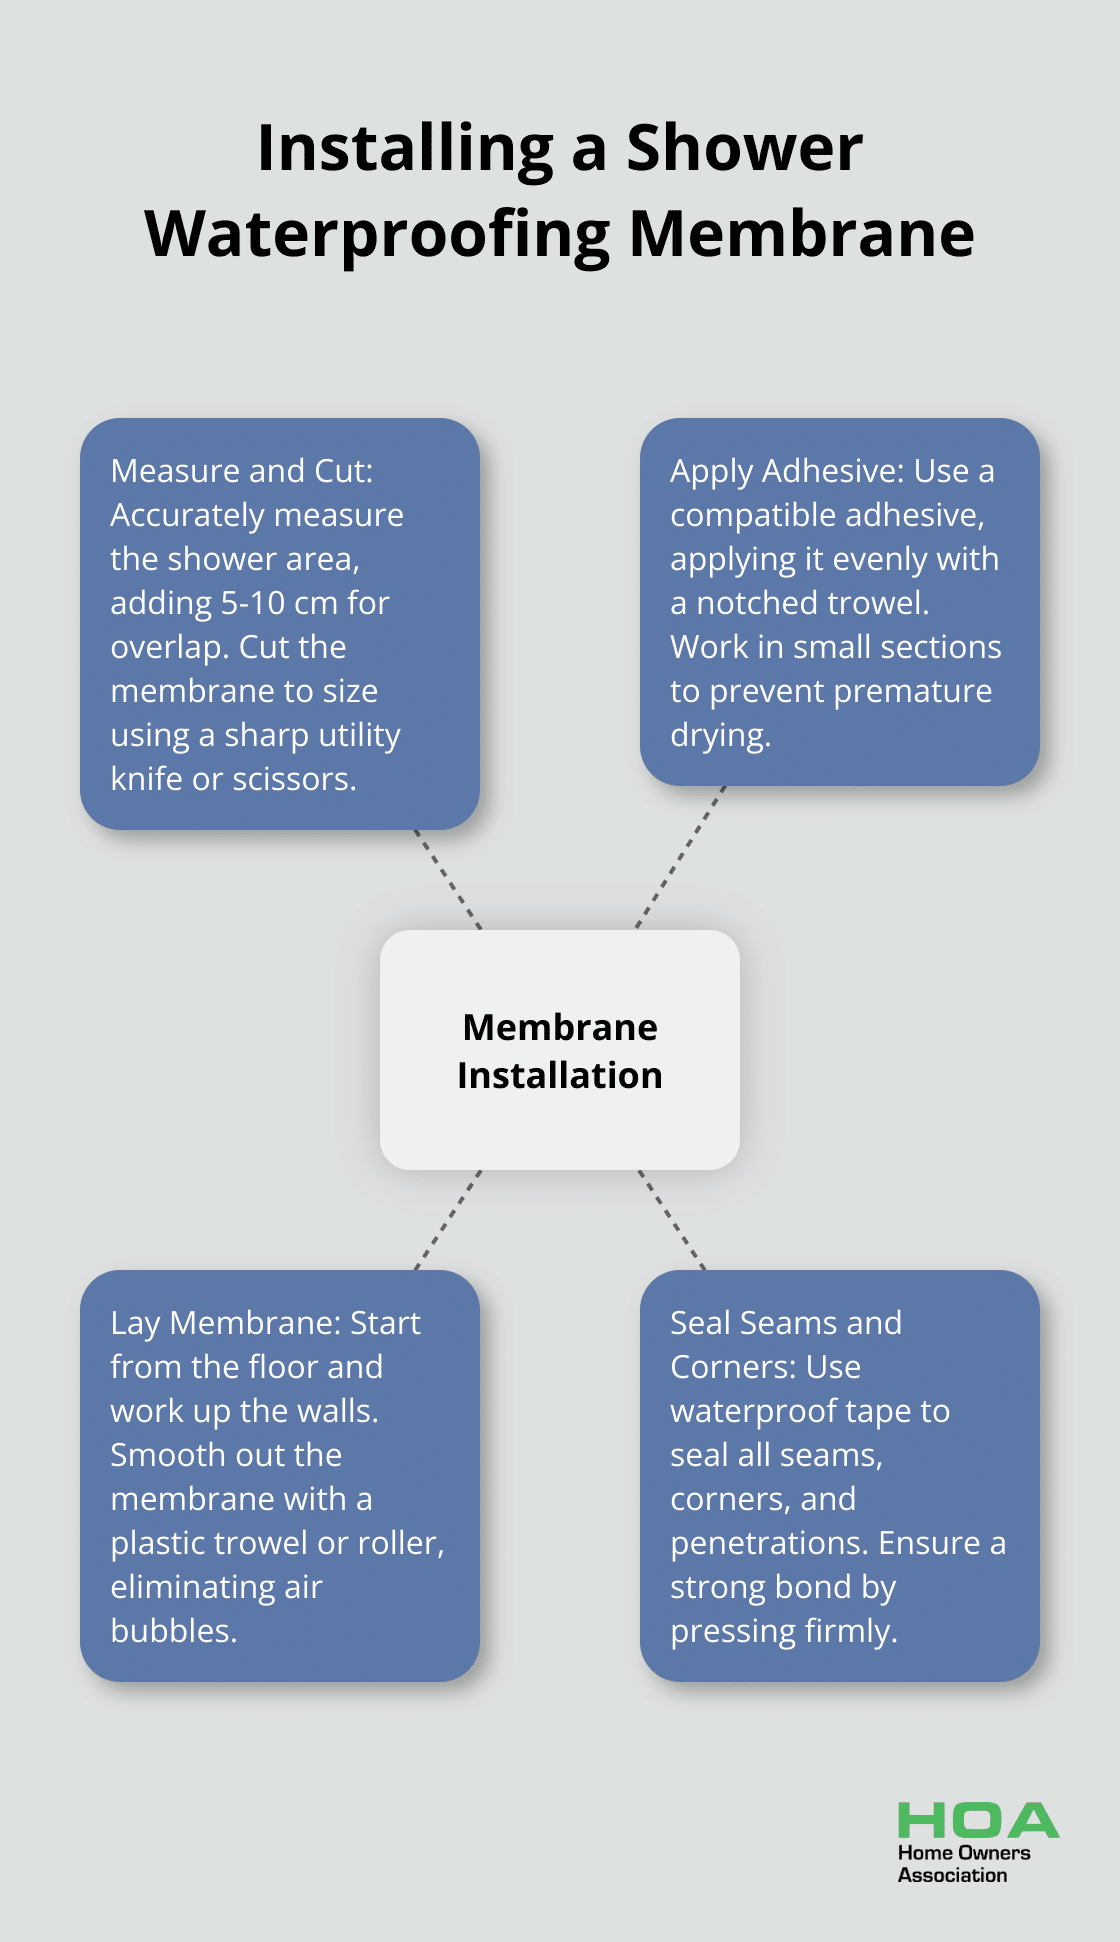
Start with accurate measurements of your shower area, including walls and floor. Add an extra 5-10 cm to each measurement for overlap and trimming. Use a sharp utility knife or scissors to cut the membrane to size. For corners, cut the membrane to extend at least 10 cm up the adjacent wall.
Apply the Adhesive
Select an adhesive compatible with both your subfloor material and the membrane. Apply it evenly with a notched trowel, working in small sections to prevent premature drying. Spread the adhesive slightly beyond the membrane’s placement area to ensure complete coverage.
Lay the Membrane
Begin at the shower floor and work your way up the walls. Place the membrane onto the adhesive carefully, and smooth it out with a plastic trowel or roller. Work from the centre outwards to eliminate air bubbles. Focus extra attention on corners and joints to ensure full adhesion and a wrinkle-free surface.
For vertical surfaces, pre-cut membrane pieces often make the job easier. Apply these pieces from the bottom up, with at least a 5 cm overlap for each piece. Use a roller to press the membrane firmly into place (especially at seams and corners).
Seal Seams and Corners
Proper sealing of seams and corners is essential for a watertight installation. Use waterproof tape specifically designed for your membrane system. Apply the tape over all seams, corners, and around any penetrations (such as drain openings or plumbing fixtures). Press the tape firmly to create a strong bond.
For inside corners, create a folded piece of membrane to fit snugly without stretching. Use pre-formed corner pieces for outside corners if available, or carefully fold and adhere the membrane around the corner. Ensure there are no gaps or air pockets.
The next step in your shower waterproofing project involves testing and finishing. This final phase will confirm the effectiveness of your installation and prepare the surface for tiling. Professionals apply membranes in multiple coats, ensuring each layer fully cures before the next application. In most cases, you should wait 24 hours before applying the second coat and then another 24 hours before using the shower.
How to Test and Finish Your Shower Waterproofing
Perform a Water Test
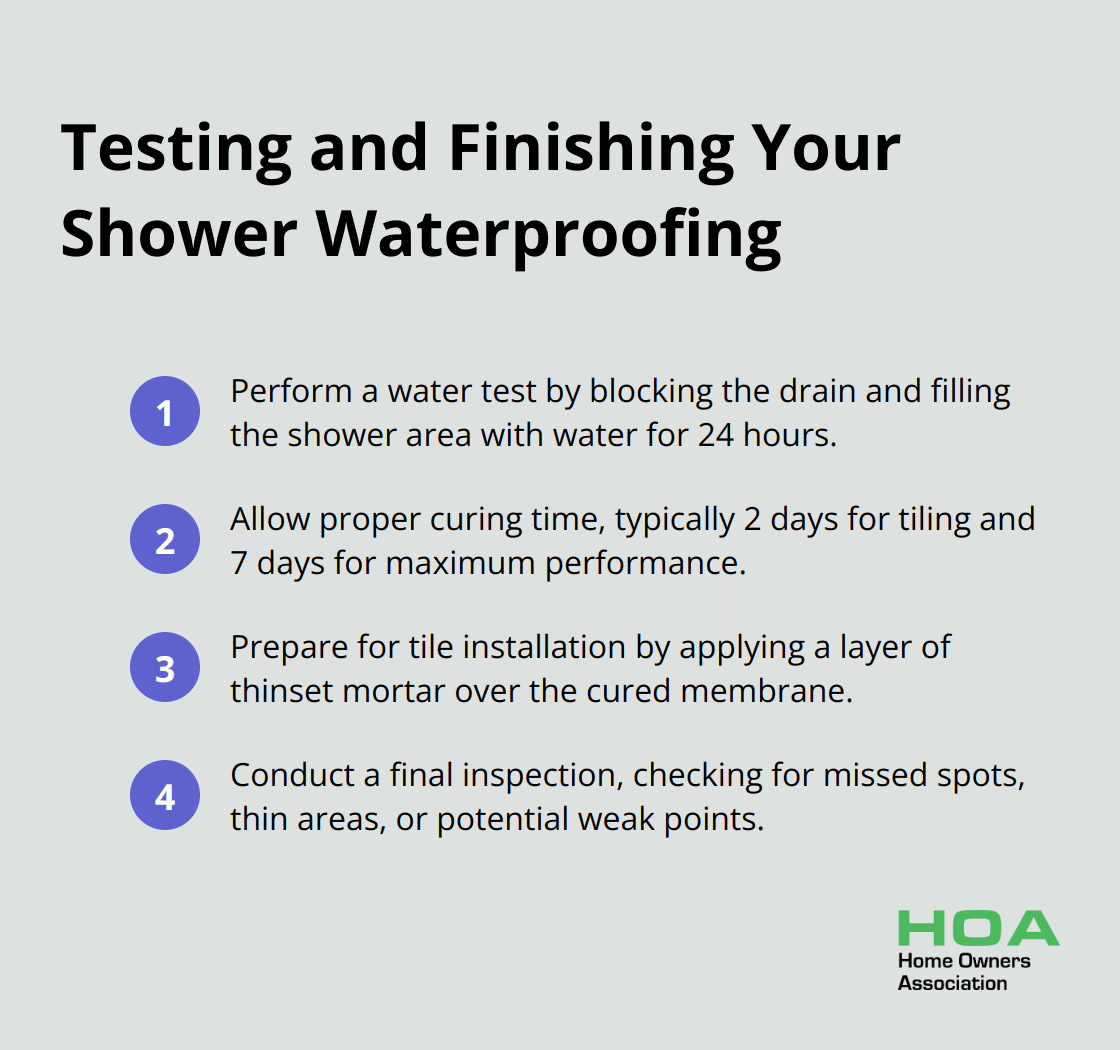
After you install your shower waterproofing membrane, you must test its effectiveness. Block the shower drain and fill the shower area with water. If you’re using a sheet membrane, ensure the sheets overlap slightly at the seams to prevent any gaps that could allow water to seep through. Mark the water level and leave it for at least 24 hours. Check if the water level has dropped after this period. If it has, you need to inspect for leaks and repair them before you proceed.
During the test, focus on corners, seams, and any penetrations (where leaks are most likely to occur). If you spot any issues, drain the water, allow the area to dry completely, and apply additional waterproofing material as needed. Repeat the water test after repairs to ensure complete waterproofing.
Allow Proper Curing Time
Patience is essential when it comes to curing your waterproofing membrane. Curing times can vary depending on the product used. You should be able to tile after 2 days, but the membrane will achieve maximum performance after 7 days. Always refer to the manufacturer’s instructions for specific curing times.
During this period, keep the area dry and free from foot traffic. Maintain a consistent room temperature between 10°C and 30°C to ensure proper curing. If you rush this step, you can compromise the membrane’s effectiveness, potentially leading to future water damage.
Prepare for Tile Installation
Once your membrane has fully cured and passed the water test, you can prepare for tile installation. Start by inspecting the surface once more for any imperfections or damage that might have occurred during the curing process. Address any issues before you proceed.
Next, apply a layer of thinset mortar over the membrane to create a suitable surface for tiling. Use a notched trowel to spread the mortar evenly, ensuring complete coverage. Allow this layer to dry according to the manufacturer’s instructions before you begin tile installation.
Final Inspection
Before you start tiling, conduct a final inspection of the waterproofed surface. Check for any missed spots, thin areas, or potential weak points. Pay extra attention to corners, edges, and areas around fixtures. If you find any issues, address them immediately. This final check can save you from costly repairs down the line.
Final Thoughts
A shower waterproofing membrane protects your bathroom from water damage and mould growth. The installation process requires thorough preparation, careful application, and proper testing. This investment in your bathroom’s longevity will save you time and money on future repairs.
We at Home Owners Association provide expert advice and support for home improvement projects. Our members in Melbourne, Australia, enjoy trade pricing and discounts on materials for tasks like shower waterproofing. You can tackle these projects with confidence, knowing you have access to the best resources and guidance.
A correctly installed shower waterproofing membrane ensures a dry, safe, and comfortable bathroom environment for years to come. This guide equips you with the knowledge to achieve excellent results in your shower waterproofing project (whether you’re a DIY enthusiast or working with professionals). Take the time to install your membrane correctly and enjoy a problem-free shower.