At Home Owners Association, we understand the importance of protecting your home from water damage. Waterproofing on top of tiles is a smart solution for areas prone to moisture, like bathrooms and kitchens.
This guide will walk you through the process of waterproofing over existing tiles, helping you safeguard your property without the need for costly tile removal. By following our expert advice, you’ll be able to extend the life of your tiled surfaces and prevent potential water-related issues.
How to Assess Your Existing Tile Surface
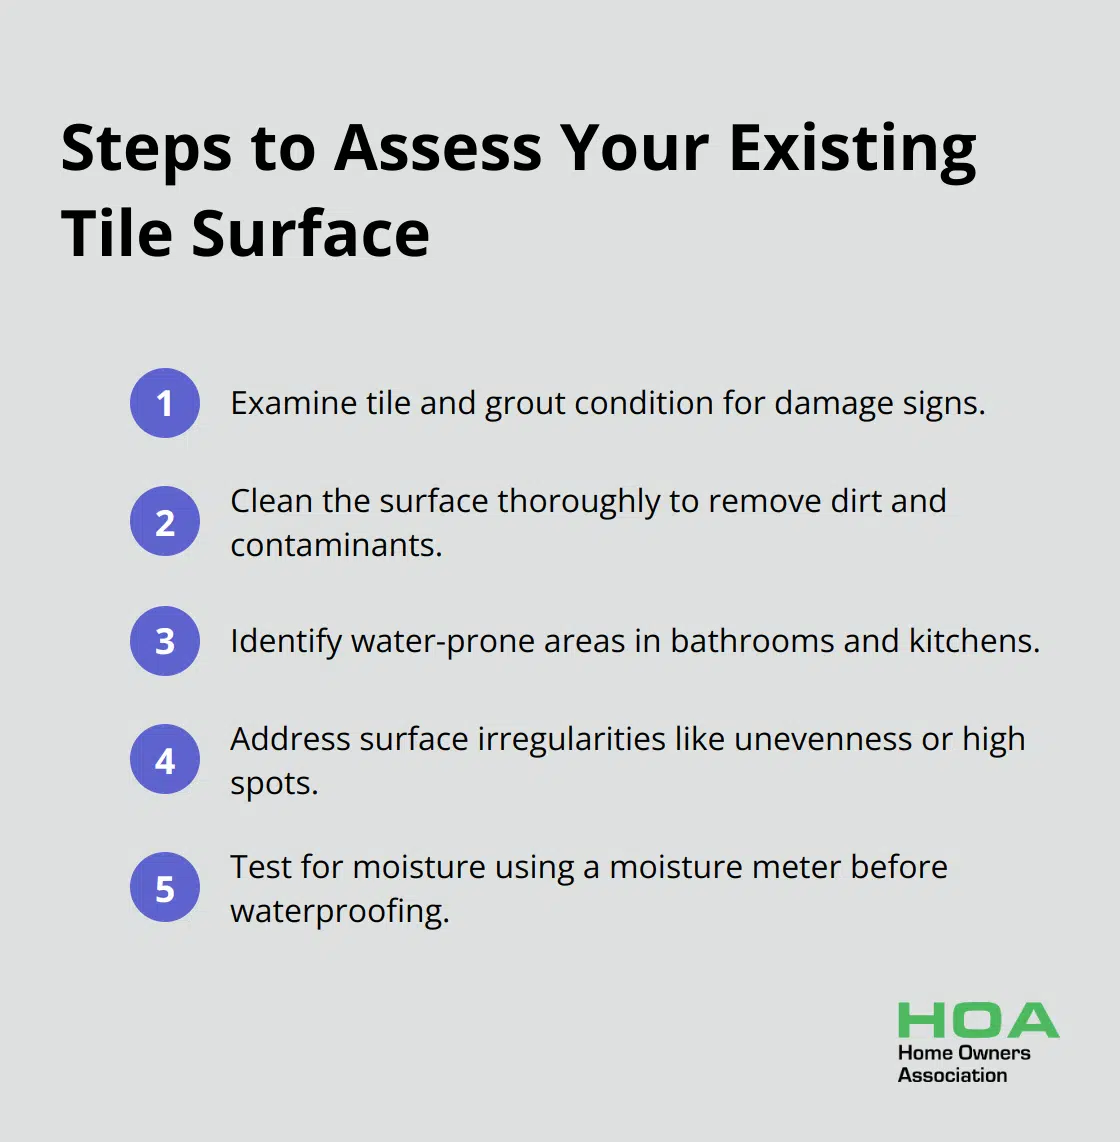
Examine Tile and Grout Condition
Start with a close inspection of each tile for damage signs (cracks, chips, or loose pieces). Focus on grout lines, identifying areas of deterioration or missing grout. Inadequate substrate preparation is one of the defects relevant to sub-surface water ingress in Class 2 and 7 buildings.
Use a screwdriver to tap each tile gently. A hollow sound indicates improper adhesion to the substrate. Remove and re-glue these tiles before waterproofing. Mark problematic tiles with painter’s tape for easy identification during repairs.
Clean the Surface Thoroughly
A clean surface is essential for successful waterproofing. Remove all dirt, grime, soap scum, and contaminants from tiles and grout lines. For stubborn stains or buildup, use a strong tile cleaner or mix equal parts white vinegar and water. Scrub the surface with a stiff brush, focusing on grout lines and corners where debris accumulates.
Rinse the surface thoroughly with clean water and allow it to dry completely. The Australian Building Codes Board stresses that even small amounts of moisture can compromise waterproofing material effectiveness.
Identify Water-Prone Areas
Assess your space to pinpoint areas most susceptible to water exposure. In bathrooms, concentrate on shower enclosures, areas around bathtubs, and toilet bases. For kitchens, pay attention to spaces surrounding sinks and dishwashers.
Map these high-risk zones and plan to apply extra waterproofing material layers in these areas. The National Construction Code of Australia recommends extending waterproofing at least 100mm beyond fixture perimeters in wet areas for comprehensive protection.
Address Surface Irregularities
Inspect the tile surface for any unevenness or high spots. Use a long straight edge to check for variations. The standards and tolerances documented in the Guide are intended to be consistent with and complement other relevant Acts, regulations, and BCA. Grind down high spots to ensure a flat surface for effective waterproofing application.
Fill any gaps or cracks in the tile or grout with a suitable filler or sealant. Allow the filler to dry completely before proceeding with waterproofing. This step prevents water from seeping beneath the waterproofing layer.
Test for Moisture
Conduct a moisture test before applying any waterproofing materials. Use a moisture meter to check the substrate for any hidden dampness. Excessive moisture can lead to waterproofing failure and potential mould growth.
If high moisture levels are detected, address the underlying cause before proceeding. This might involve improving ventilation, fixing leaks, or allowing more drying time. Proper moisture control sets the stage for the next crucial step: choosing the right waterproofing method for your specific situation.
Which Waterproofing Method Is Best for Your Tiles?
Selecting the right waterproofing method for your existing tiles is essential for long-lasting protection. We’ve observed various approaches used across Australia, and we’re here to guide you through the most effective options.
Liquid Membrane Waterproofing
Liquid membrane waterproofing stands out for its ease of application and versatility. This method requires the application of a liquid coating that dries to form a seamless, waterproof barrier. The Australian Building Codes Board recommends liquid membranes for complex shapes and corners, making them ideal for bathrooms and kitchens.
To apply liquid membranes, use a roller or brush to ensure even coverage. Focus on corners and joints, where water is most likely to penetrate. Apply the first coat over the primed surface and allow it to dry (4 hours at 23°C, 50%RH) before applying a second coat in an opposite direction.
Epoxy-Based Sealants
Epoxy-based sealants provide excellent water resistance and durability. These two-part systems chemically bond to the tile surface, creating a hard, impermeable layer. They excel in areas subject to heavy water exposure or chemical spills.
Proper mixing is critical when working with epoxy sealants. Follow the manufacturer’s instructions precisely, as incorrect ratios can lead to inadequate curing and compromised waterproofing. Apply the sealant using a squeegee or roller, and ensure complete coverage of the tile surface and grout lines.
Sheet Membrane Systems
Sheet membrane systems consist of pre-formed sheets that adhere to the tile surface. These systems offer consistent thickness and immediate waterproofing capabilities. They work particularly well for large, flat areas where rapid installation is desired.
To install sheet membranes, first apply a compatible adhesive to the tile surface. Carefully lay the membrane, and smooth out any air bubbles or wrinkles as you go. Pay special attention to seams and overlaps, and ensure they’re properly sealed to prevent water ingress. While installation can require more labour than liquid applications, sheet membranes provide immediate protection once installed.
Factors to Consider When Choosing a Method
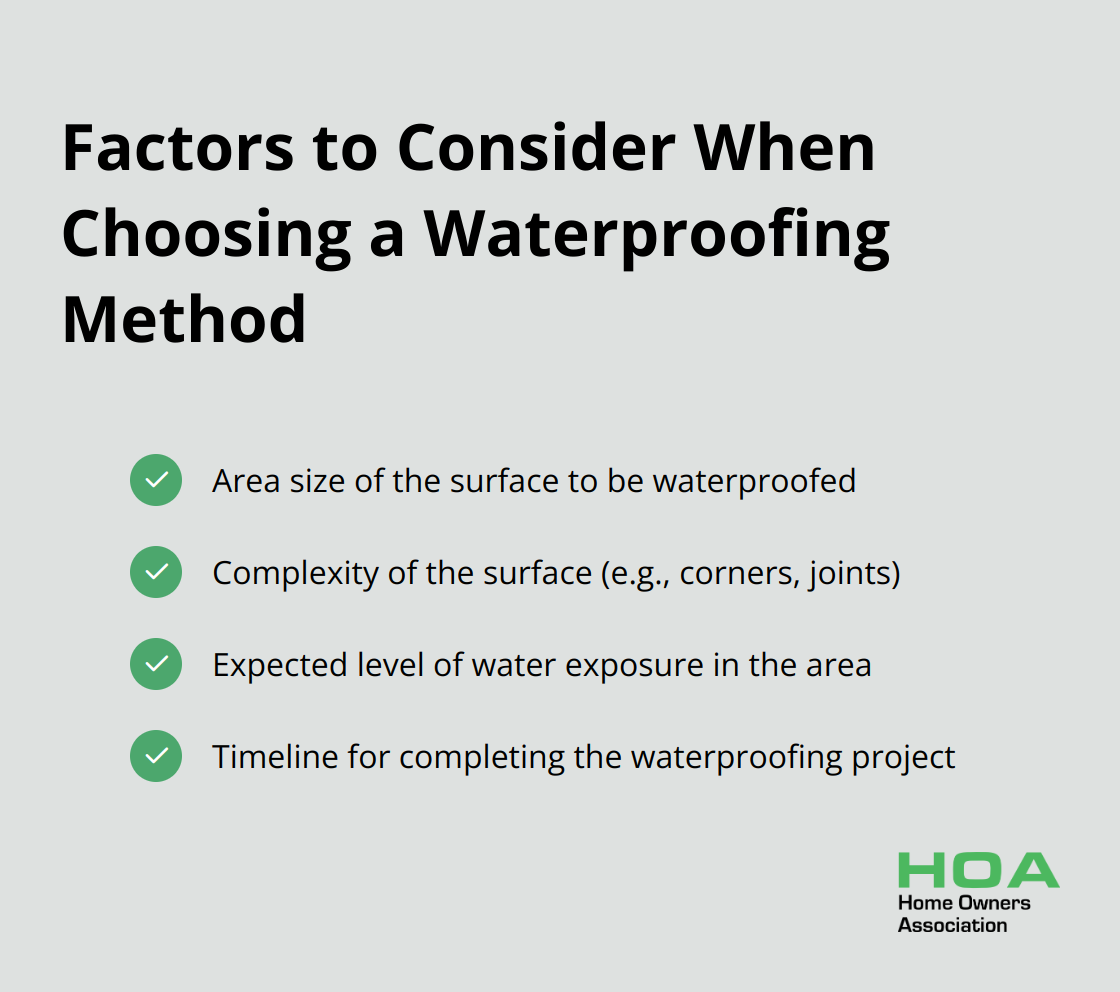
The choice between these methods often depends on the specific requirements of your project. Consider the following factors:
- Area size
- Surface complexity
- Expected water exposure
- Project timeline
For example, a shower remodel might benefit from a liquid membrane due to its ability to conform to complex shapes. In contrast, a large kitchen floor might benefit from the quick installation of a sheet membrane system.
Importance of Surface Preparation
Regardless of the method chosen, proper surface preparation remains paramount. Ensure all tiles are firmly attached, the surface is clean and dry, and any existing sealants or coatings are removed or properly prepared for the new waterproofing layer.
With the right waterproofing method selected and proper preparation complete, you’re ready to move on to the step-by-step waterproofing process. This next phase will guide you through the actual application of your chosen waterproofing material.
How to Apply Waterproofing Over Tiles
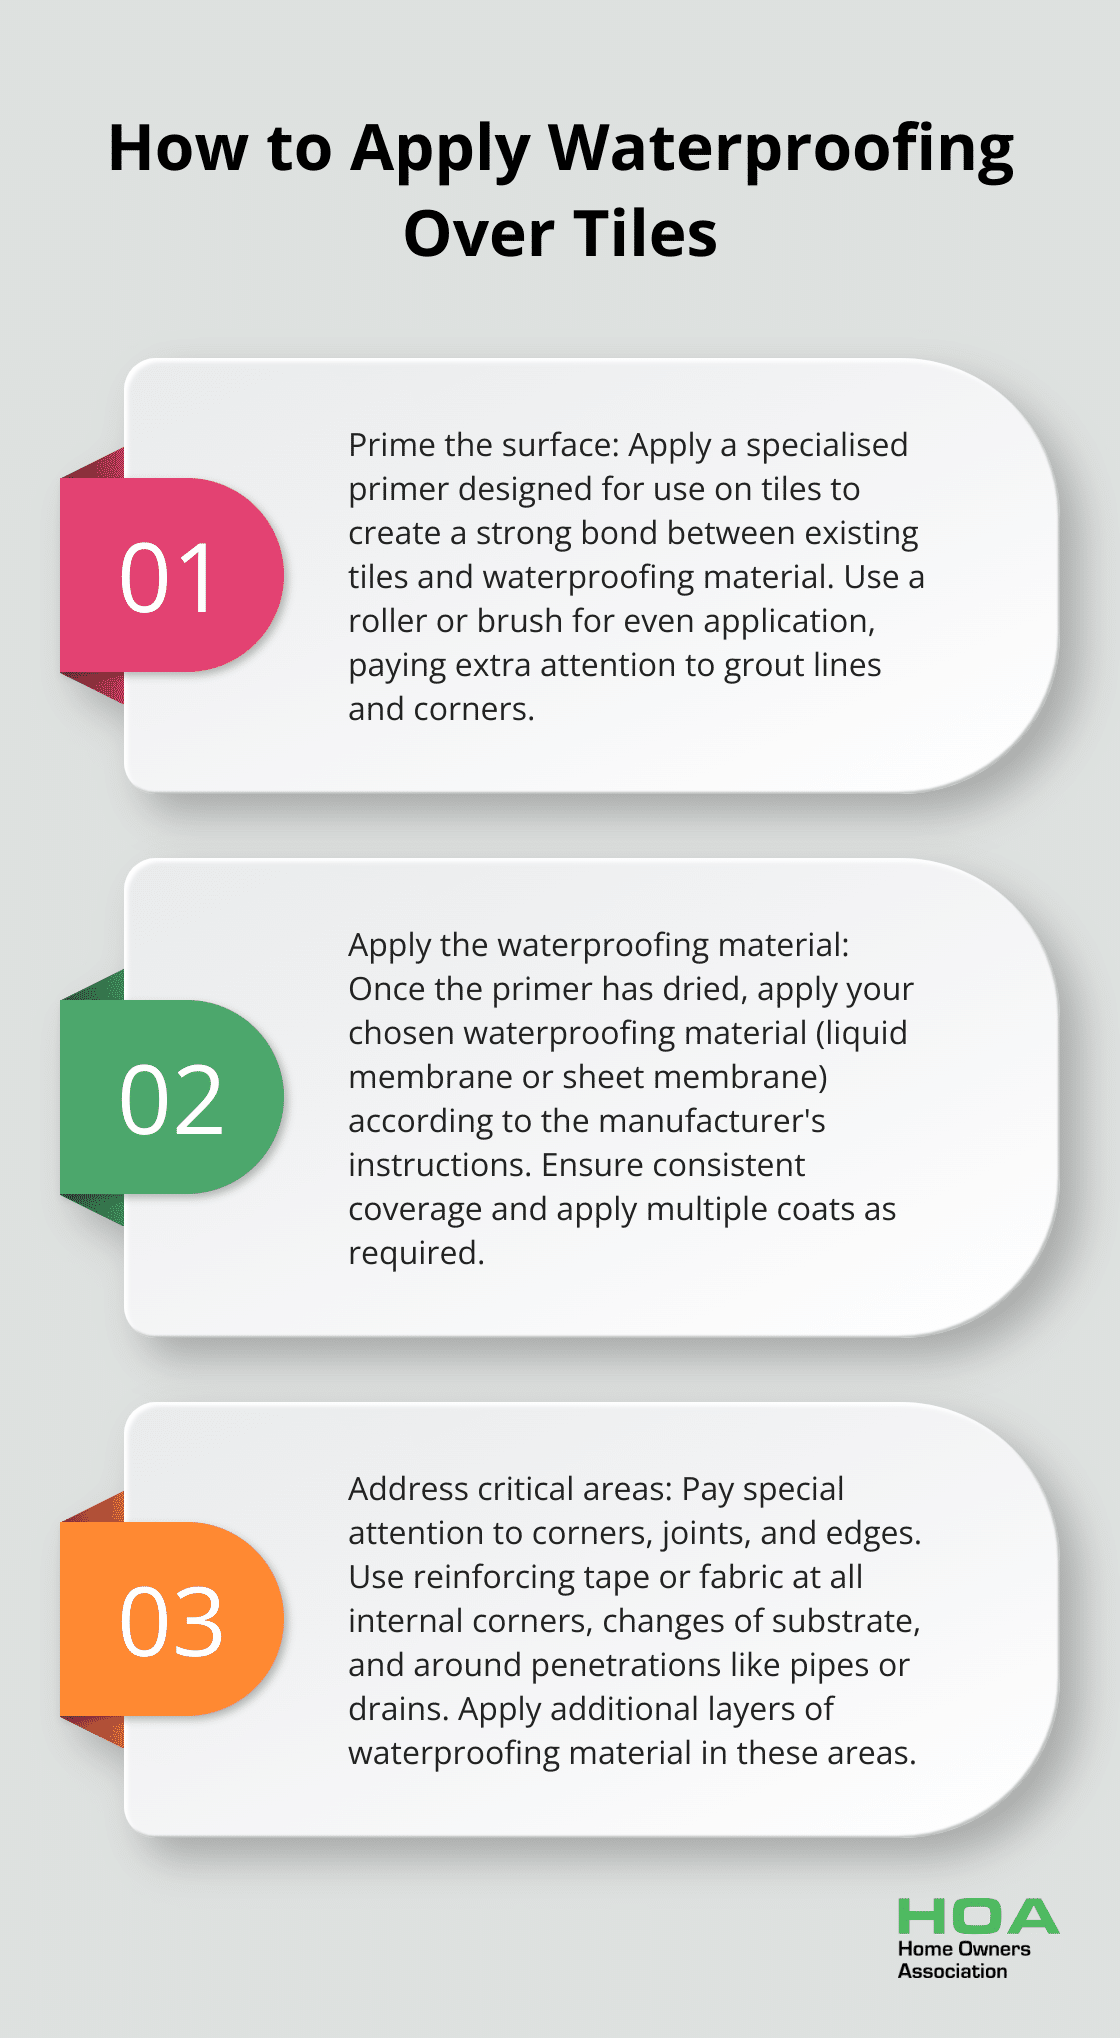
Prime the Surface
Start by applying a specialised primer designed for use on tiles. This step creates a strong bond between the existing tiles and the waterproofing material. Use a roller or brush to apply an even coat of primer. Pay extra attention to grout lines and corners. Allow the primer to dry completely (typically 2-4 hours, depending on the product and environmental conditions).
Apply the Waterproofing Material
Once the primer has dried, apply your chosen waterproofing material. For liquid membranes, use a roller or brush to apply an even coat across the entire surface. Start from one corner of the room and work your way out. Ensure consistent coverage. Apply at least two coats, allowing each to dry before the next application. For sheet membranes, carefully unroll the material onto the adhesive-coated surface. Smooth out any air bubbles as you go.
Address Critical Areas
Corners, joints, and edges require special attention during the waterproofing process. These areas are most susceptible to water penetration and movement. Use reinforcing tape or fabric at all internal corners, changes of substrate, and around penetrations (like pipes or drains). Press the reinforcing material into the first coat of waterproofing while it’s still wet. Then apply a second coat over the top.
For shower areas, wall/floor junction heights should be as per the applicable standards. Where a shower is above a bath or spa, use requirements for shower.
Allow for Proper Curing
After application, allow the waterproofing material to cure fully. This process can take anywhere from 24 to 72 hours, depending on the product and environmental conditions. Don’t rush this step – proper curing is essential for the waterproofing to reach its full effectiveness.
Test the Waterproofing
Once cured, conduct a water test to ensure the waterproofing is successful. Block the drain and flood the area with water. Leave it for at least 24 hours. Check for any signs of leakage or water penetration. If you detect any issues, address them immediately before proceeding with tiling or further renovations.
While DIY waterproofing is possible, professional application ensures compliance with Australian standards and often comes with warranties. Home Owners Association members can access discounted rates for professional waterproofing services, providing peace of mind and expert results.
Final Thoughts
Waterproofing on top of tiles protects your home from moisture damage and extends the life of tiled surfaces. The process involves assessing existing tiles, selecting an appropriate method, and applying the waterproofing material with precision. Professional application often yields the best results and ensures compliance with Australian standards.
Effective waterproofing prevents costly water damage, maintains a healthier living environment, and increases property value. It reduces the risk of mould and mildew growth while saving money on future repairs. These benefits make waterproofing a smart investment for homeowners who want to secure their property’s longevity and value.
At Home Owners Association, we help Melbourne homeowners make informed decisions about property maintenance and improvement projects. Our members enjoy exclusive benefits, including access to trade pricing and expert advice (making the waterproofing process more affordable and stress-free). Invest in proper waterproofing today to protect your home for years to come.