At Home Owners Association, we understand the importance of protecting your concrete floors from water damage. Waterproofing your concrete floor is a crucial step in maintaining the integrity of your home’s foundation and preventing costly repairs.
This guide will walk you through the process of waterproofing concrete floors, from preparation to application. We’ll cover different methods and materials to help you choose the best solution for your specific needs.
Why Waterproof Your Concrete Floor?
The Silent Threat of Water Damage
Concrete floors are robust, but they’re not impervious to damage. Water poses a significant threat to concrete, often causing harm that goes unnoticed until it’s too late. Many property owners underestimate the importance of concrete waterproofing, leading to costly repairs down the line.
Water damage in concrete manifests in various ways:
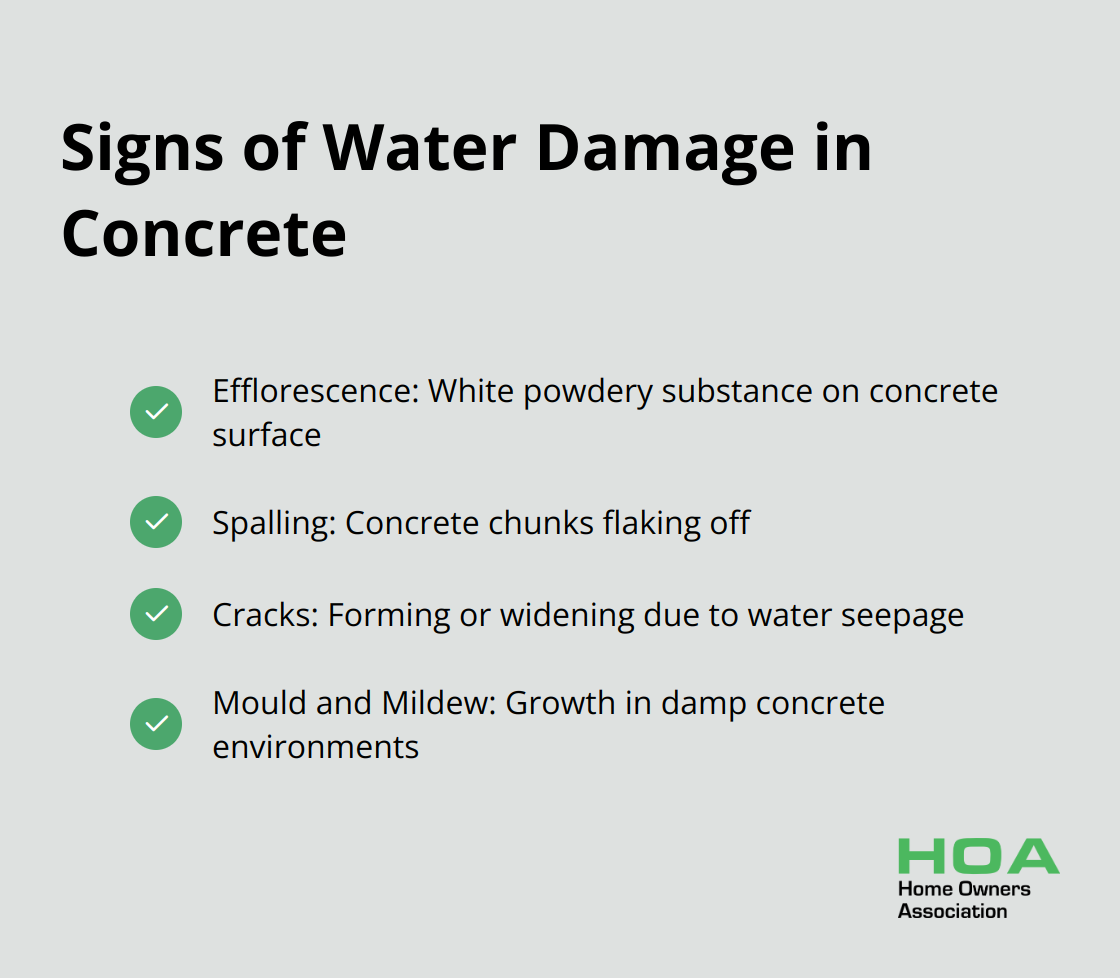
- Efflorescence: This appears as a white powdery substance on your concrete surface, indicating water movement through the material.
- Spalling: When concrete chunks flake off, it’s often due to water freezing and expanding within the structure.
- Cracks: Water seepage can cause cracks to form or existing ones to widen as it expands and contracts with temperature changes.
- Mould and Mildew: Damp concrete creates an ideal environment for these health hazards to flourish.
The Benefits of Proper Waterproofing
Waterproofing your concrete floor isn’t just about preventing damage-it’s an investment in your property’s longevity and value. Here’s what you stand to gain:
- Structural Integrity: A waterproof barrier prevents water from weakening your concrete’s internal structure.
- Cost Savings: You’ll avoid potentially expensive repairs by preventing water damage.
- Improved Indoor Air Quality: Polished concrete floors can enhance visual appeal and extend durability while contributing to better air quality.
- Increased Property Value: A well-maintained, waterproof concrete floor can boost your home’s resale value.
Selecting the Right Waterproofing Method
Not all waterproofing solutions offer equal protection. The best method depends on your specific situation:
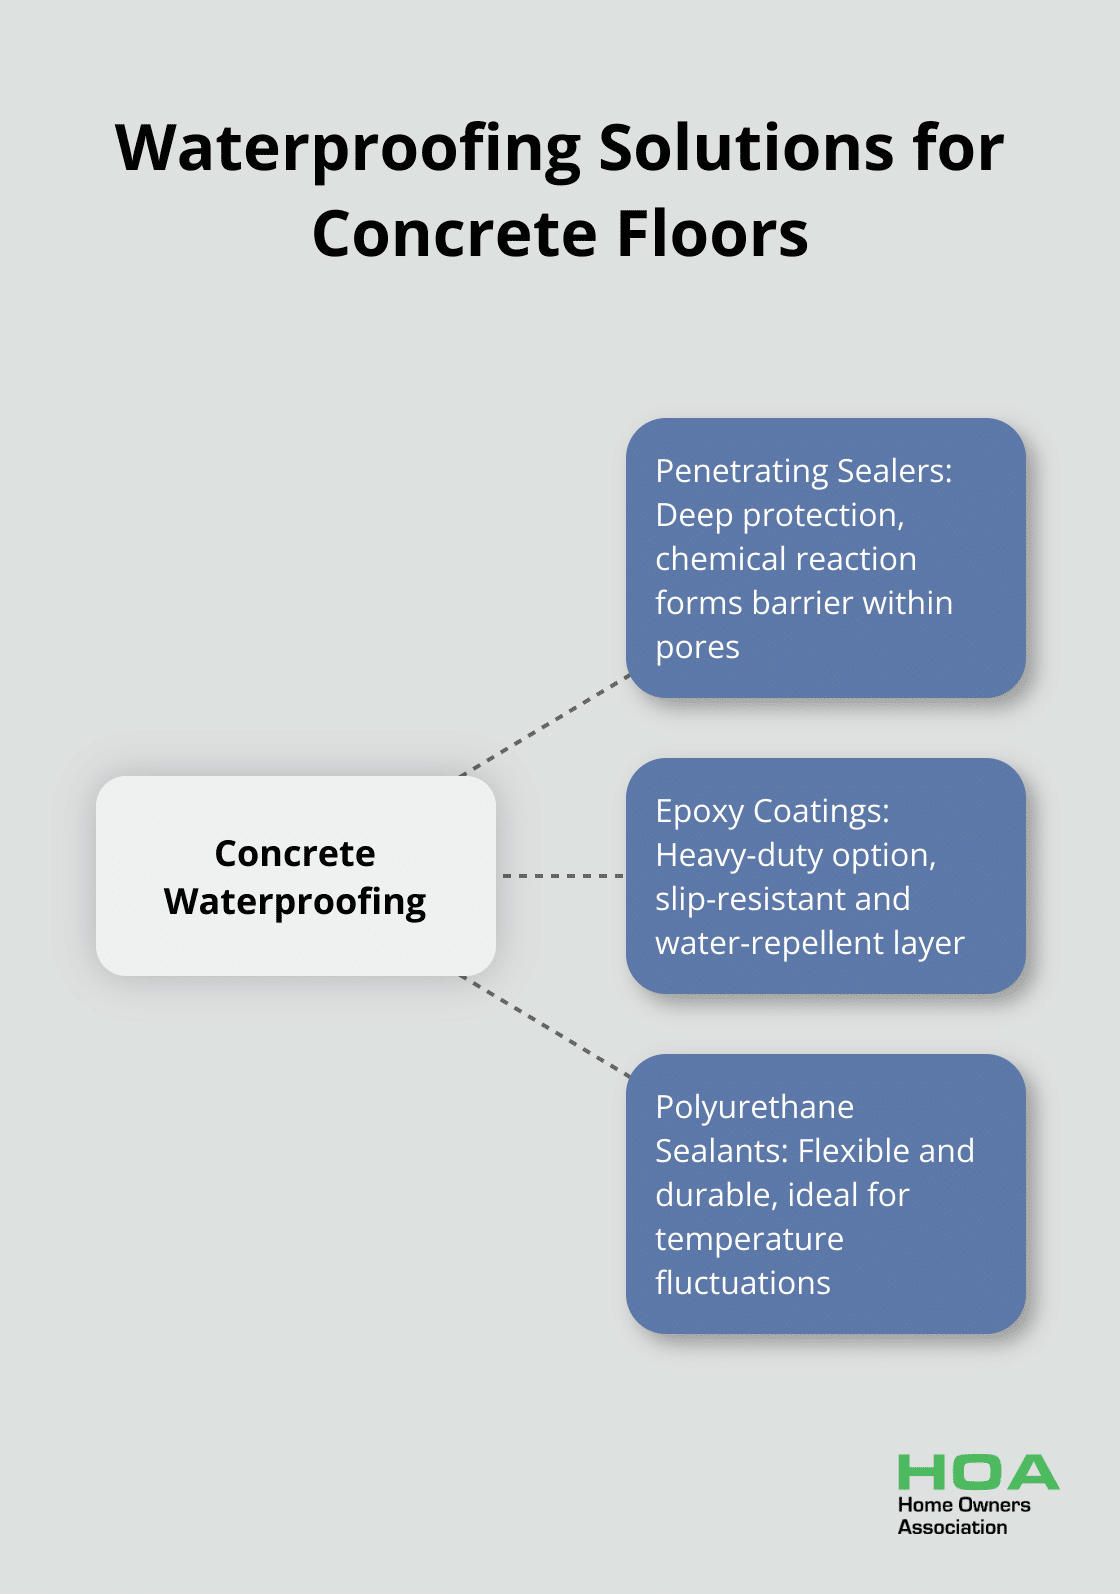
- Penetrating Sealers: These work well for minimally damp concrete, seeping into the pores to create a water-resistant barrier.
- Epoxy Coatings: Ideal for areas with higher moisture levels, epoxy forms a thick, impermeable layer on the concrete surface.
- Polyurethane Sealants: These offer excellent flexibility and suit concrete that experiences temperature fluctuations.
The Importance of Professional Assessment
While DIY waterproofing is possible for some projects, complex situations often require professional expertise. A thorough assessment can reveal hidden moisture issues and help determine the most effective waterproofing strategy for your specific concrete floor.
As we move forward, we’ll explore the essential steps to prepare your concrete floor for waterproofing, ensuring you achieve the best possible results for long-lasting protection.
Preparing Your Concrete Floor for Waterproofing
Assessing Your Concrete Surface
Start with a thorough inspection of your concrete floor. Look for cracks, chips, or uneven areas. These imperfections can undermine the waterproofing process if left unaddressed. Use a flashlight to examine the surface at different angles, as this can reveal subtle issues that might be missed in normal lighting.
Cleaning the Concrete
A clean surface ensures proper adhesion of waterproofing materials. Sweep the floor to remove loose debris. For a deeper clean, use a pressure washer. Many hardware stores offer rentals if you don’t have access to one. Set the pressure to about 3,000 PSI for standard residential concrete cleaning.
For stubborn stains or oil spots, apply a degreaser and scrub with a stiff-bristled brush. Rinse thoroughly and allow the floor to dry completely. This process can take 24 to 48 hours, depending on humidity levels.
Repairing Damage
Address any cracks or chips in the concrete before waterproofing. For small cracks (less than 1/4 inch wide), use a concrete patching compound. Larger cracks may require epoxy injection. If you’re unsure about the best repair method, consult with a professional. Even minor imperfections can lead to water infiltration if not properly addressed.
Removing Existing Sealants
If your concrete floor has been previously sealed or coated, remove this layer before applying new waterproofing. Use a concrete grinder or chemical stripper to remove old sealants. This step is essential as new waterproofing products won’t adhere properly to old coatings.
Gathering Your Tools and Materials
For a successful waterproofing project, you’ll need the following:
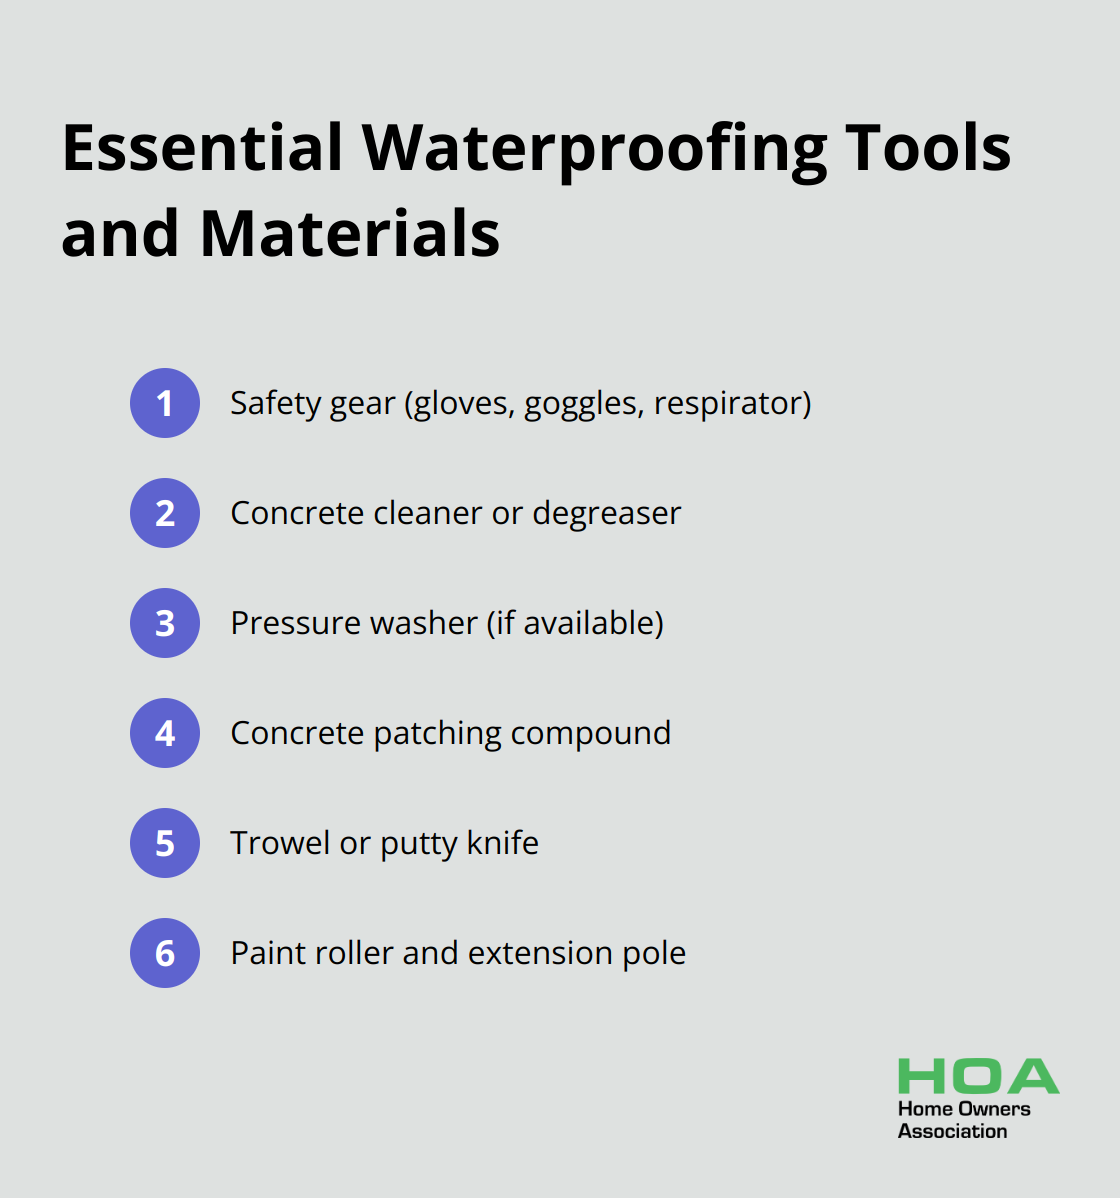
- Safety gear (gloves, goggles, respirator)
- Concrete cleaner or degreaser
- Pressure washer (if available)
- Concrete patching compound
- Trowel or putty knife
- Paint roller and extension pole
- Paintbrush for edges and corners
- Waterproofing product of your choice
Choose your waterproofing product based on your specific needs and the condition of your concrete. If you’re unsure, don’t hesitate to reach out to professionals for personalised advice.
Testing for Moisture
Before applying any waterproofing product, test the moisture content of your concrete. Use a moisture meter to ensure the levels are within the acceptable range for your chosen product. This can involve drilling holes into the concrete and inserting an electronic meter, or embedding it before the concrete has dried out.
With your concrete floor properly prepared, you’re now ready to move on to the next step: applying the waterproofing solution. The success of your waterproofing project largely depends on how well you’ve prepared the surface, so take your time and be thorough in this stage.
Applying Waterproofing Solutions
Penetrating Sealers: Deep Protection
Epoxy concrete sealers are extremely durable and popular for protecting concrete surfaces. These sealers penetrate the concrete surface and create a chemical reaction that forms a protective barrier within the pores.
To apply a penetrating sealer:
- Pour the sealer into a low-pressure sprayer.
- Apply it evenly across the surface, working in small sections.
- Use a roller to ensure even distribution and prevent puddles.
- Allow the first coat to dry for about 2-4 hours.
- Apply a second coat for maximum protection.
Penetrating sealers typically dry within 24 hours but may take up to 72 hours to cure fully. Always check the manufacturer’s instructions for specific timing.
Epoxy Coatings: Heavy-Duty Option
For areas with higher moisture levels, epoxy coatings provide a slip-resistant and water-repellent layer. These coatings work well for basements or areas prone to flooding.
Application process:
- Mix the epoxy components according to the manufacturer’s instructions.
- Pour the mixture onto the floor in small amounts.
- Use a notched squeegee to spread the epoxy evenly.
- Back-roll with a roller to remove any air bubbles and ensure even coverage.
- Allow to cure for 24-48 hours before light foot traffic, and up to 7 days for full cure.
Each coating requires 12 hours before the next application.
Polyurethane Sealants: Flexibility Meets Durability
Polyurethane sealants offer excellent flexibility, making them ideal for concrete that experiences temperature fluctuations. They work particularly well for outdoor applications.
To apply polyurethane sealant:
- Cut the nozzle of the sealant tube at a 45-degree angle.
- Load the tube into a caulking gun.
- Apply the sealant in a continuous bead along cracks or joints.
- Use a putty knife to smooth the sealant and ensure it fills the crack completely.
- Allow to cure for 24-48 hours (depending on humidity levels).
For larger areas, some polyurethane sealants can be applied with a roller, similar to epoxy coatings.
Safety Precautions
Proper application is essential for effective waterproofing. Always wear appropriate safety gear, including gloves, goggles, and a respirator. Ensure proper ventilation during application and curing to protect your health and ensure the best results for your waterproofing project.
Professional Assistance
If you feel unsure about tackling this project yourself, consider consulting with professionals. Expert advice can often lead to better results and potentially save you money in the long run (through proper application and material selection).
Final Thoughts
Waterproofing your concrete floor protects your home’s foundation and prevents costly damage. We have outlined the essential steps, from thorough preparation to choosing the right waterproofing method for your specific needs. Proper surface cleaning, repair, and moisture testing will ensure successful application of your chosen waterproofing solution.
Regular maintenance will extend the longevity of your waterproofing efforts. You should inspect your concrete floor annually for signs of wear or damage, and address any issues promptly. Reapply waterproofing treatments as recommended by the manufacturer to maintain optimal protection (this typically ranges from every 2-5 years).
For personalised advice on waterproofing concrete floors or any other home improvement project, reach out to the Home Owners Association. We provide expert guidance, access to trade pricing, and resources to help Melbourne homeowners make informed decisions and achieve successful results in their home improvement endeavours.