Hardwood flooring transforms Australian homes with warmth and durability, but the installation process demands precision and planning. We at Home Owners Association have created this guide to walk you through every stage, from preparing your subfloor to protecting your finished floor.
Whether you’re tackling this project yourself or planning to hire professionals, understanding each step matters. This guide covers moisture management, layout strategies, and the finishing techniques that make hardwood flooring installation successful in Australia’s climate.
Preparing Your Home for Hardwood Flooring Installation
Inspecting and Fixing Your Subfloor
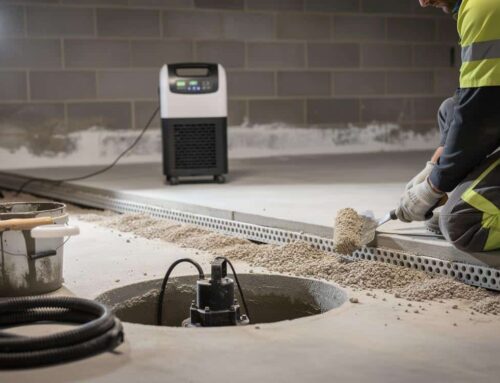
Your subfloor is the foundation of your hardwood installation, and it demands serious attention before any boards go down. Inspect the subfloor surface for damage, unevenness, and moisture problems. Australian Standard AS3600 specifies that concrete slabs must be flat within plus or minus 3mm over 3 metres-if yours exceeds this, use self-levelling compounds to correct it. More critically, concrete moisture content must sit below 5.5% according to AS1884, which you’ll verify with a moisture meter. High moisture causes expansion, gaps, and buckling after installation, so address any leaks, dampness, or roof issues before proceeding.
If your concrete slab shows moisture content above 5.5%, install a 200-micron vapour barrier beneath it, extending 75mm up walls and overlapping joints by 200mm with sealed tape. For subfloors made of plywood, particleboard, or existing timber, ensure they comply with AS/NZS 2269 and are clean, flat, and free of debris, oils, and grease. Subfloor preparation matters most-the Building Code of Australia requires robust cross-ventilation and adequate airflow beneath suspended floors to prevent moisture accumulation in Australia’s humid regions.
Understanding Timber Movement and Humidity
Hardwood movement is driven entirely by humidity, so timber expands and contracts with ambient moisture and temperature changes across your location. Target kiln-dried timber with a moisture content of 9% to 14%, per Australian Standard AS2796. Use a moisture meter to verify the timber’s moisture content approaches your site’s average relative humidity before you fix boards. Check your Australian Bureau of Meteorology climate averages for your region to estimate the equilibrium moisture content your timber will reach.
Large differences between site humidity and timber moisture content increase seasonal gaps and movement, so you must design expansion joints carefully. Plan minimum 12mm expansion gaps around all perimeters and obstructions, and in humid conditions, allow even more space. For floors wider than 6 metres, include intermediate expansion joints as required by AS1684, with cork joints protruding about 2mm above the surface.

Acclimatising Timber to Your Environment
Allow solid timber approximately 14 days to acclimatise in your home’s environment-this gives boards time to adjust to your local humidity levels. This acclimatisation period is non-negotiable if you want to avoid warping and movement after installation. Complete all weatherproofing work (roofing, windows, and exterior cladding installation) before you remove existing flooring, as this prevents moisture damage to your new timber floor. With your subfloor prepared, moisture barriers installed, and timber acclimatised to your local conditions, you’re ready to move forward with the actual installation process.
Installing Hardwood Flooring Correctly
Planning Your Layout and First Row
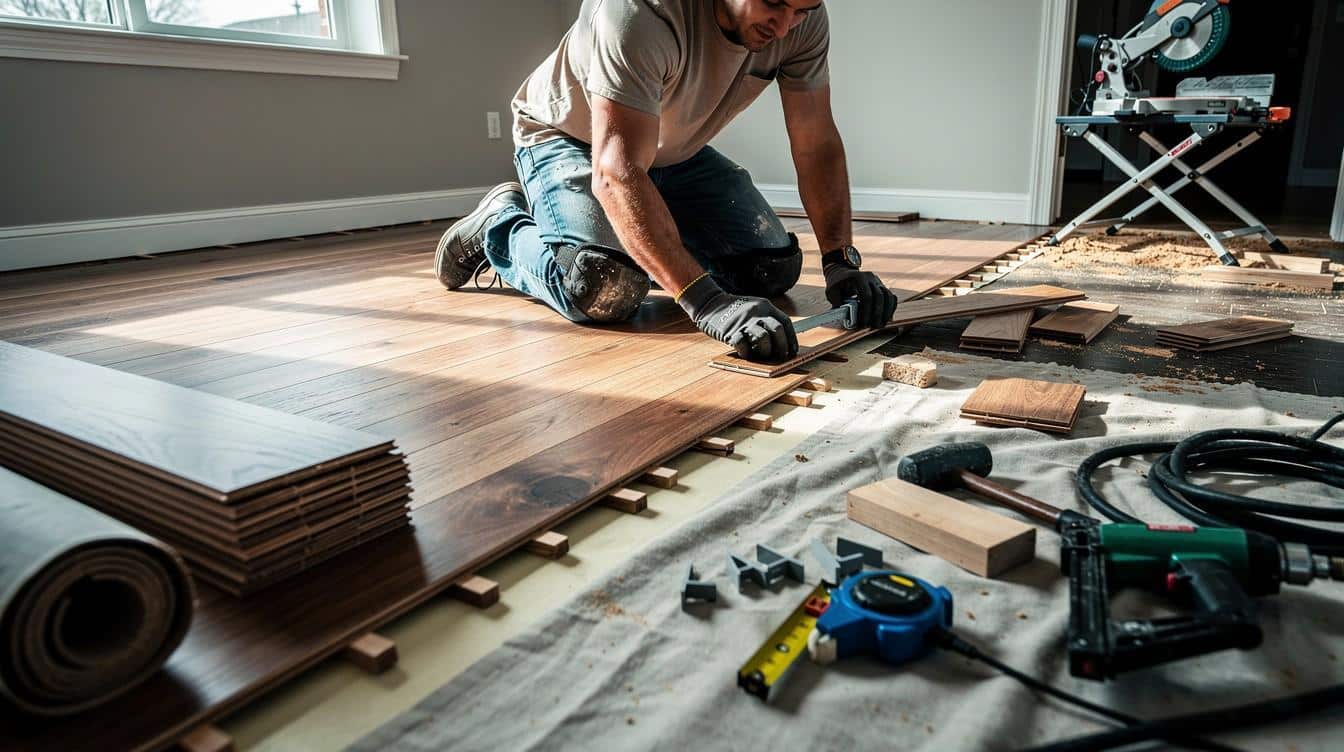
Establish a solid layout plan before you place any boards. Measure your room carefully and snap a chalk line down the centre of the longest wall, then work outward from this line to avoid ending with narrow slivers on opposite sides. Place your first row with the tongue side facing the wall and use 12mm spacers along the perimeter to maintain expansion gaps-this non-negotiable spacing prevents buckling when timber responds to humidity changes. Stagger end joints across rows by at least 150mm so joints don’t line up vertically, which strengthens the floor structurally and creates a more natural appearance.
Fastening Methods by Board Width
Your board width determines which fastening method you must use. For board widths up to 130mm, you can use top nailing or secret nailing; boards 85mm or wider must follow secret nailing procedures per AS1684.2 standard, while 180mm-wide boards require top nailing instead. If your floor exceeds 6 metres in width, incorporate intermediate expansion joints with cork that protrudes approximately 2mm above the surface, as AS1684 demands this for large installations.
Installing Moisture Barriers and Securing Boards
Install your moisture barrier before any boards go down if you haven’t already. A 200-micron vapour barrier under concrete slabs must extend 75mm up walls with 200mm overlapping joints sealed with tape-this prevents moisture rising from the ground and causing expansion or cupping. Use a flooring nailer rather than a standard hammer and nails; this pneumatic tool drives fasteners at the correct angle and depth without damaging boards. Work methodically across each row, using a tapping block and hammer to close gaps between planks tightly before you secure them.
Maintaining Level and Consistent Spacing
Verify regularly with a level that boards sit flat and level; if high spots emerge, sand them immediately rather than working around them. Maintain consistent pressure and spacing as you progress-rushing this stage causes gaps to widen after installation when timber naturally adjusts to your home’s humidity. Once all boards are secured and expansion gaps remain clear, install baseboards and trim to cover perimeter gaps and create a finished appearance. With your hardwood properly installed and secured, your floor is ready for the finishing work that protects and enhances its appearance.
Protecting Your Hardwood Floor After Installation
Allowing Timber to Settle After Installation
Your hardwood floor needs immediate protection after installation, and the work you do in the first weeks determines whether it lasts decades or develops problems. If you’ve installed parquet or overlay solid hardwood flooring, you must leave the floor unsanded for 14 days after installation before any finishing work begins-this acclimatisation period allows the timber to settle into your home’s humidity levels. During this two-week window, you should keep the space at a stable temperature and humidity level; fluctuations cause the timber to move unevenly and create gaps or cupping. Once acclimatisation is complete, you can proceed with sanding.
Sanding Your Floor Systematically
Sand the floor systematically using progressively finer grits, starting with 60-grit to remove surface irregularities, then moving to 80-grit, 120-grit, and finishing with 150-grit or higher for a smooth surface. You should sand in the direction of the grain to avoid cross-grain scratches that become visible once you apply finish. Work methodically across the entire floor rather than focusing on one area, as inconsistent sanding creates visible variations in sheen and colour once the finish is applied.

Testing and Applying Stain
Staining is optional but transforms the appearance of your hardwood-you must test any stain on scrap timber from your installation before applying it to the floor itself, as colour retention and tannin behaviour vary significantly between species. Once you’ve chosen your stain, you should apply it evenly with a brush or cloth, working in manageable sections and following the grain direction. After staining dries completely (typically 24 hours), you can apply your protective coating.
Applying Protective Coatings
Water-based polyurethane works well for most Australian homes because it dries faster than oil-based alternatives, yellows less over time, and releases fewer volatile organic compounds. You should apply at least two coats, sanding lightly between coats with 220-grit paper to improve adhesion-the first coat seals the timber and the second coat builds protection. Allow full cure time before foot traffic; water-based polyurethane typically requires 48 to 72 hours before you can walk on the floor normally, though furniture should remain off for a full week.

Maintaining Your Floor During and After Curing
During curing, you must maintain stable humidity and avoid damage to wood structures. Once cured, you should clean your floor with a hardwood-specific cleaner and avoid steam cleaners or excessive water, which penetrate the finish and cause swelling or warping beneath.
Final Thoughts
Hardwood flooring installation in Australia demands respect for moisture management, proper fastening techniques, and adequate settling time before finishing work starts. The standards we’ve referenced-AS1884 for moisture content and AS1684 for expansion gaps-exist because Australian humidity fluctuations will test your floor relentlessly if you skip these steps. Professional installers understand regional climate patterns and carry the equipment to achieve the precision that DIY work often misses, plus they hold insurance and warranties that protect you if problems arise.
Long-term maintenance determines whether your hardwood performs well across Australia’s varied climates. Sweep regularly, wipe spills immediately, use furniture pads to prevent scratches, and clean with hardwood-specific products rather than steam cleaners or excessive water. Re-oil or reseal your floor every few years depending on foot traffic, as this maintains the protective barrier against humidity fluctuations that cause movement and damage.
We at Home Owners Association support homeowners throughout their renovation projects with trade pricing, expert guidance, and resources to ensure quality outcomes. Visit Home Owners Association to access the support and savings that make your hardwood flooring installation successful and confident.