At Home Owners Association, we understand the importance of protecting your property from water damage. Bituminous waterproofing is a highly effective method to safeguard your home’s foundation and structure.
This blog post will guide you through the process of applying bituminous waterproofing, ensuring you achieve the best results. We’ll cover everything from surface preparation to the final application steps, helping you maintain a dry and secure home.
What Is Bituminous Waterproofing?
Bituminous waterproofing stands as a robust solution for protecting buildings from water damage. At its core, it’s a layer of modified bitumen incorporating polymers like styrene-butadiene-styrene (SBS) or atactic polypropylene (APP)-applied to surfaces to create a water-resistant barrier. This method has been a staple in the construction industry for decades, and for good reason.
The Composition of Bituminous Waterproofing
Bituminous waterproofing materials typically consist of bitumen mixed with polymers. This combination results in a flexible, durable sheet that can withstand various weather conditions. The two main types you’ll encounter are SBS (Styrene-Butadiene-Styrene) and APP (Atactic Polypropylene) modified bitumen. SBS is more suitable for colder climates due to its flexibility, while APP performs better in warmer regions thanks to its heat resistance.
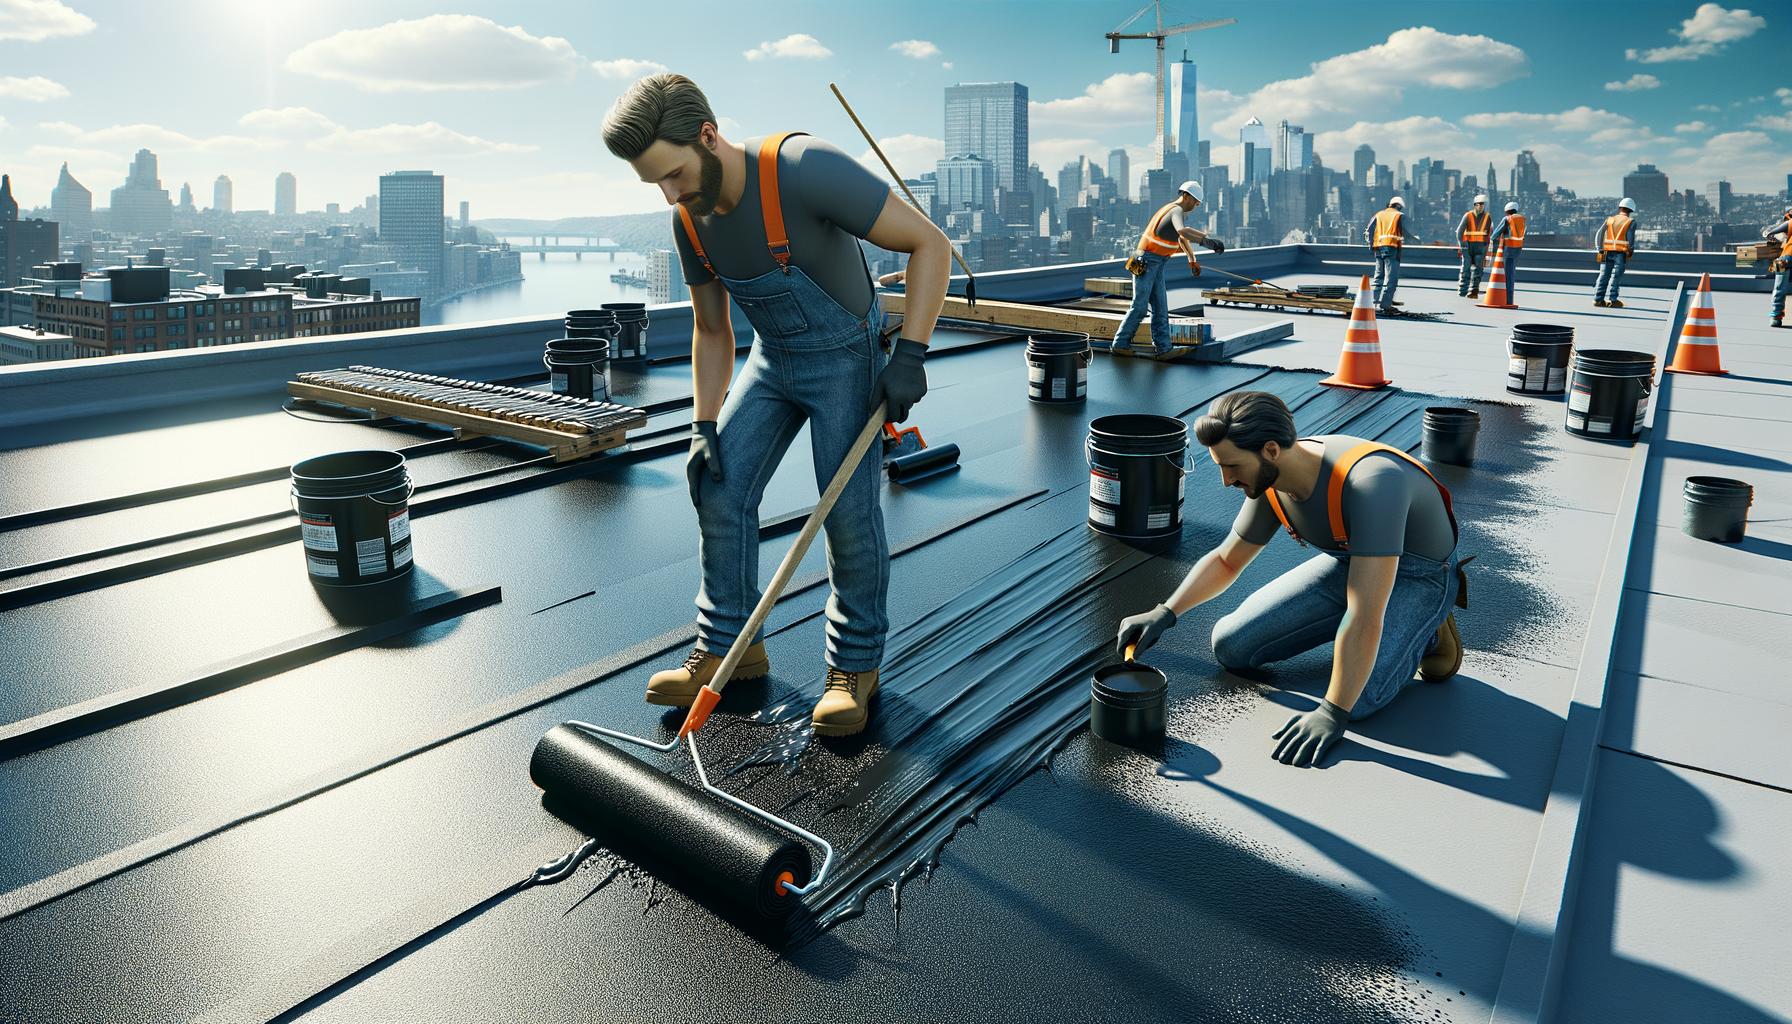
Application Methods
These waterproofing membranes can be applied through torch-on methods or self-adhesive options. The torch-on variety requires heating the underside until it becomes glossy, ensuring proper adhesion. Self-adhesive membranes, on the other hand, are easier to apply and are a popular choice for DIY projects.
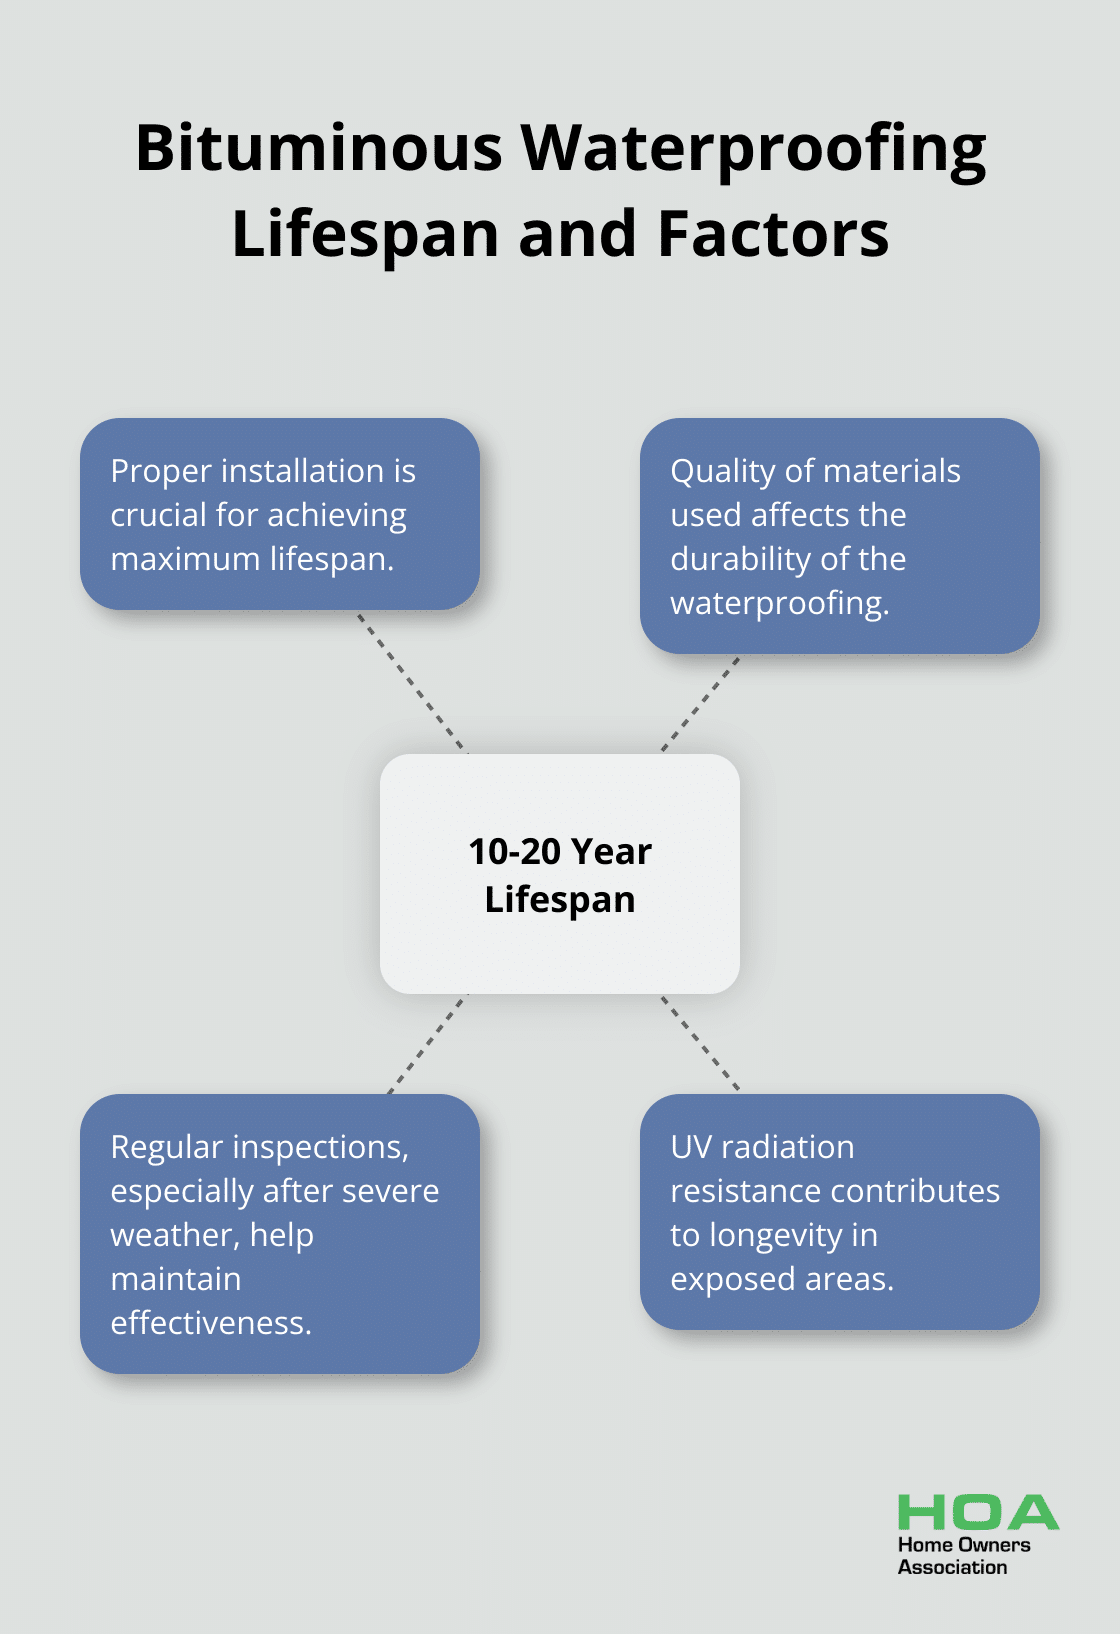
When properly installed, bituminous waterproofing can last between 10 to 20 years (depending on the quality of materials used and the installation method). Regular inspections, especially after severe weather, are important to identify and address any potential damage early on.
Advantages of Bituminous Waterproofing
One of the key benefits of bituminous waterproofing is its excellent resistance to UV radiation and temperature fluctuations. This makes it an ideal choice for exposed areas like roofs. Additionally, its self-healing properties allow it to seal minor cracks when exposed to heat, further extending its lifespan.
Innovations in Bituminous Waterproofing
The waterproofing industry continues to evolve, with recent trends focusing on eco-friendly additives and smart technologies. Some manufacturers now incorporate nano-additives to enhance thermal stability and mechanical strength. However, it’s important to note that while these advancements are promising, they’re still in the early stages of widespread adoption.
For those considering bituminous waterproofing, it’s important to engage with experienced professionals. While DIY application is possible (especially with self-adhesive membranes), professional installation ensures high standards and can significantly extend the waterproofing system’s lifespan.
Now that we understand what bituminous waterproofing is and its benefits, let’s move on to the next critical step: preparing the surface for application.
How to Prepare Surfaces for Bituminous Waterproofing
Proper surface preparation forms the bedrock of successful bituminous waterproofing. This step cannot be overlooked or rushed, as it directly impacts the longevity and effectiveness of the waterproofing system.
Clean and Inspect the Surface
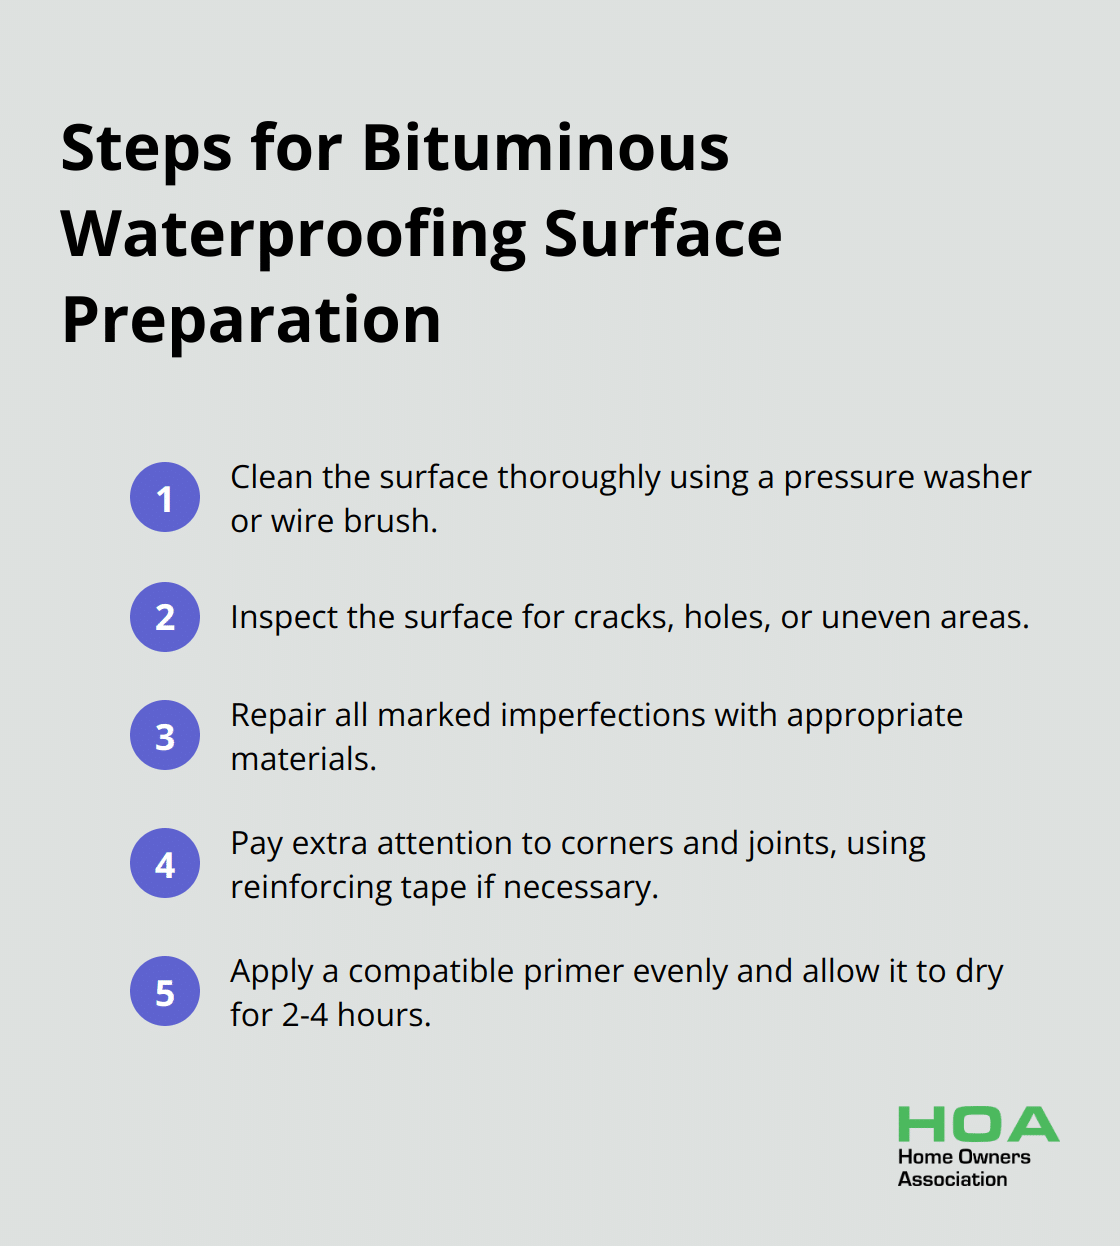
Start with a thorough cleaning of the surface. Use a pressure washer for large areas or a wire brush for smaller spaces. For stubborn stains or oil residues, apply a degreasing agent. Even small particles can compromise the adhesion of the bituminous membrane, so be meticulous in this step.
After cleaning, conduct a detailed inspection. Look for any signs of damage, such as cracks, holes, or uneven areas. Mark these spots for repair. This process requires patience and attention to detail (a missed imperfection now could lead to water ingress later).
Repair Cracks and Damages
Address all marked imperfections before proceeding. For small cracks, apply an elastomeric sealant. Larger cracks or holes require a cement-based patching compound. Allow these repairs to cure fully before moving on.
Pay extra attention to corners and joints. These areas often experience movement and require additional care. Use reinforcing tape or fabric to strengthen these vulnerable spots.
Prime the Surface
Priming is the final step in surface preparation, and it’s absolutely essential. The right primer ensures optimal adhesion between the substrate and the bituminous membrane.
Select a primer compatible with your surface material. TREMproof Torch Bitumen Primer is a solvent-based modified bitumen primer designed to assist with adhesion of the TREMproof Torch and TREMproof 3300HD.
Apply the primer evenly using a roller or brush. Allow it to dry for 2-4 hours (or as specified by the manufacturer). A properly primed surface will have a tacky feel when dry.
Common Mistakes to Avoid
Many DIY enthusiasts and even some professionals make the mistake of rushing through surface preparation. This can lead to waterproofing failure down the line. Take your time with each step, and if you’re unsure about any part of the process, consult with a professional.
Another common error is using incompatible primers or applying them incorrectly. Always follow the manufacturer’s instructions carefully, and when in doubt, seek expert advice.
With your surface now properly prepared, you’re ready to move on to the actual application of the bituminous waterproofing membrane. The next section will guide you through this process, helping you make the most of your careful preparation work.
How to Apply Bituminous Waterproofing
Measure and Cut the Membrane
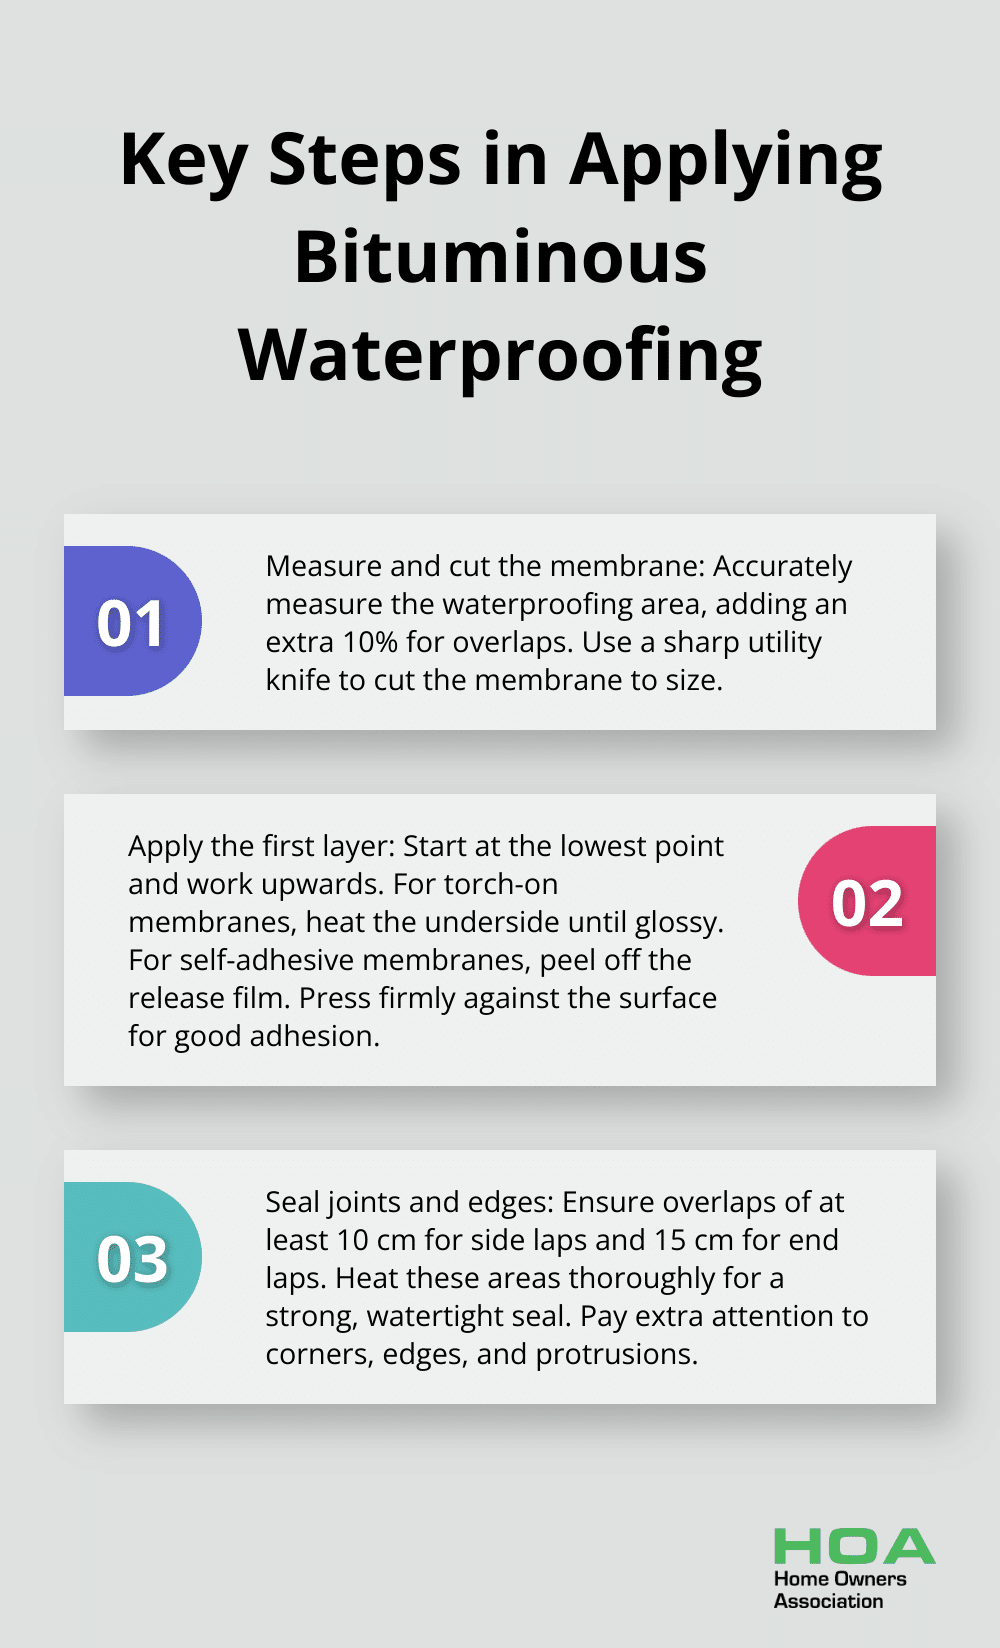
Before application, measure the waterproofing area accurately. Add an extra 10% to your measurements to account for overlaps. Use a sharp utility knife to cut the membrane to size. (It’s always better to have a slight excess than to fall short.)
Apply the First Layer
Start the application at the lowest point of the surface and work upwards. For torch-on membranes, heat the underside with a propane torch until it becomes glossy. Unroll the membrane and press it firmly against the surface for good adhesion. If using self-adhesive membranes, peel off the release film and press the membrane onto the surface. Work from the centre outward to avoid air bubbles.
Seal Joints and Edges
Ensure overlaps between sheets are at least 10 cm for side laps and 15 cm for end laps. Heat these areas thoroughly to create a strong, watertight seal. Pay extra attention to corners, edges, and protrusions like pipes or vents. Use prefabricated corner pieces or shape the membrane to fit snugly around these areas.
Add Additional Layers
For areas subject to high water pressure or heavy foot traffic, apply a second layer of membrane. Apply this layer perpendicular to the first, with offset seams. This creates a more robust waterproofing system that can withstand greater stress.
Finish and Cure
After application, use a heavy roller to ensure full contact with the substrate and eliminate any air pockets. This step creates a uniform, well-adhered surface. Allow the membrane to cure for at least 24 hours before exposing it to foot traffic or further construction work. (In cooler temperatures, extend this curing time.)
Professional installation often yields the best results, especially for large or complex projects. If you’re unsure at any point, consult with a waterproofing expert. The long-term protection of your property justifies the investment in professional expertise.
Final Thoughts
Bituminous waterproofing requires careful planning and precise execution. The process starts with thorough surface cleaning and repair, followed by priming for optimal adhesion. Proper application of the membrane, sealing of joints and edges, and addition of extra layers in high-stress areas enhance the system’s durability.
A well-installed bituminous waterproofing system protects your property for 10 to 20 years against water damage and structural issues. Even minor mistakes during installation can lead to premature failure and costly repairs. Professional assistance ensures your project meets the highest standards.
We at Home Owners Association recommend seeking expert help for complex projects. Our team in Melbourne, Australia, provides personalised guidance and access to quality materials at trade prices. Investing in professional help for bituminous waterproofing application safeguards your property’s long-term protection and value.